

Appearance
NemLog-in
This guide walks you through logging in through the MitID Erhverv broker (NemLog-in) using your existing Microsoft multi-factor authentication (MFA) method — in this example a device-bound passkey in Microsoft Authenticator. The NemLog-in Broker is used for national services such as virk.dk, SKAT, and tinglysning.dk, and signing services such as Penneo.
A MitID Erhverv (business) identity is required, but it is created automatically (just in time) during the login if it does not already exist — no separate onboarding in MitID Erhverv is needed.
The first time a sign-in method is used, it must be approved with a one-time verification: you confirm your identity with your personal MitID, accept the terms and conditions, and confirm possession and sole control of the authentication device. On subsequent logins, you simply sign in with your Microsoft MFA method.
1. Go to the service
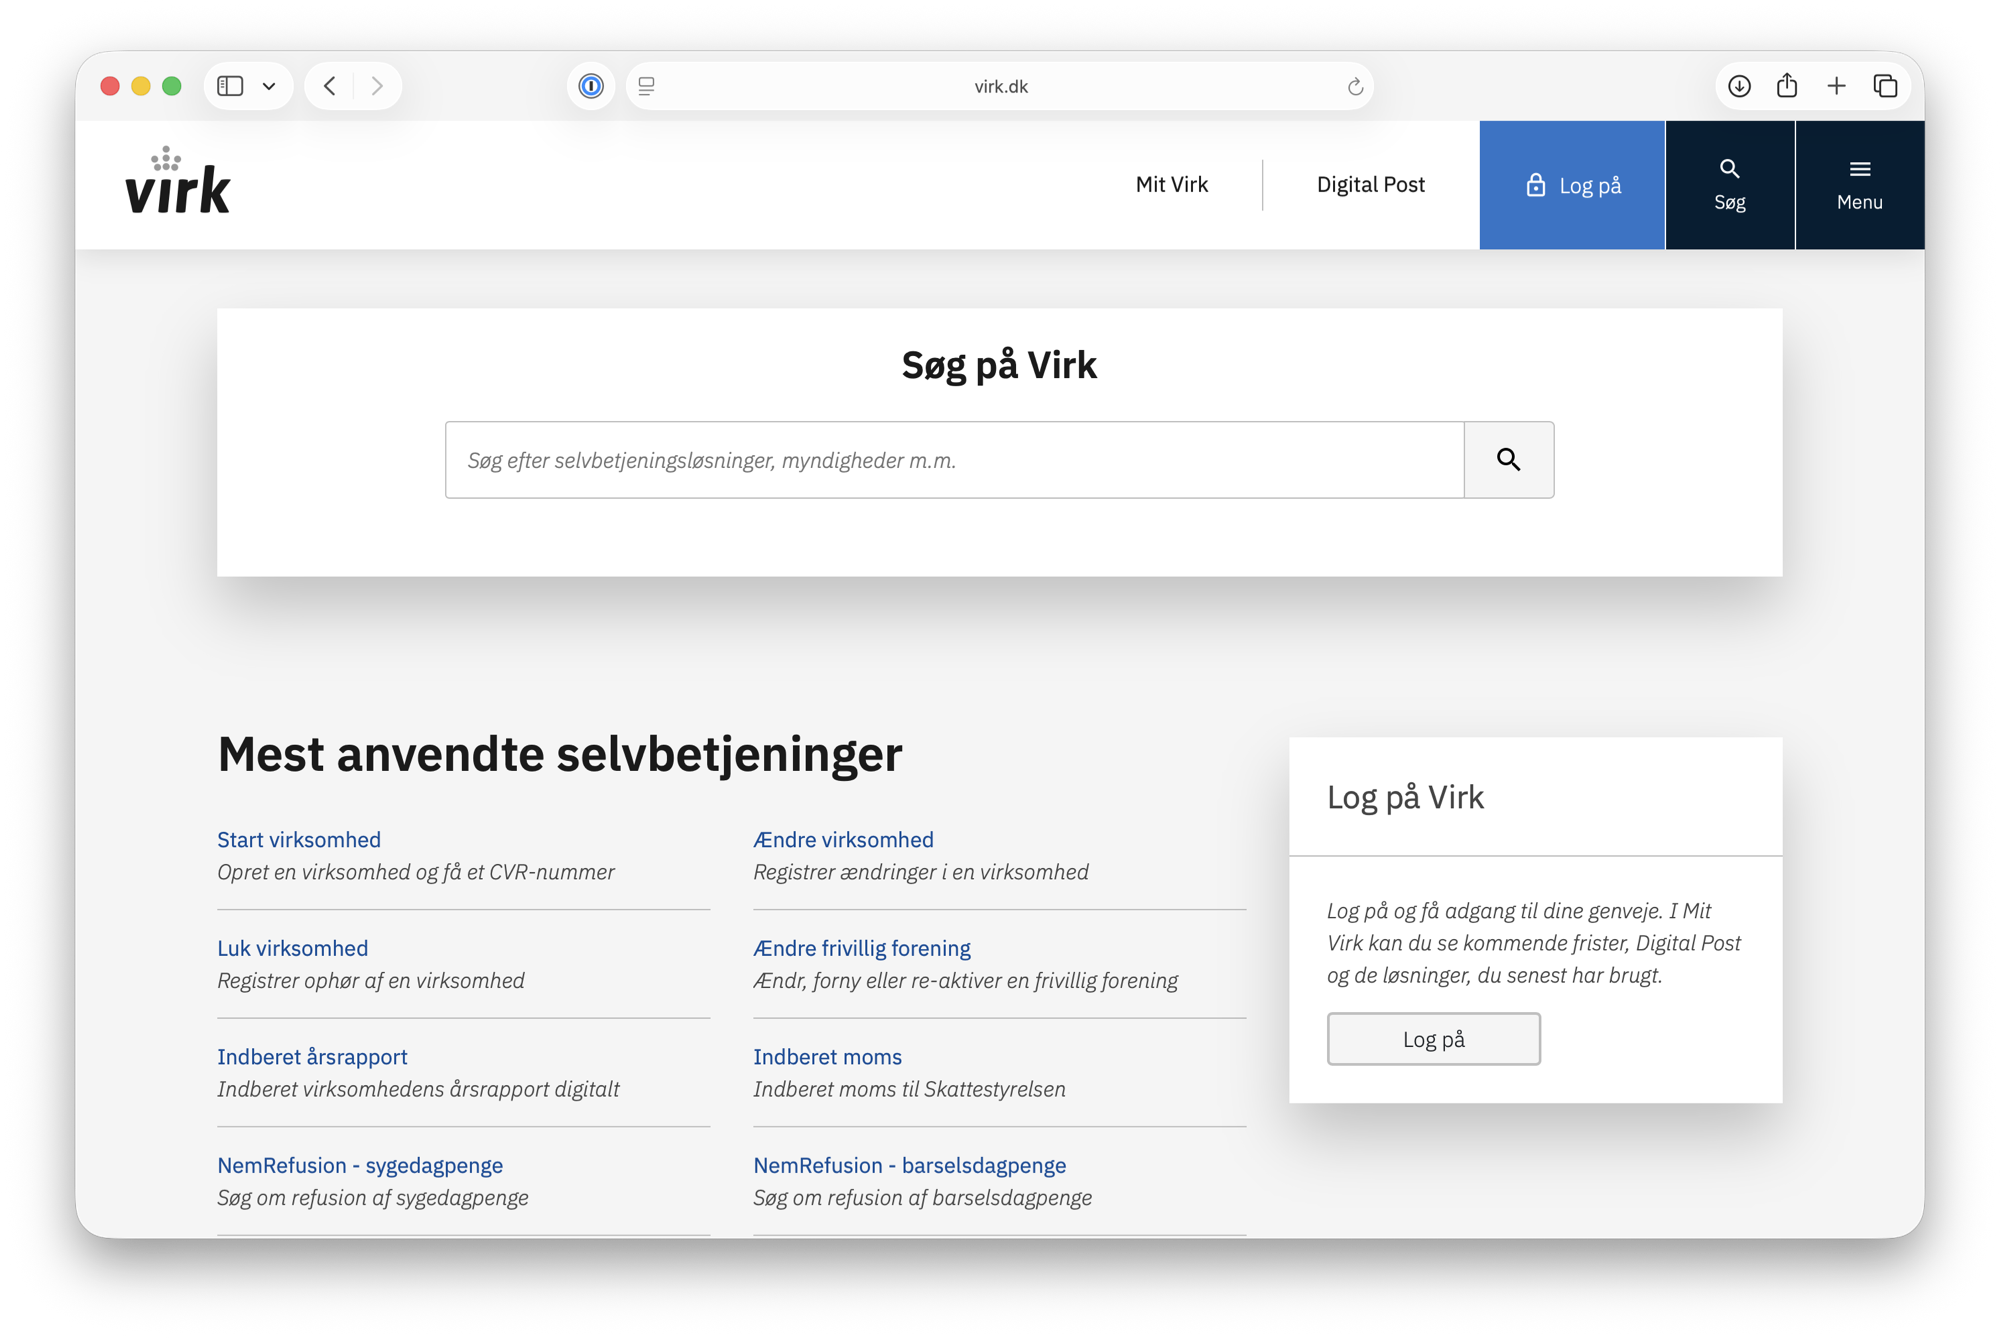
Go to the service you want to log in to — in this example virk.dk — and click Log på.
2. Choose your organisation
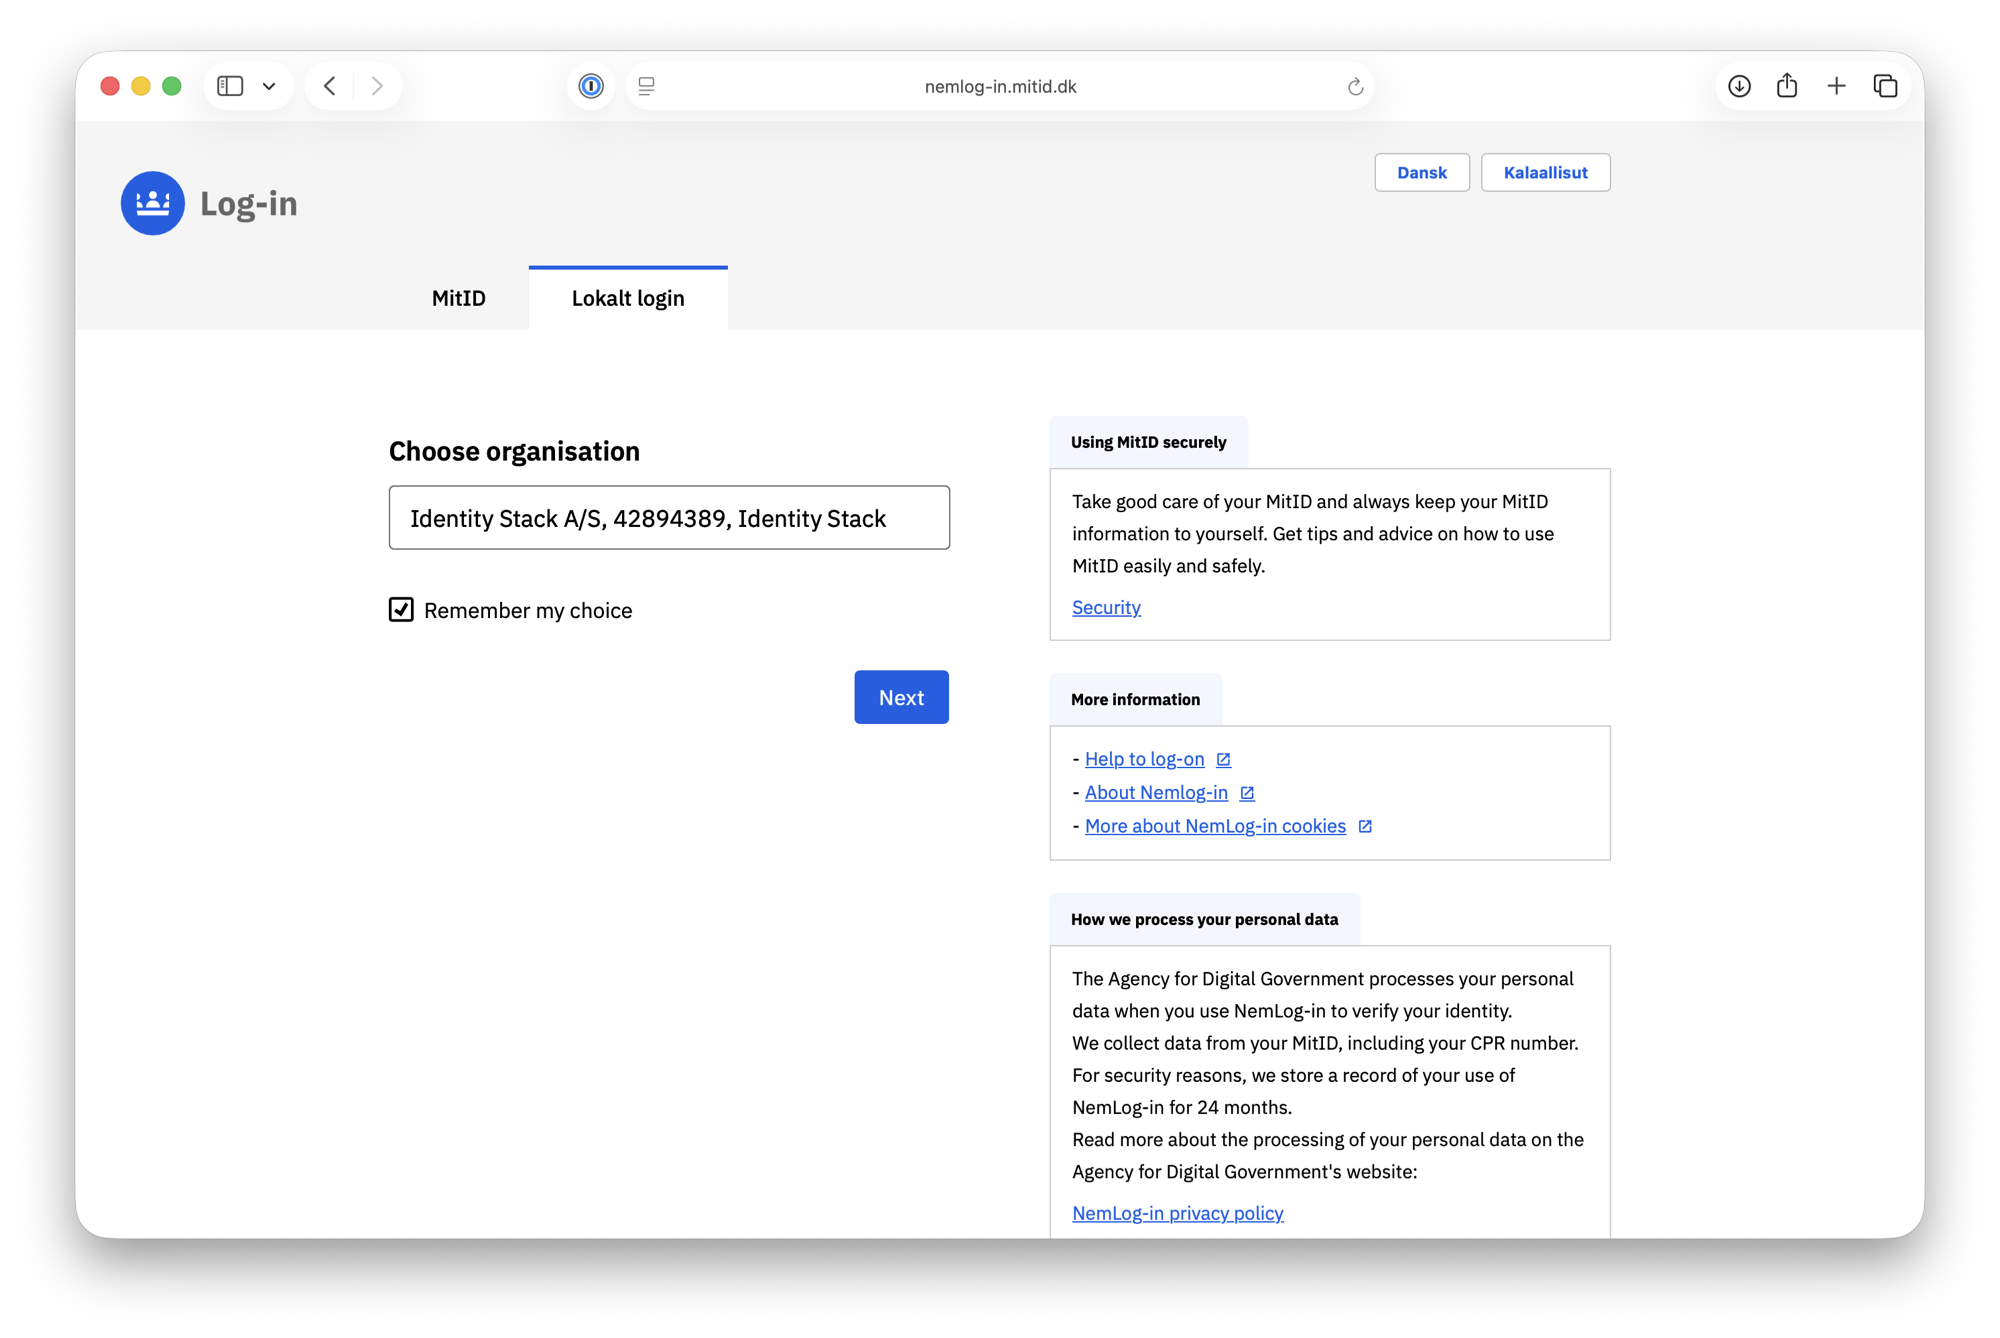
On the NemLog-in page, select the Lokalt login tab and choose your organisation. Check Remember my choice to skip this step next time, and click Next.
3. Sign in with your Microsoft account
You are redirected to Microsoft. Sign in with your work account using your usual MFA method — in this example a passkey (face, fingerprint, PIN, or security key).
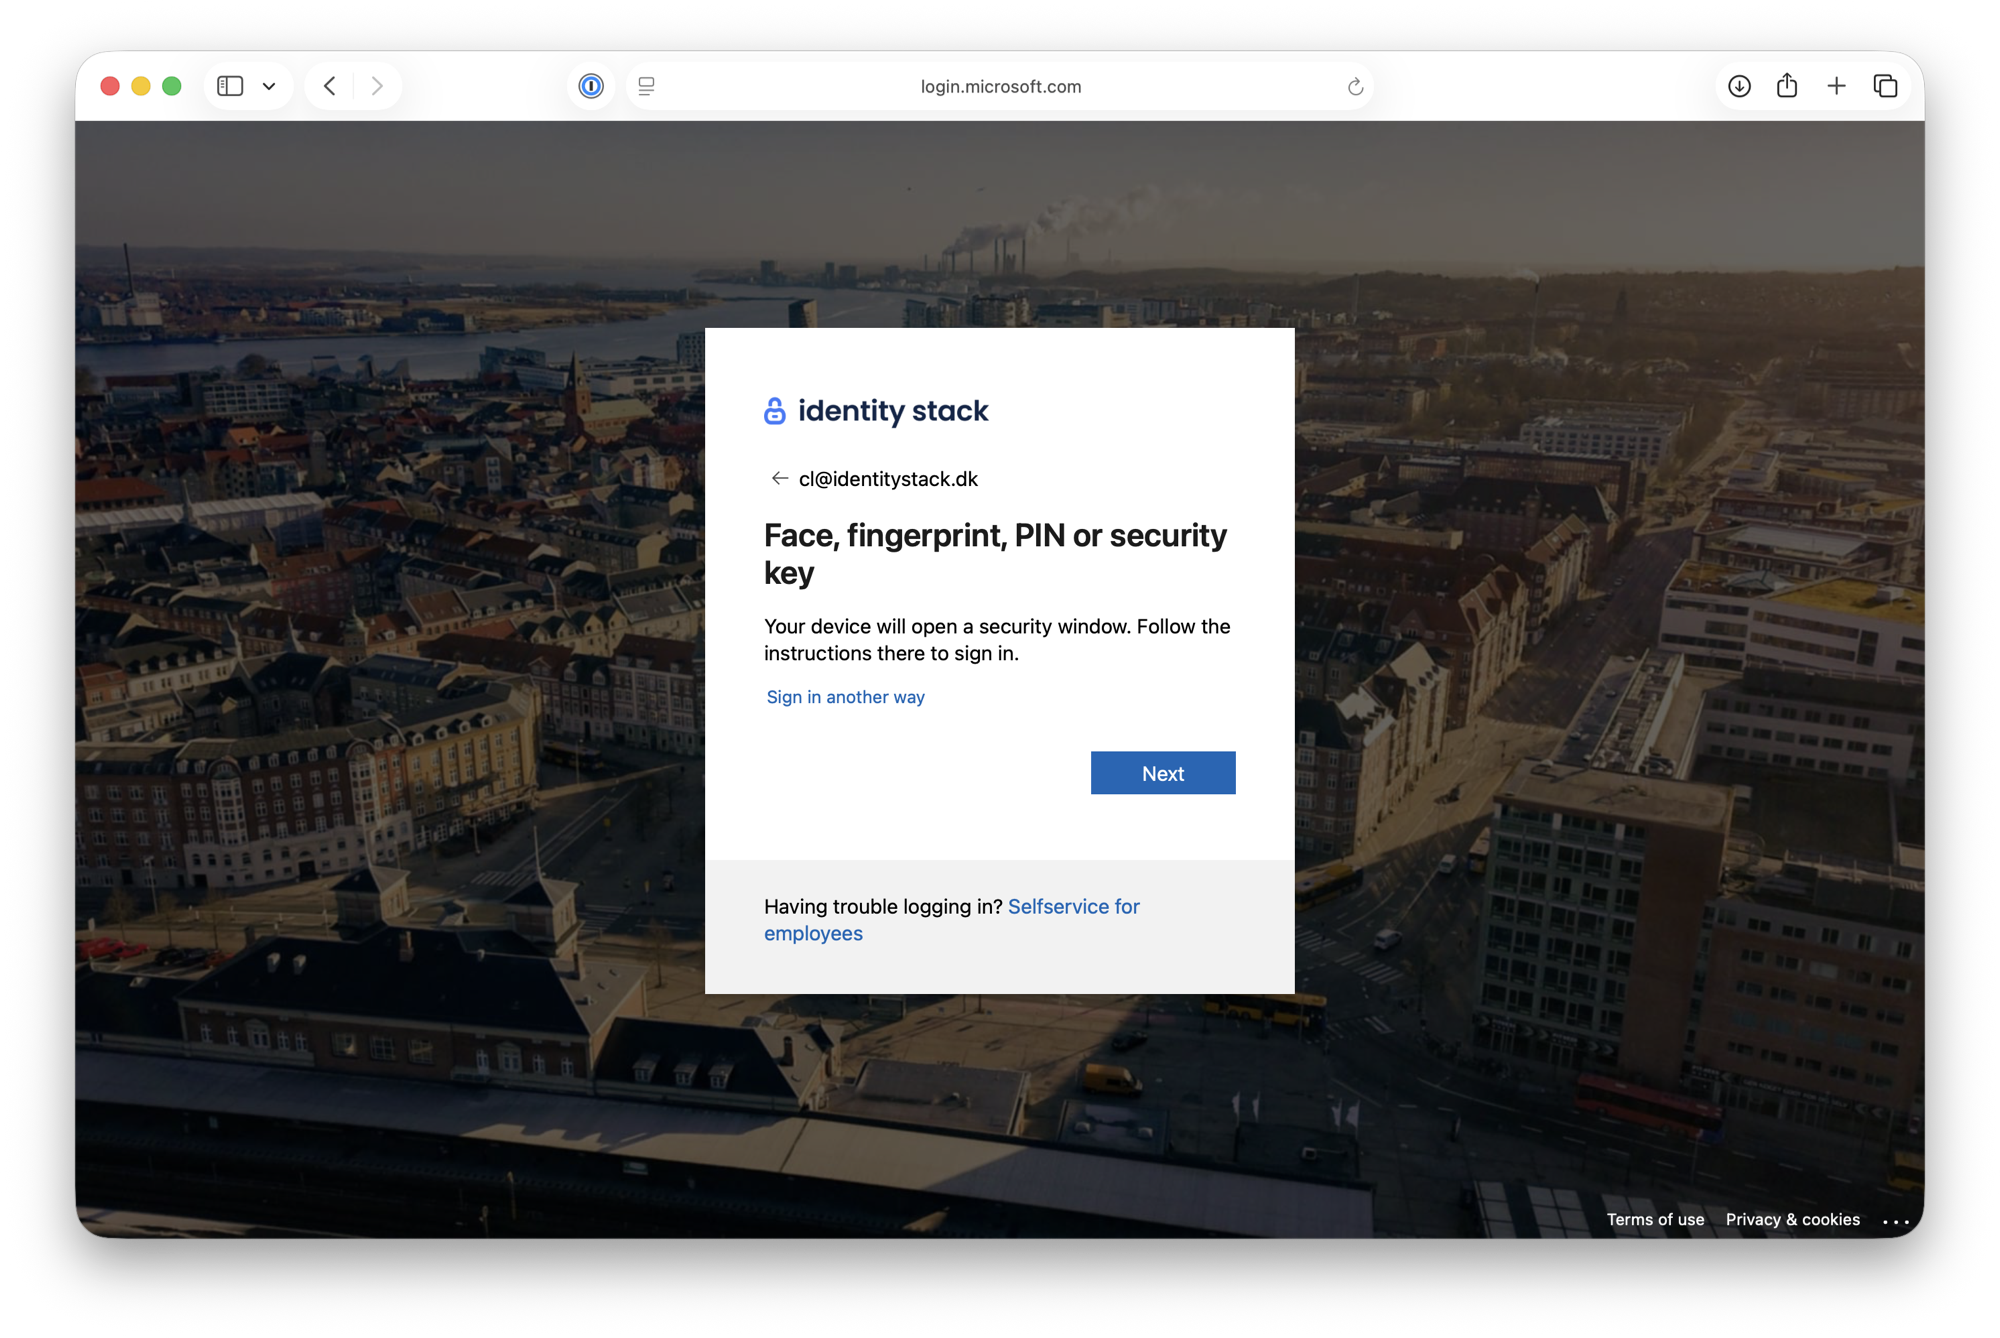
If this sign-in method has already been approved, you are redirected straight back to the service and are logged in — you are done. The first time you use a new sign-in method, the one-time approval below starts.
4. Confirm your identity with MitID
Verify that the information shown is yours and click Confirm with MitID.
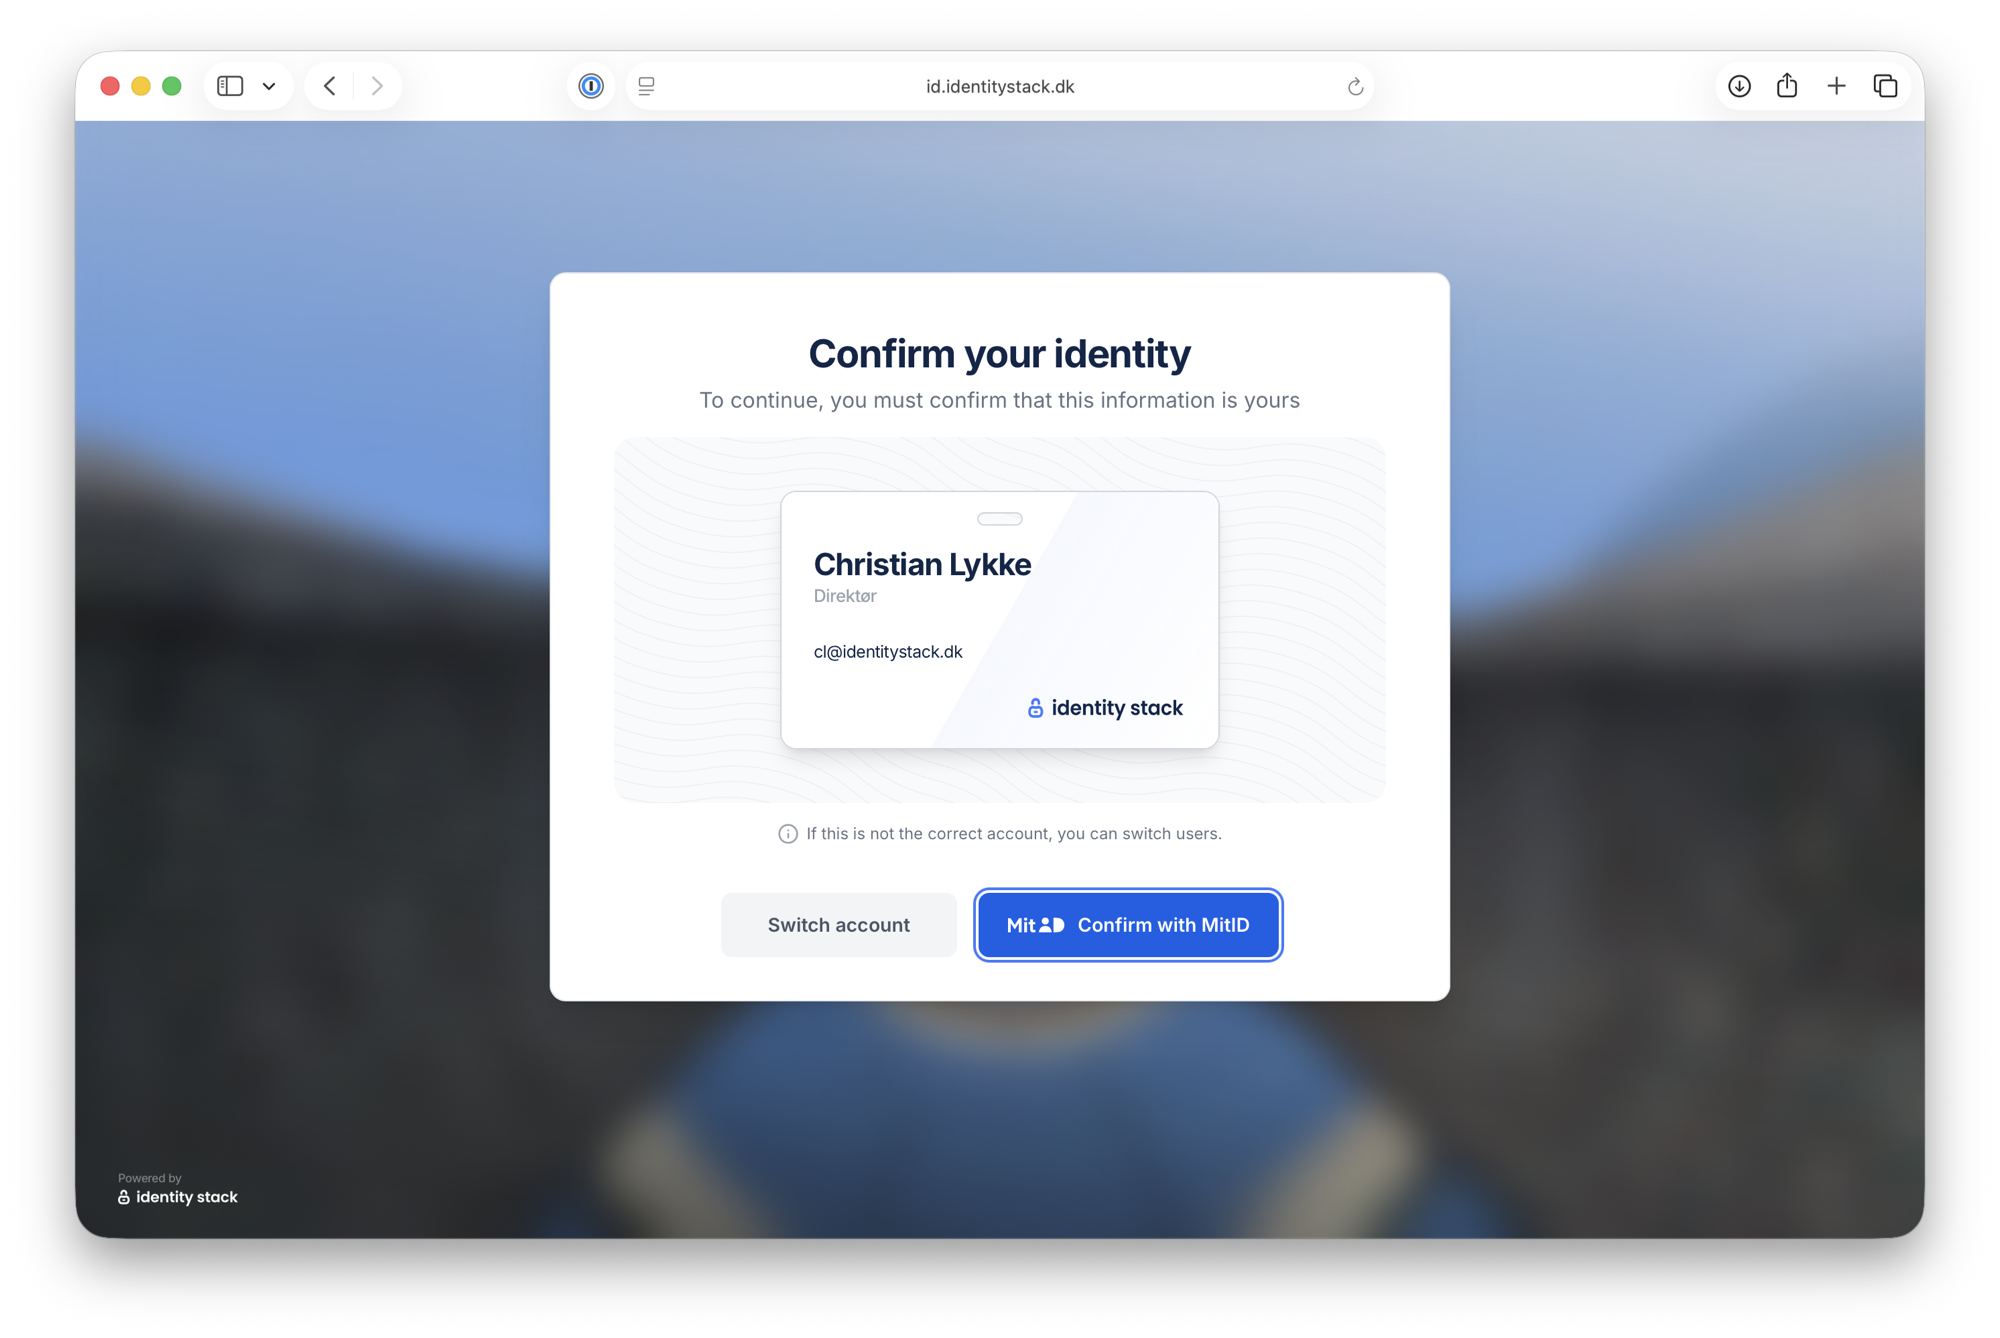
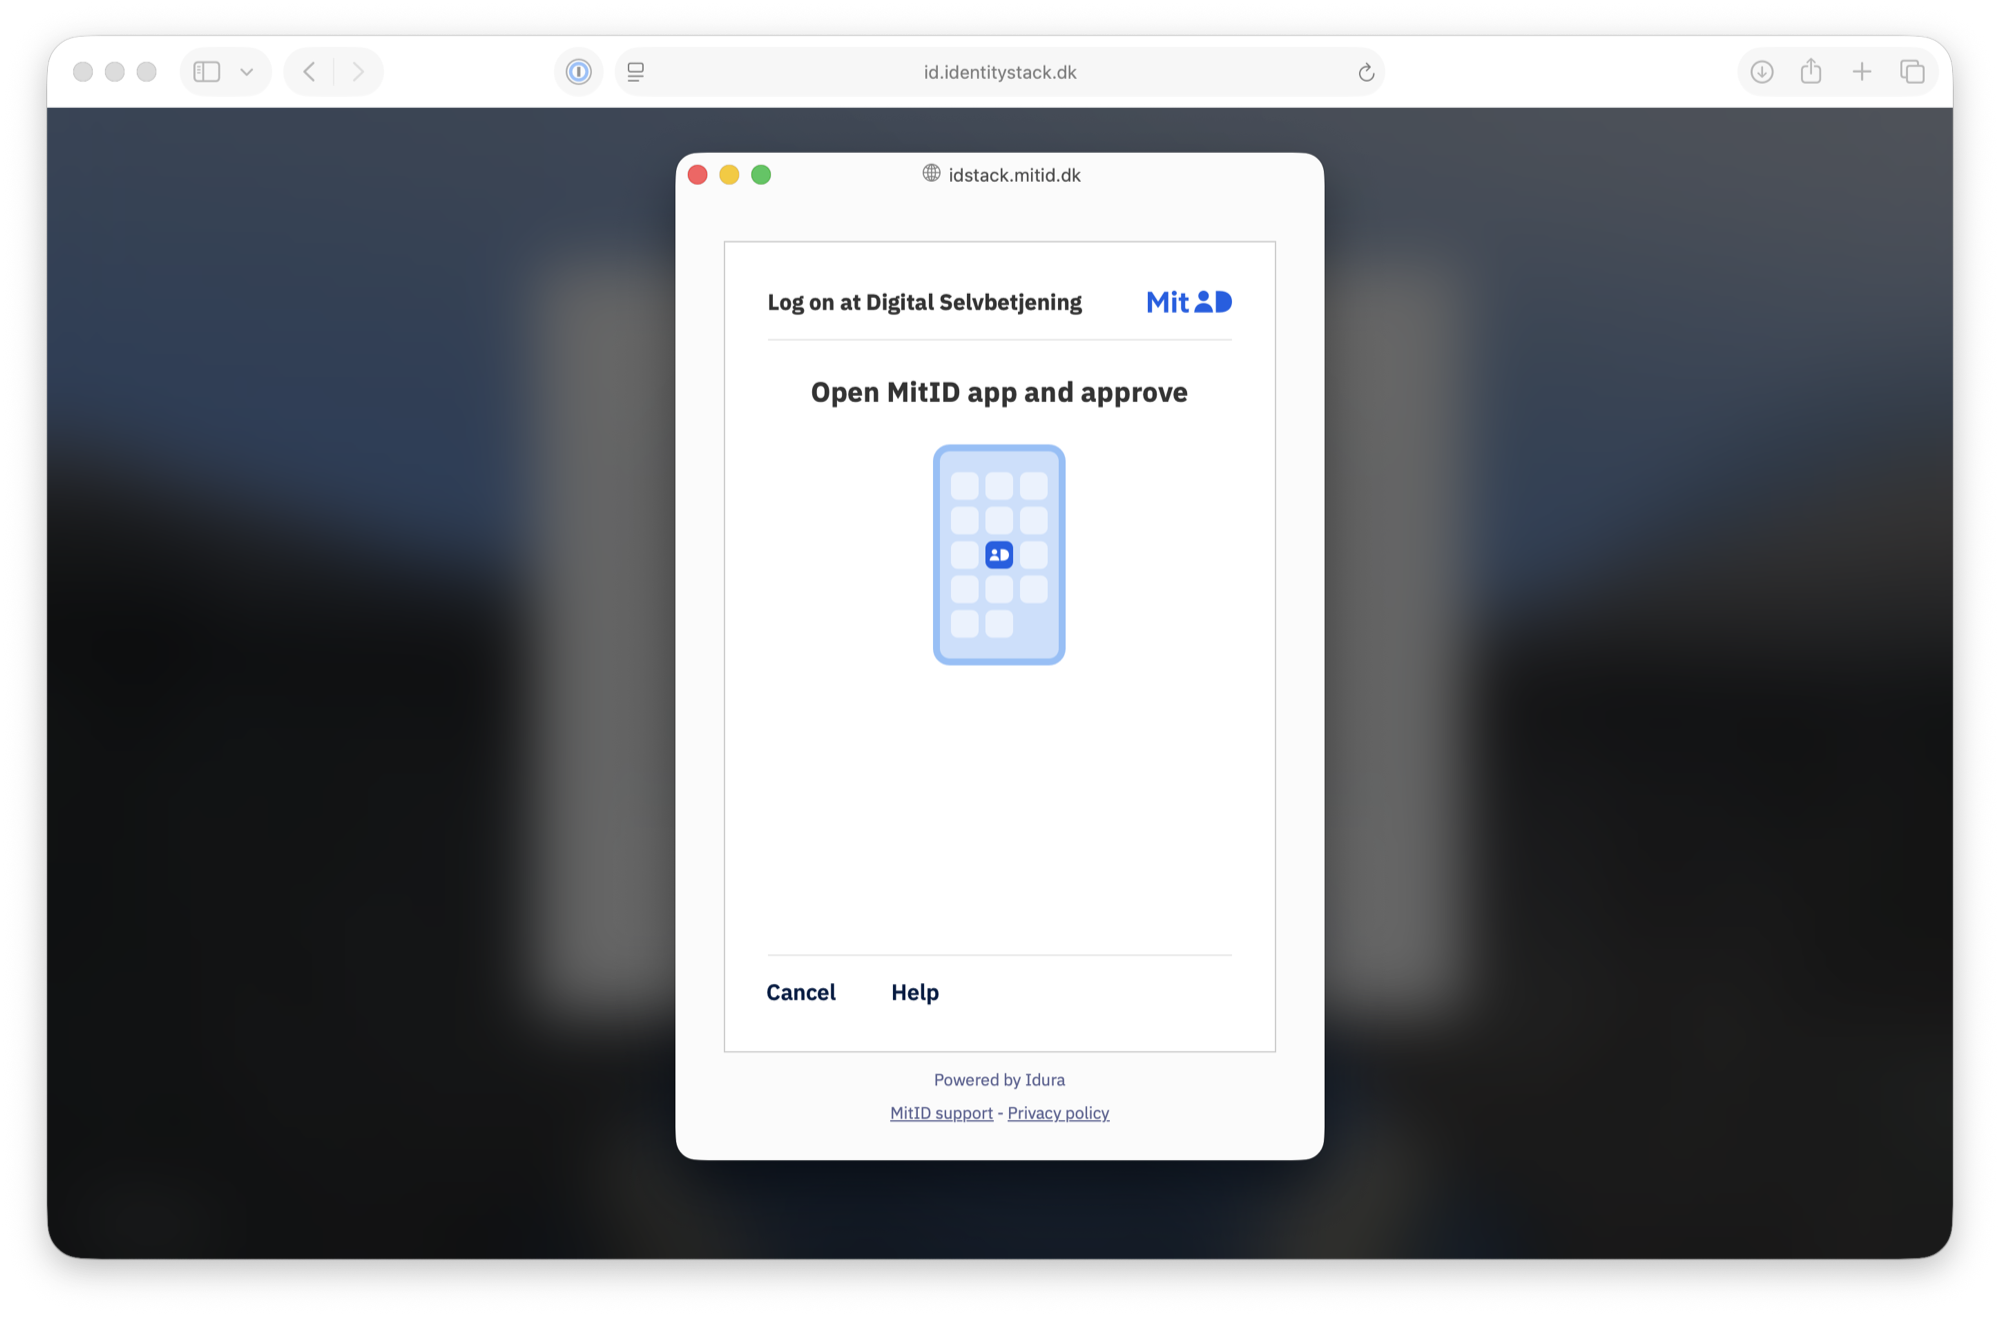
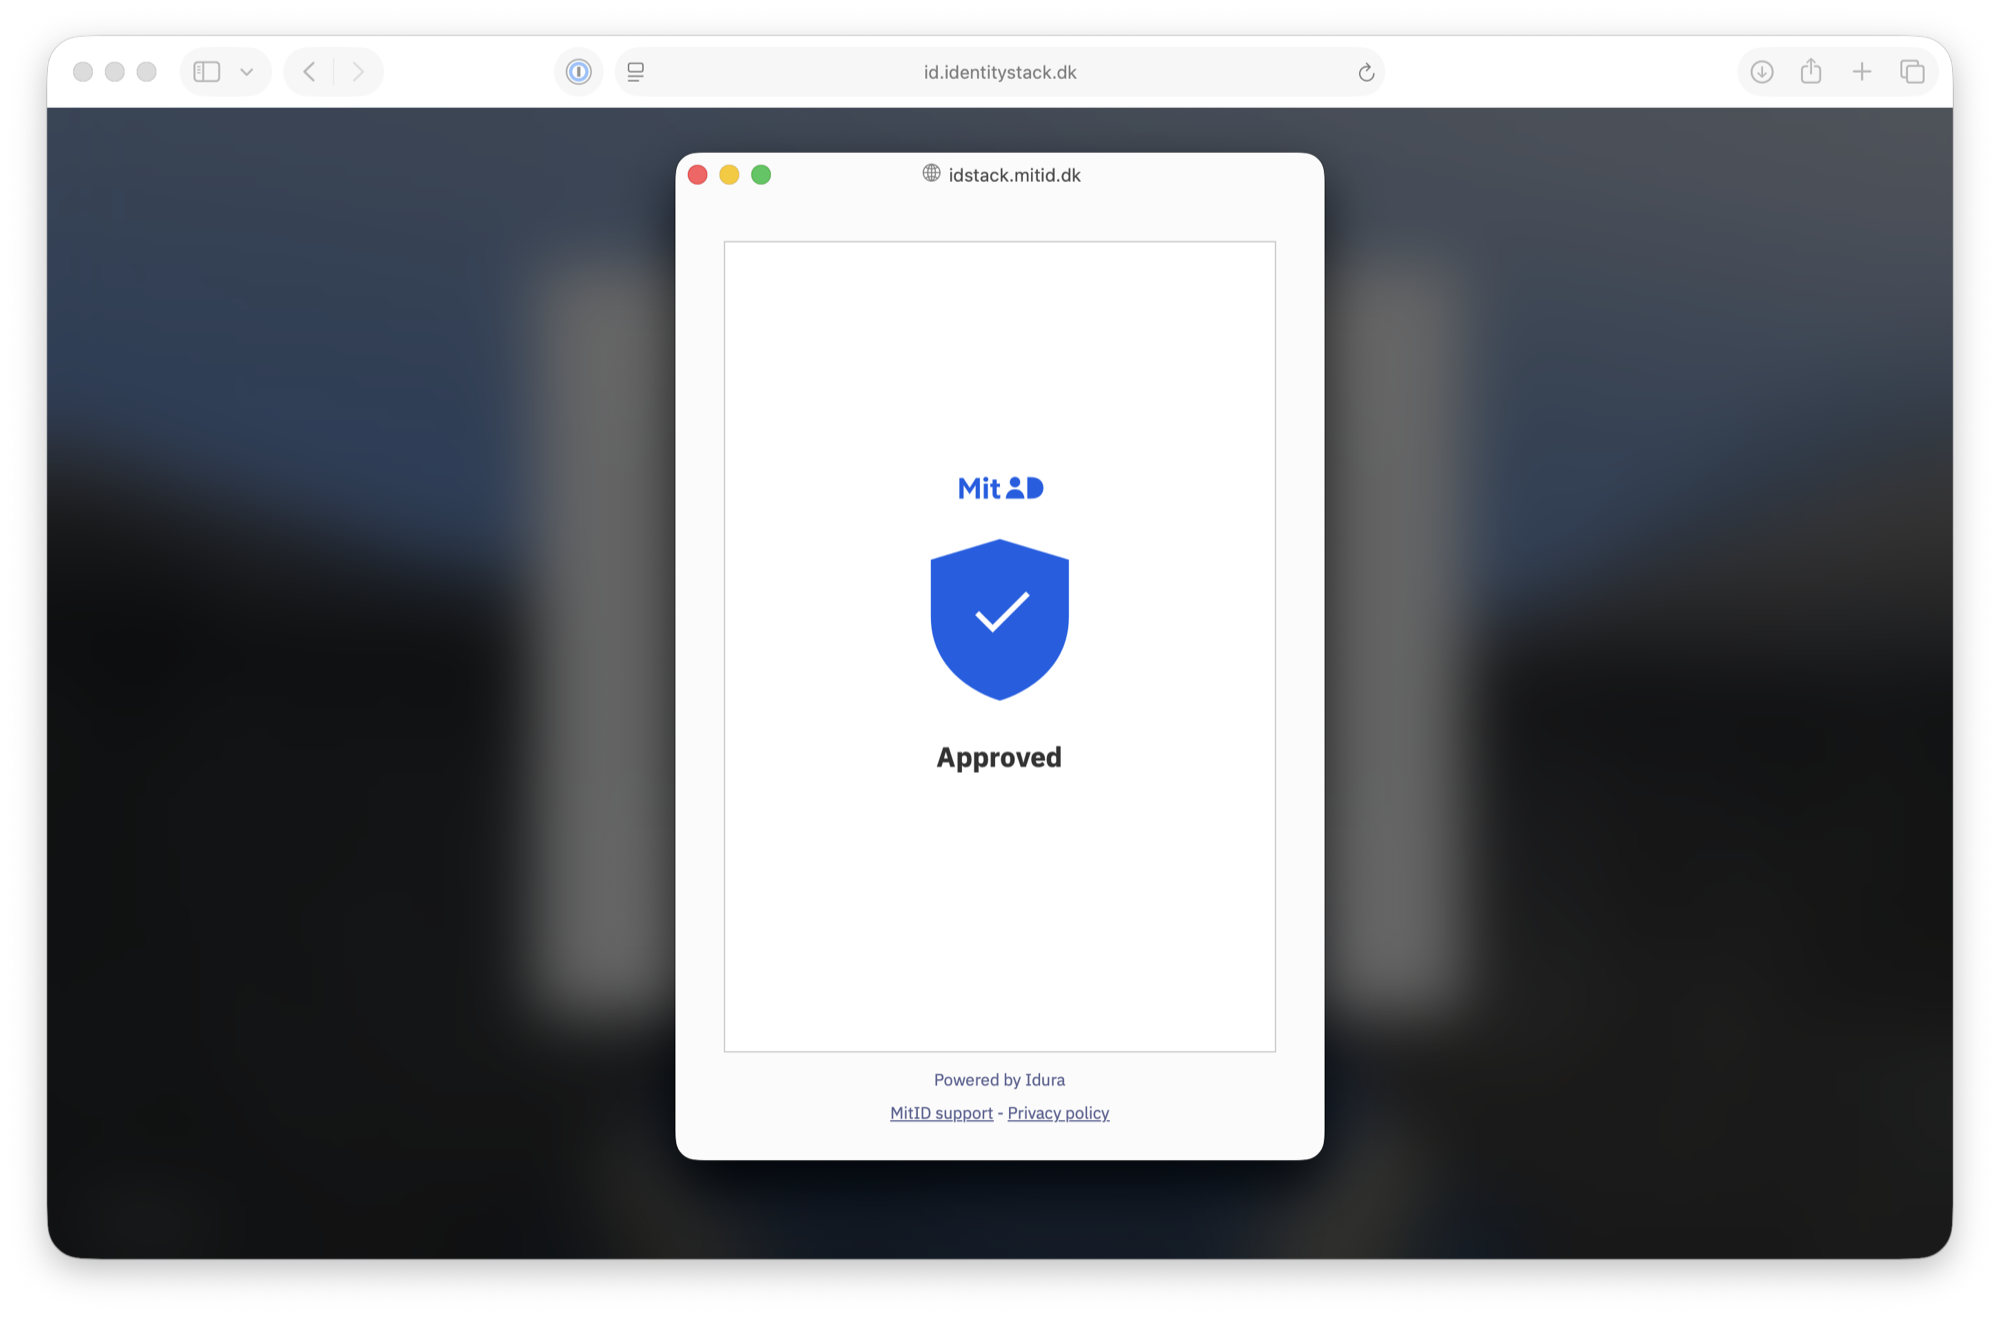
Approve the request in your personal MitID app.
5. Accept the terms and conditions
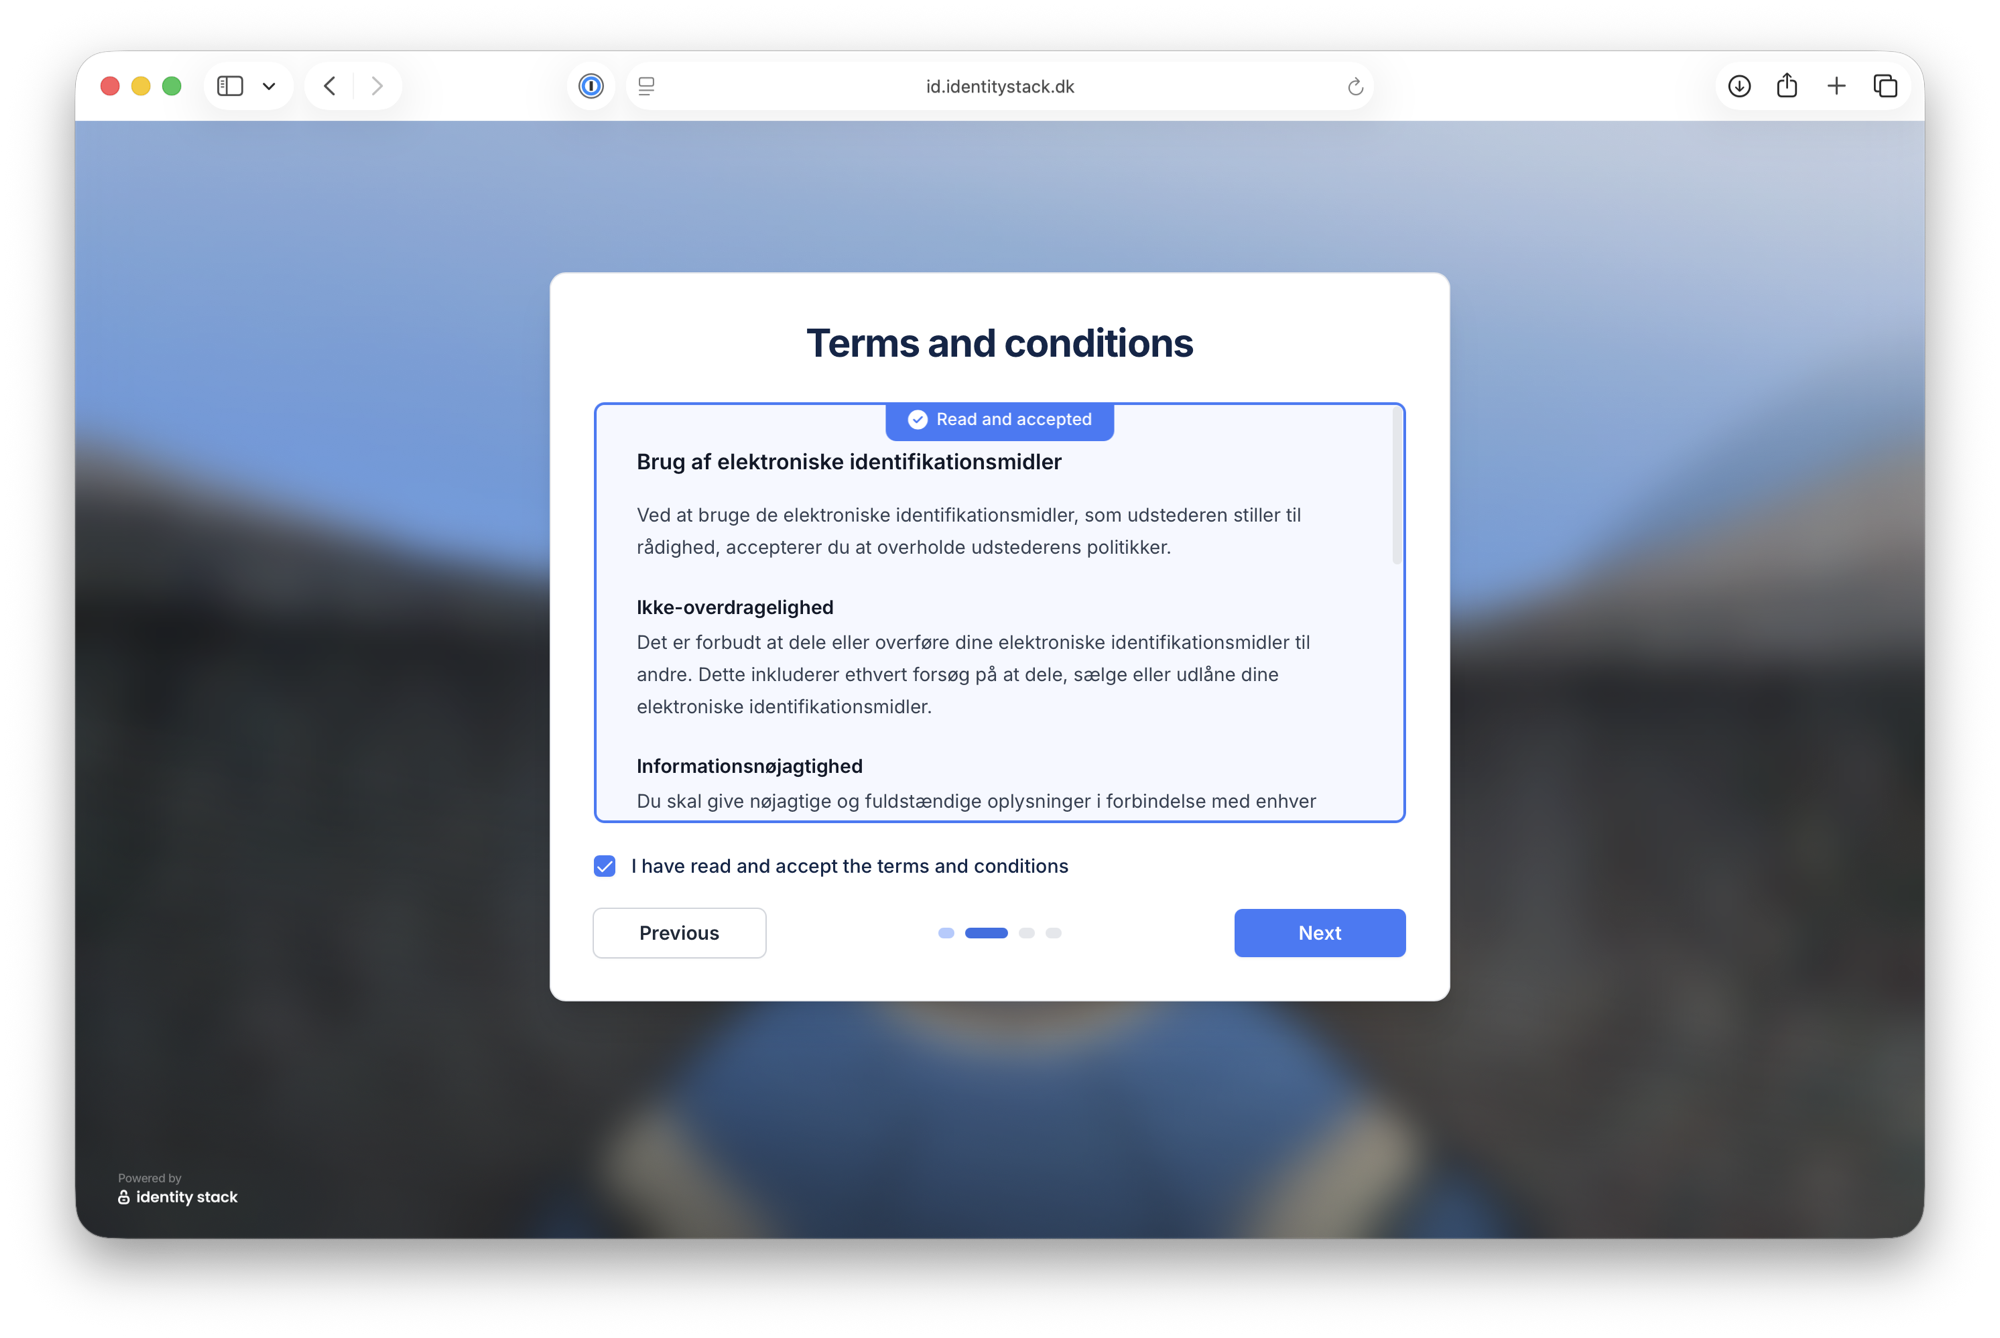
Read the terms and conditions. Scroll to the bottom of the text — the checkbox is enabled once the terms are marked Read and accepted.
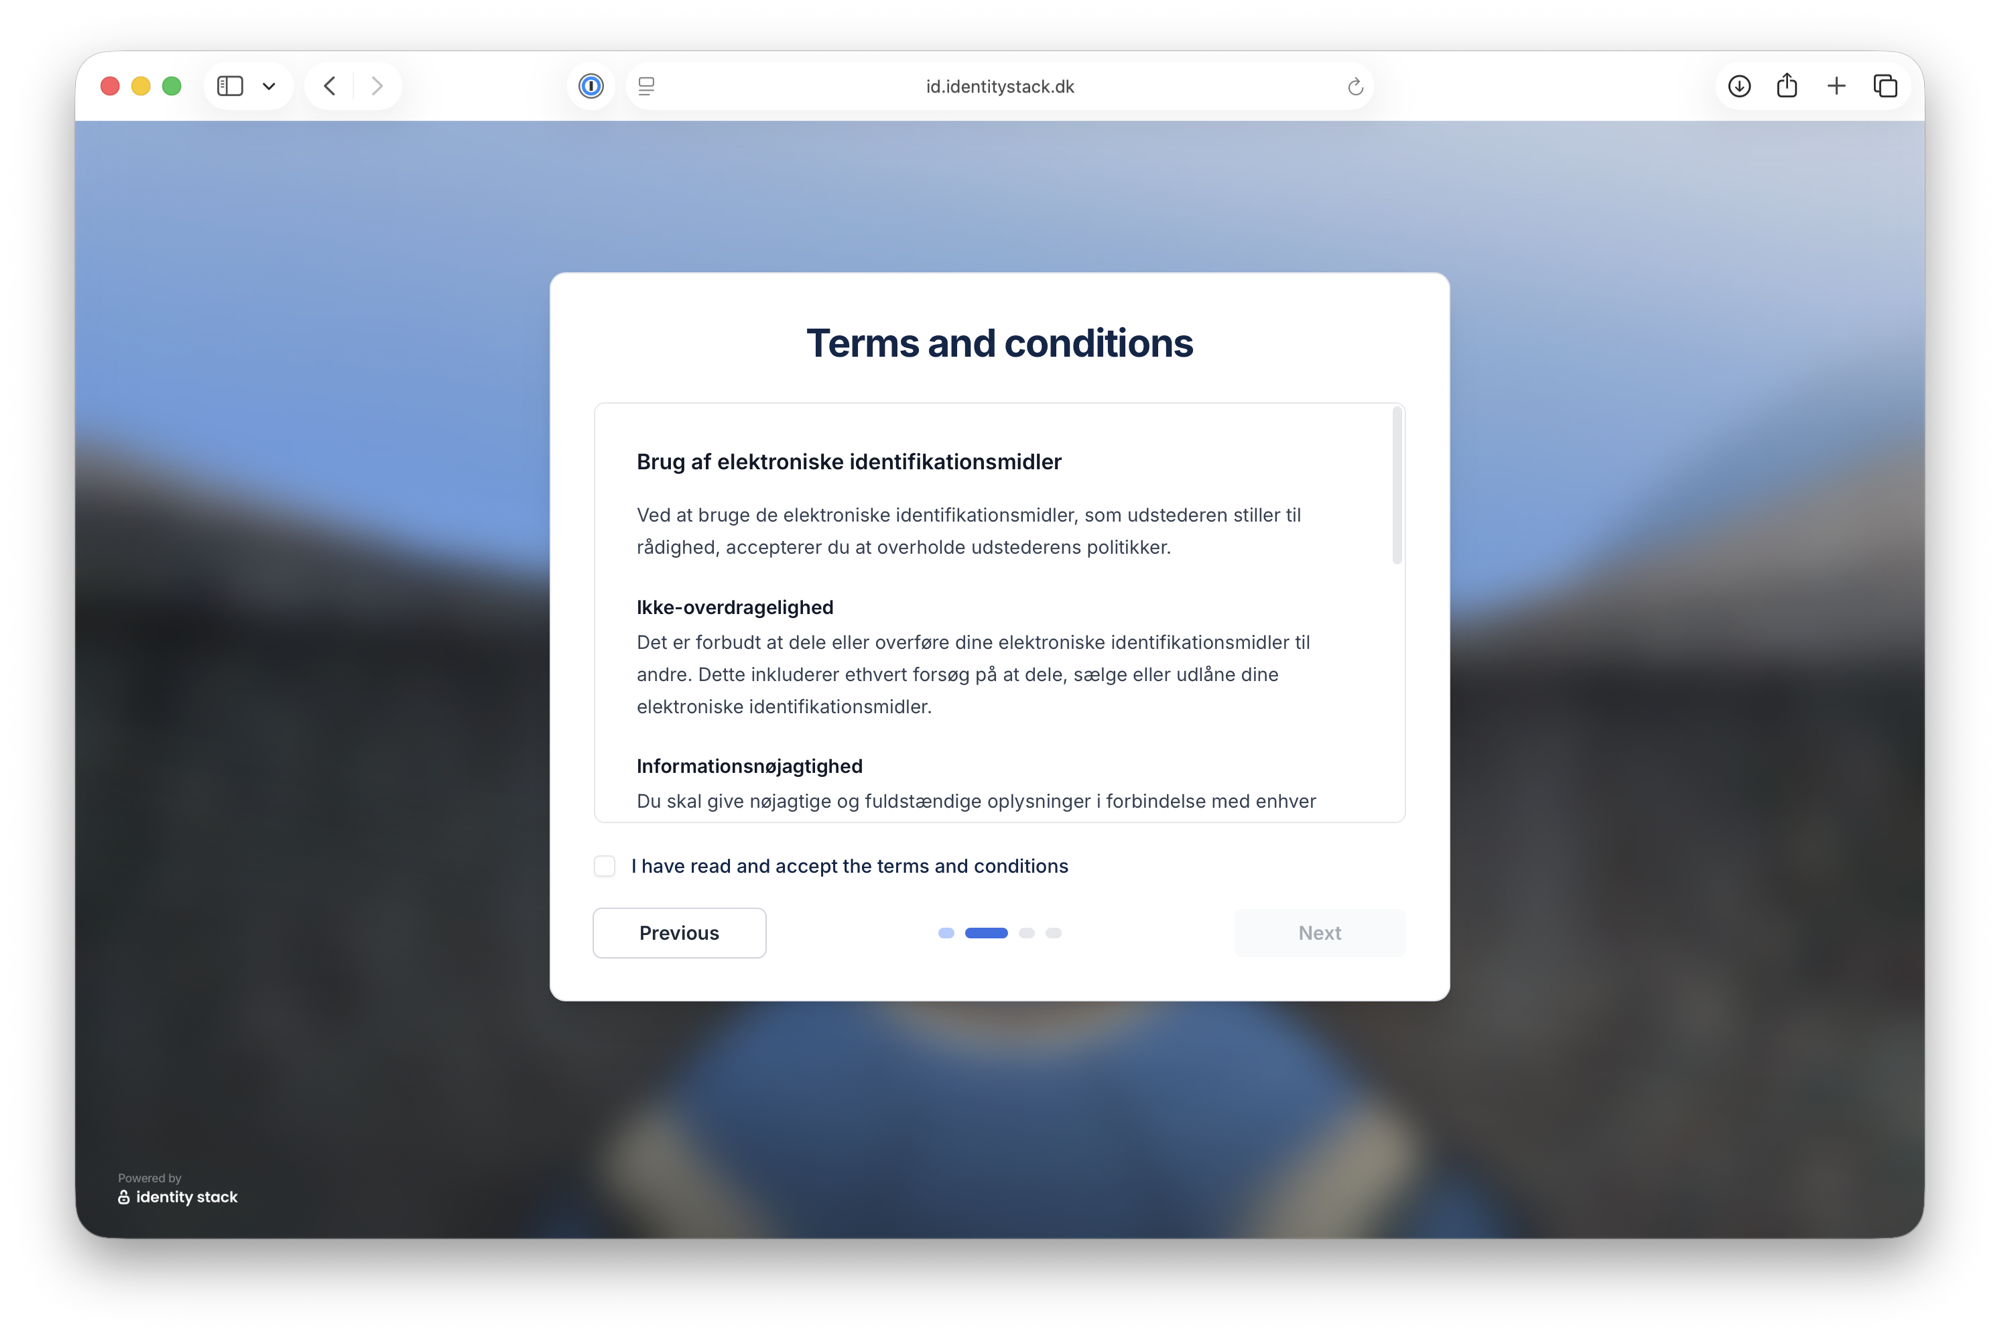
Check I have read and accept the terms and conditions and click Next.
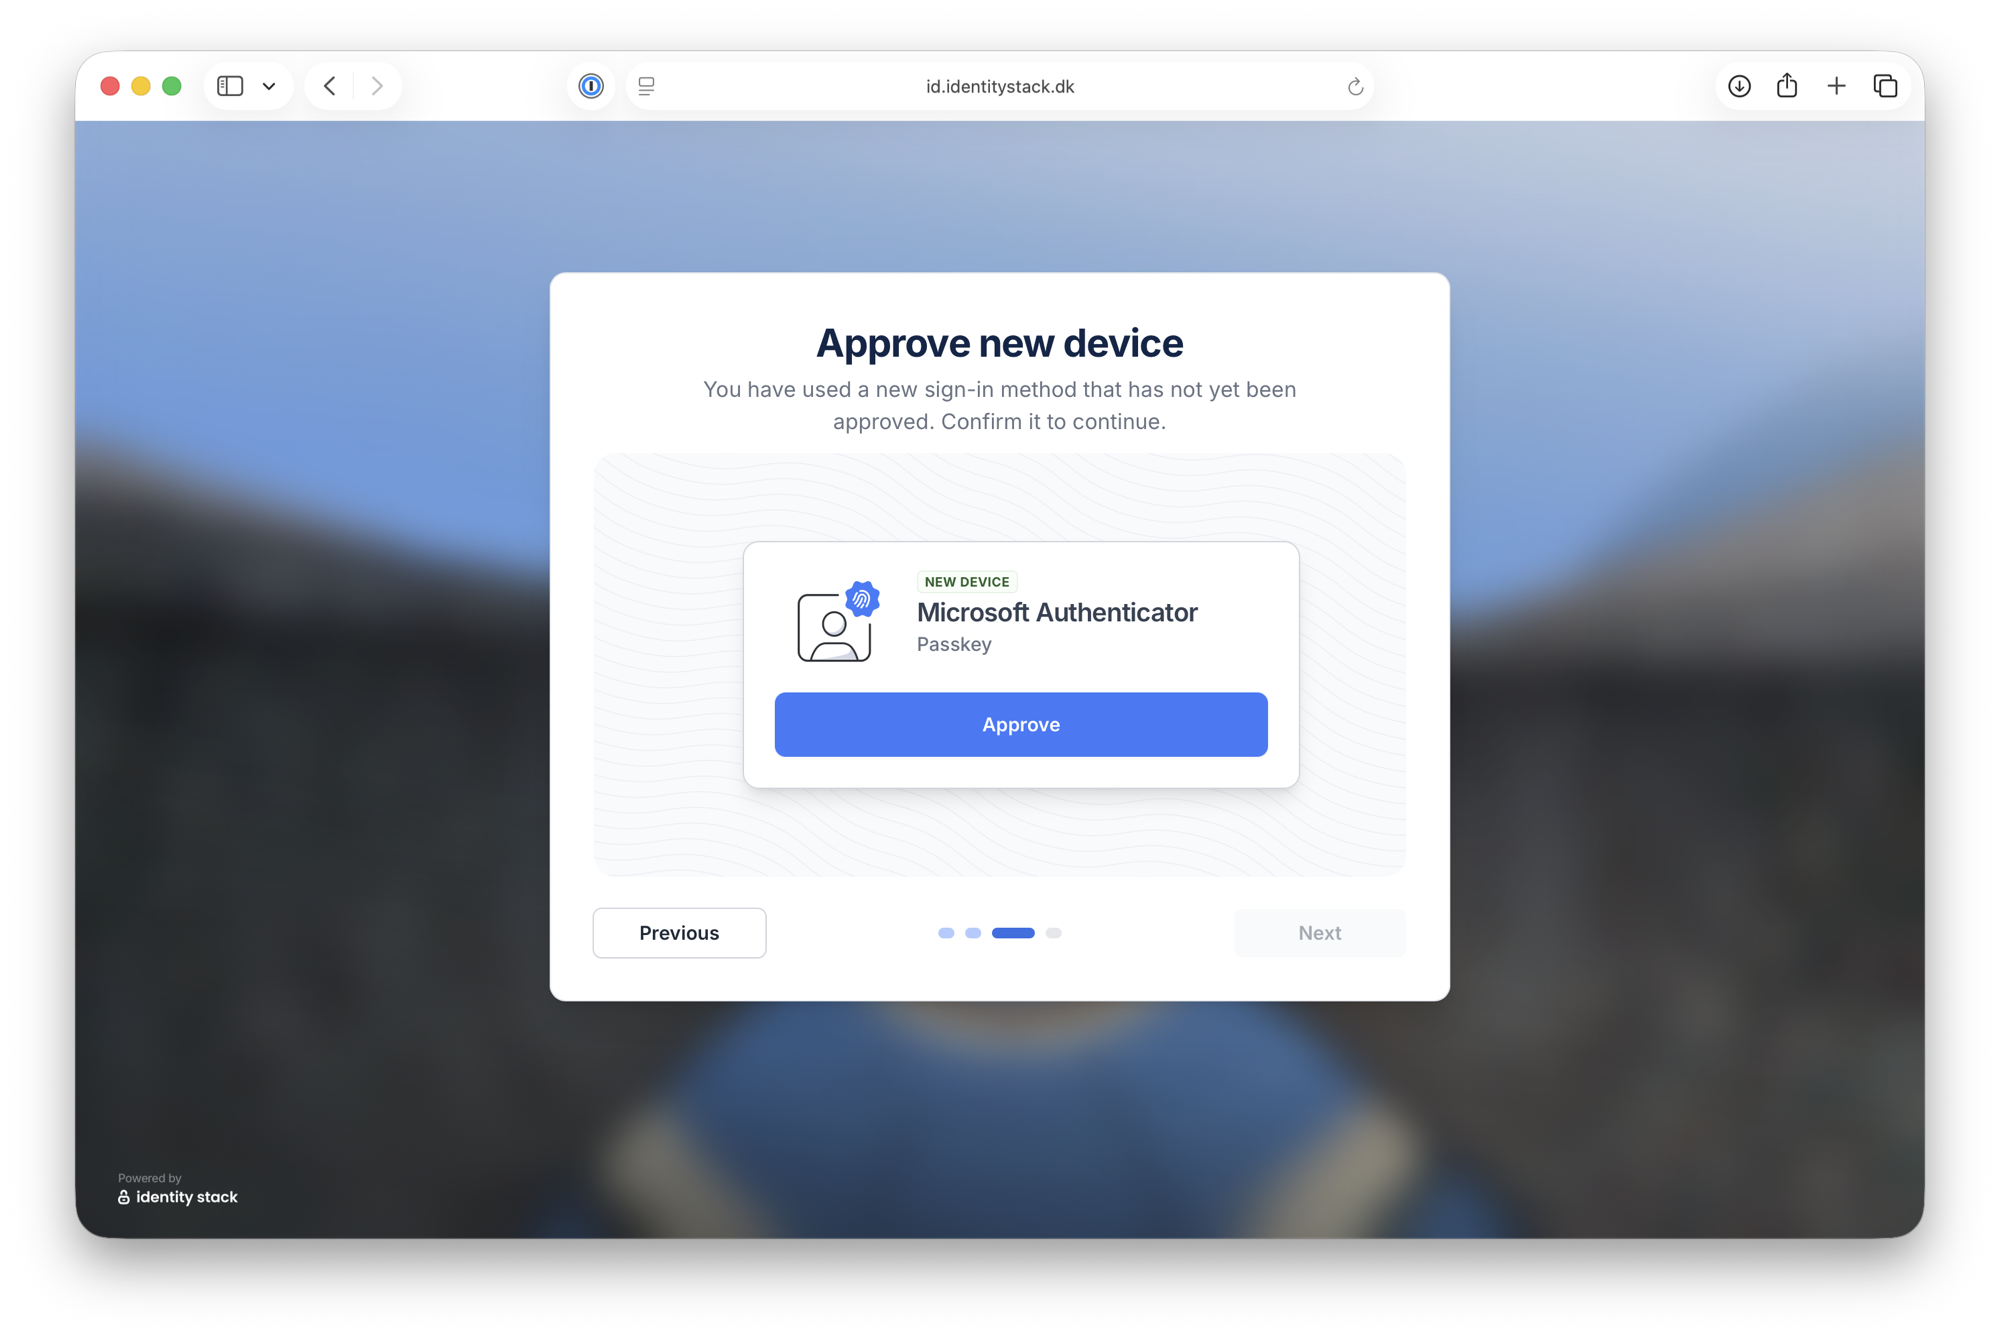
6. Approve your new device
Confirm that you possess and have sole control of the authentication device by clicking Approve.
7. You're all set
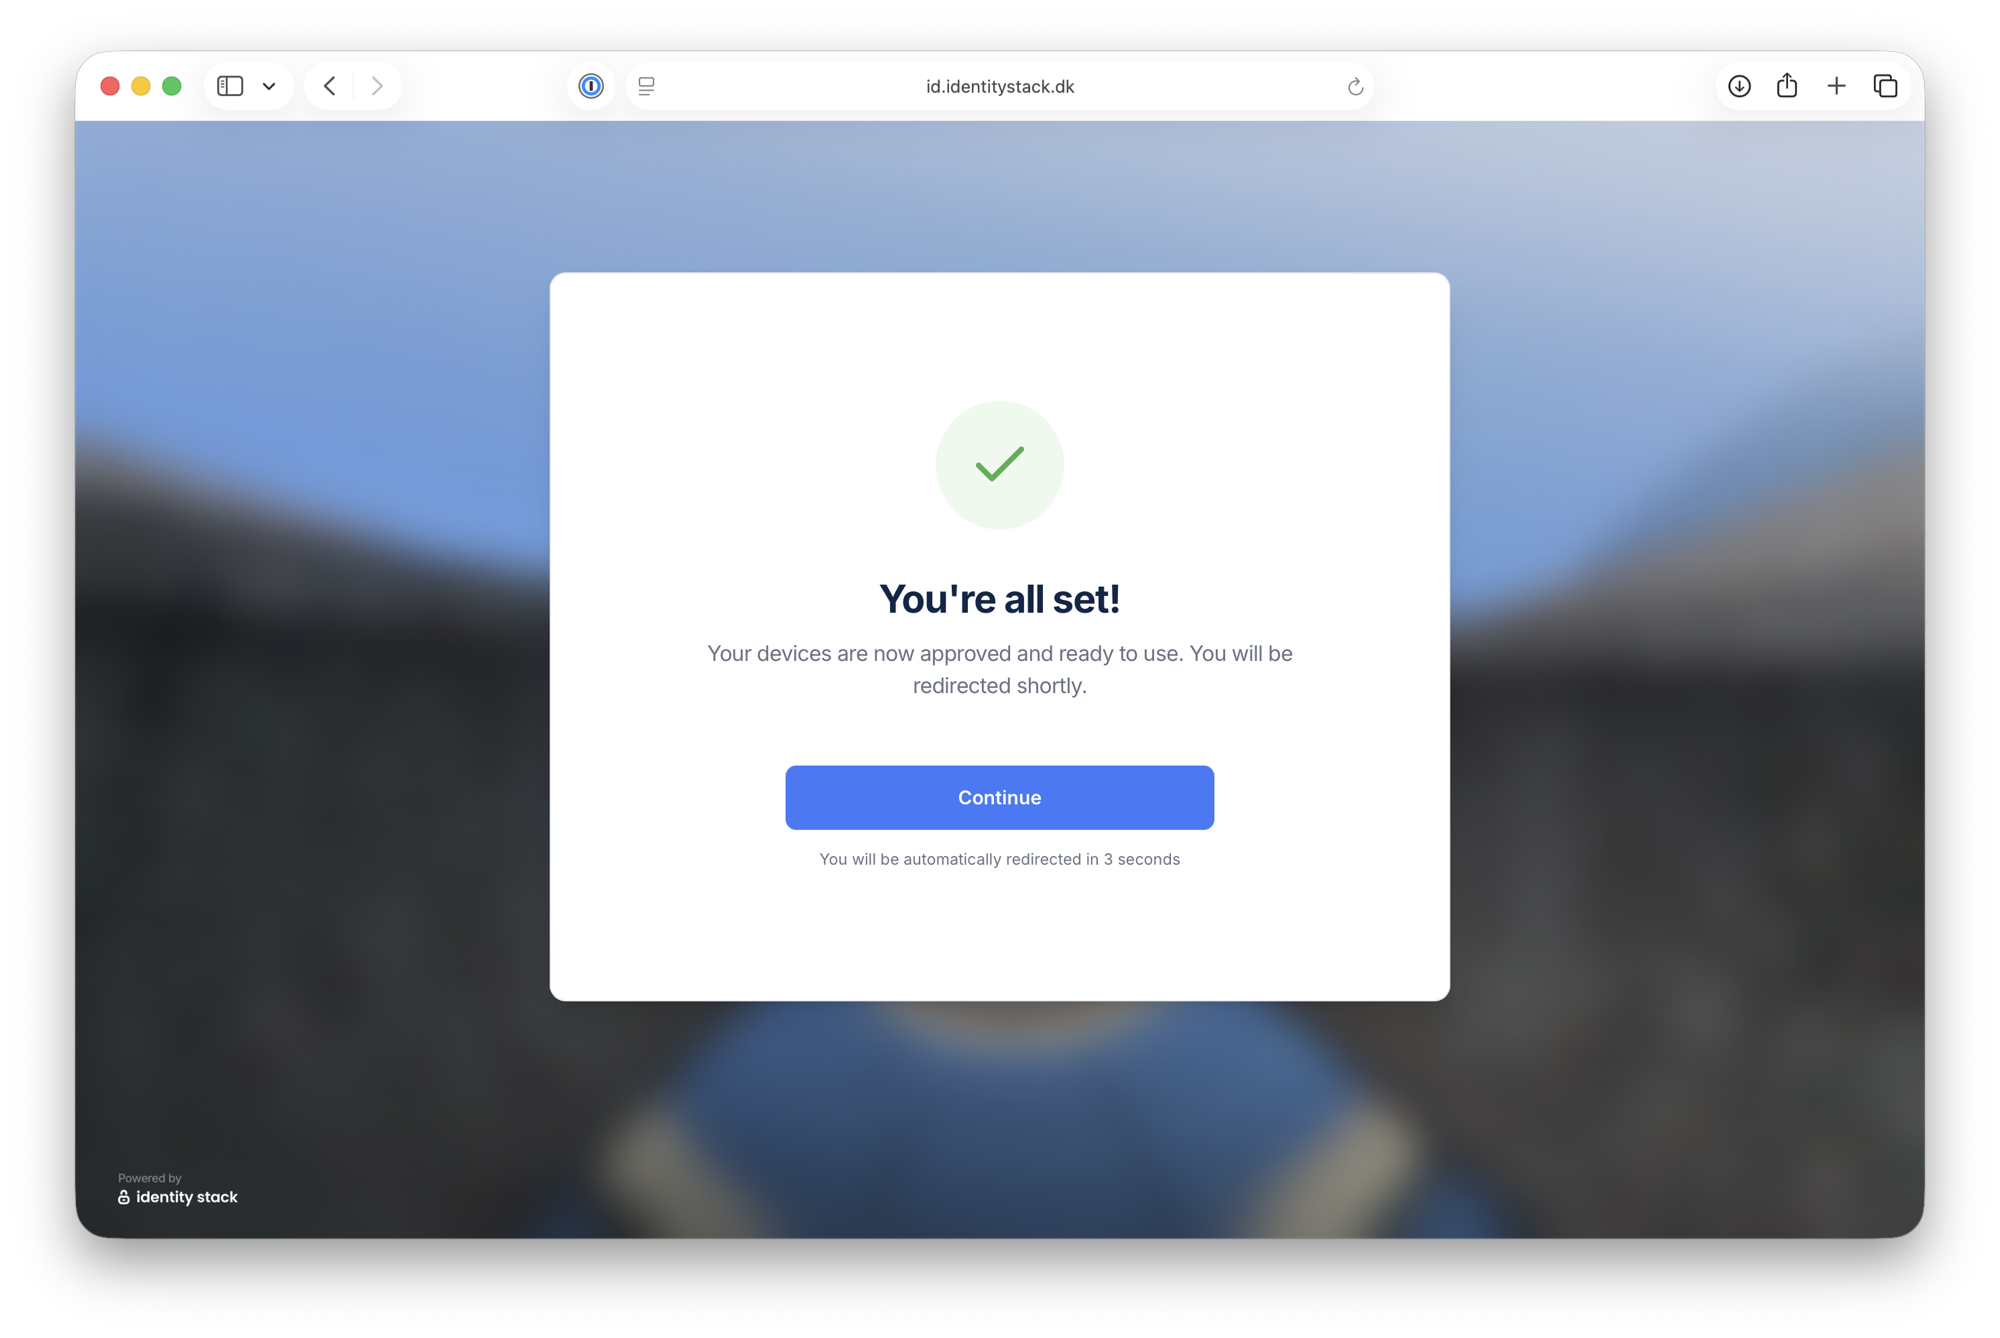
Your device is approved and ready to use. You are automatically redirected back to the service, logged in.
The next time you log in with the same sign-in method, steps 4–7 are skipped — you simply sign in with your Microsoft MFA method.