Appearance
Setup MitID Erhverv integration
This guide tells you how to:
- Enable organisation certificates in MitID Erhverv.
- Apply the local identity provider (IdP).
- Make an OCES system certificate.
- Connect the integration in the Identity Stack admin portal.
Prerequisites
Before you start, make sure that:
- Your organisation has signed the ledelseserklæring and the fælles ledelseserklæring from Digitaliseringsstyrelsen.
- Your organisation has an invitation to the Local IdP from Identity Stack.
- You have administrator access to MitID Erhvervsadministration.
1. Open the organisation settings
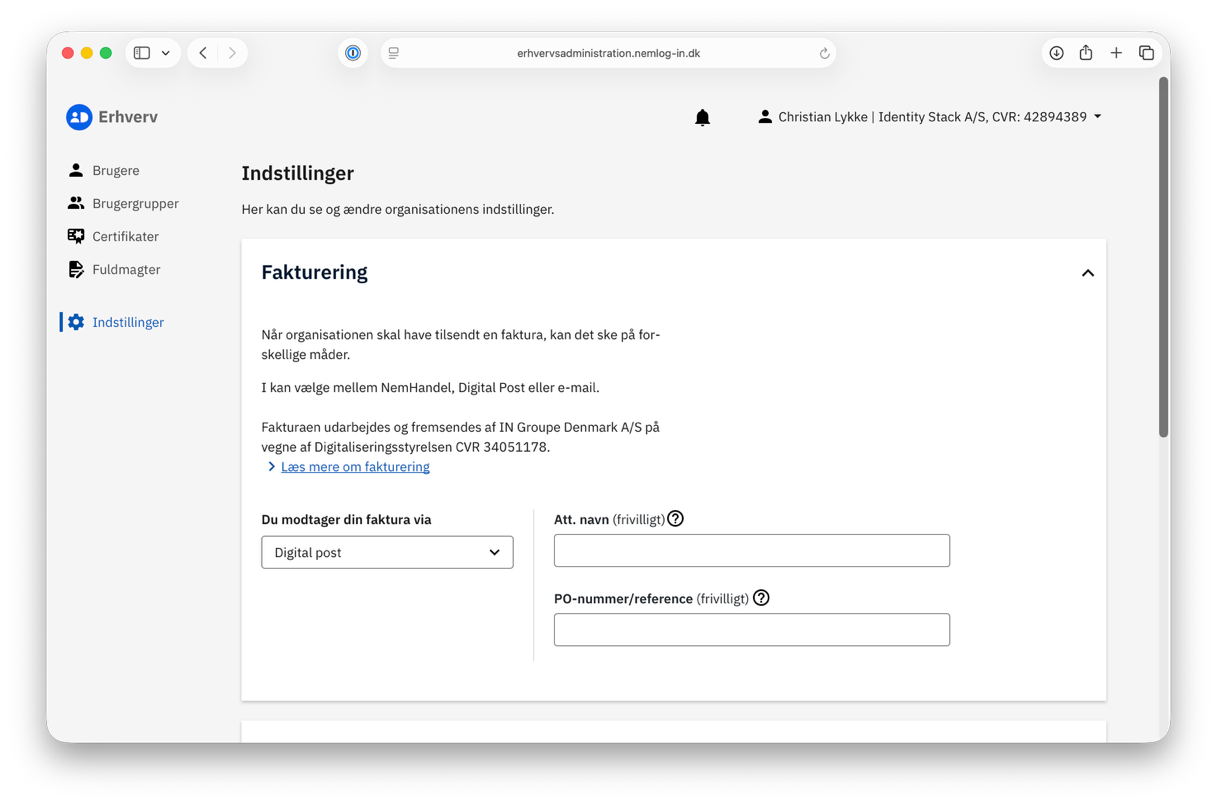
Go to https://erhvervsadministration.nemlog-in.dk. Log in with an associated company. Go to Indstillinger.
2. Enable organisation certificates
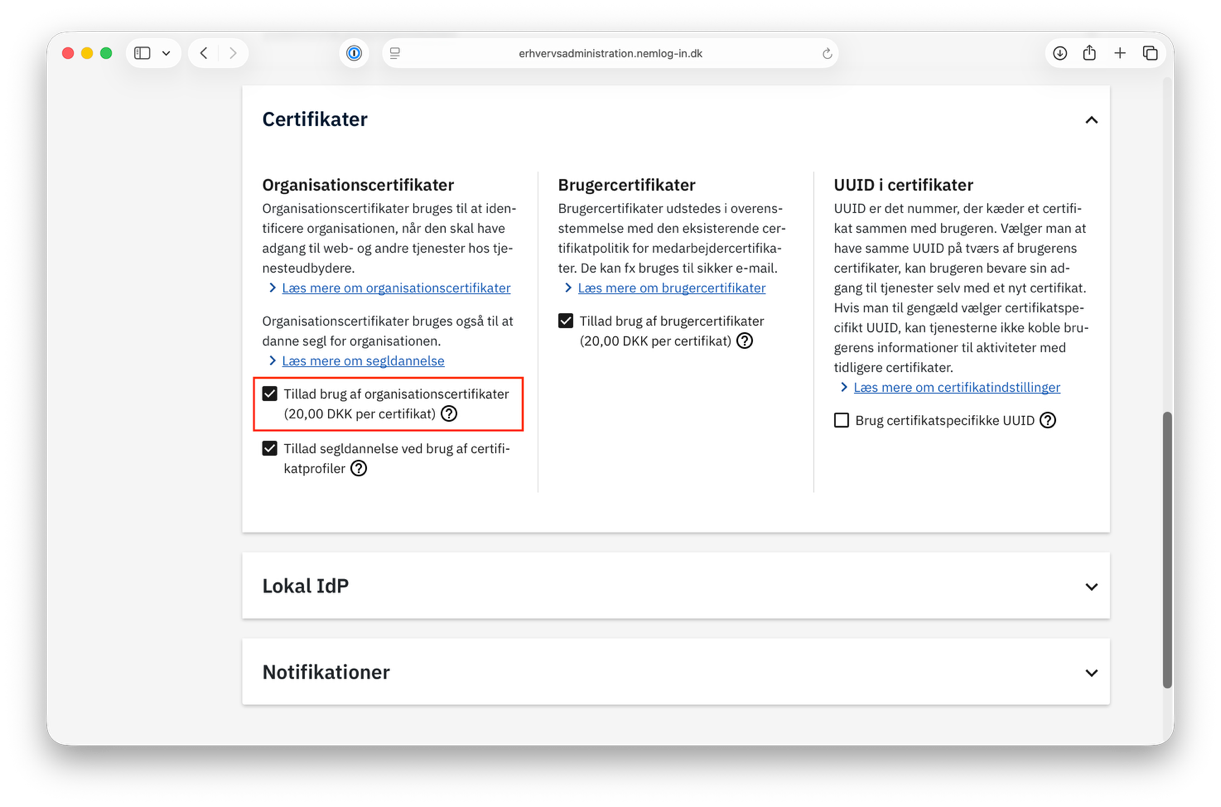
Scroll down to the Certifikater pane. Enable the setting Tillad brug af organisationscertifikater.
3. Show the Local IdP invitation
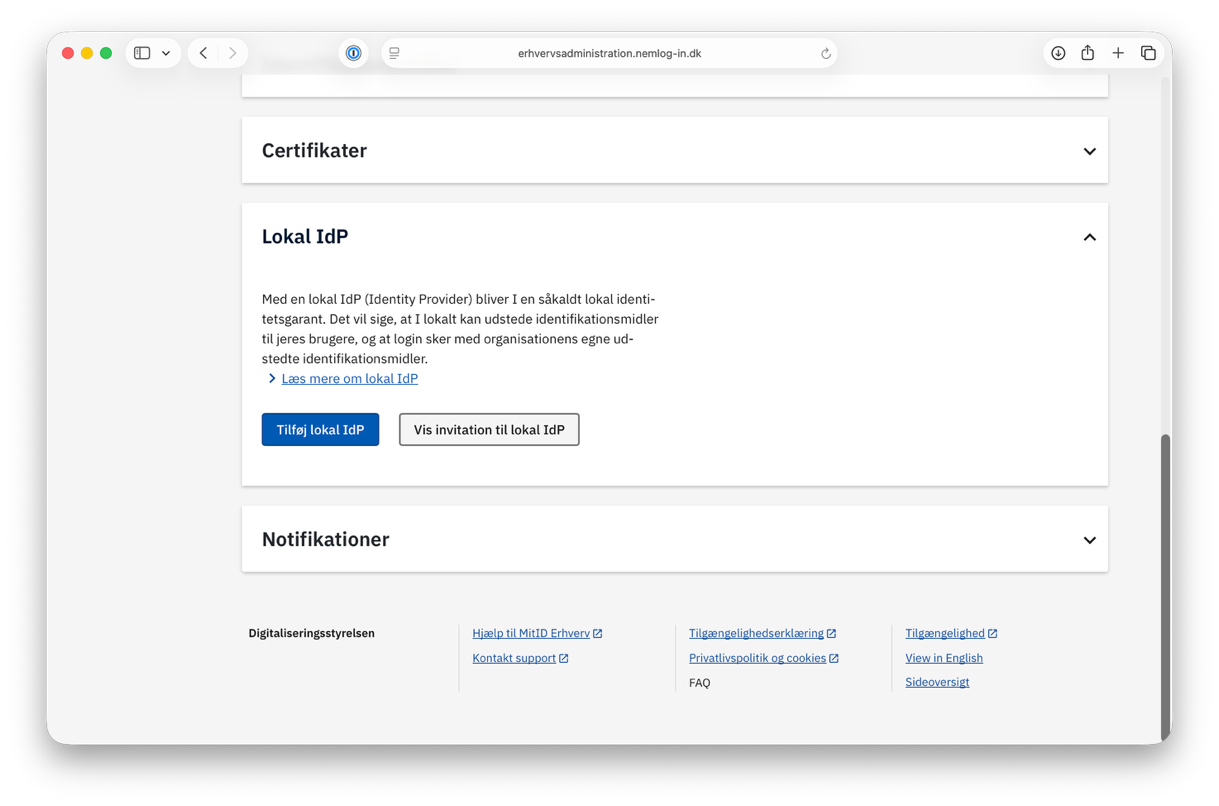
Scroll down to the Lokal IdP pane. Click Vis invitation til lokal IdP.
4. Apply the Local IdP
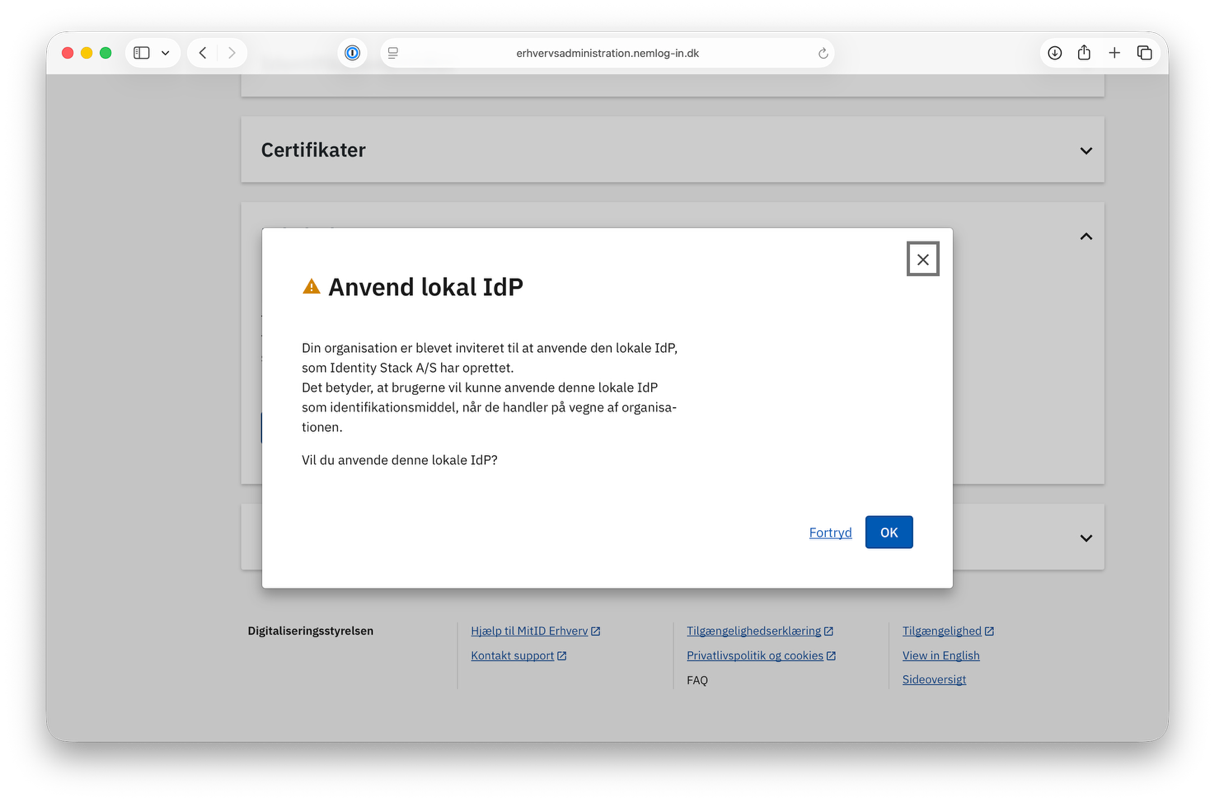
In the Anvend lokal IdP dialog, click OK. The system then makes the local IdP available automatically. This takes some minutes.
5. Make a certificate profile
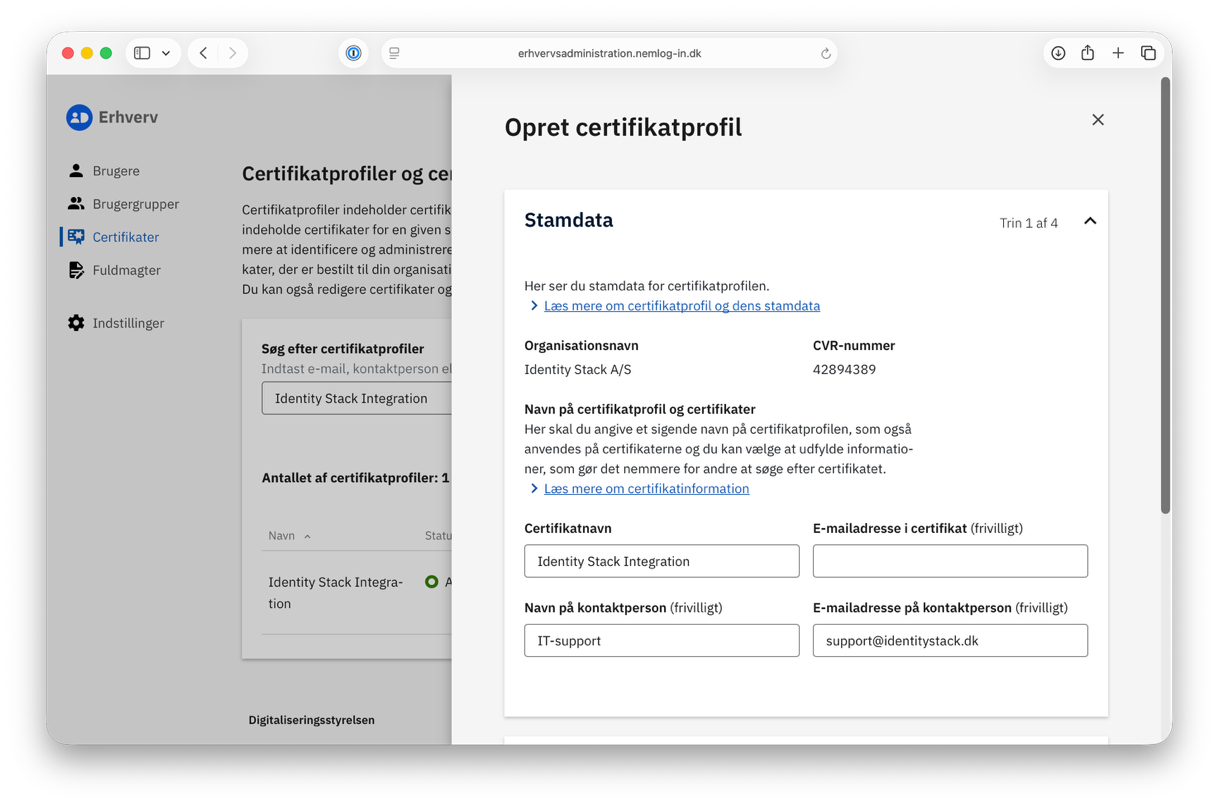
Go to Certifikater. Click Opret certifikatprofil. Enter this data in Stamdata:
| Field | Value |
|---|---|
| Certifikatnavn | Identity Stack Integration |
| E-mailadresse i certifikatet | Keep this field empty. Do not enter an e-mail address. |
| Navn på kontaktperson | IT-support (example) |
| E-mailadresse på kontaktperson | support@example.com (example) |
6. Set the system rights
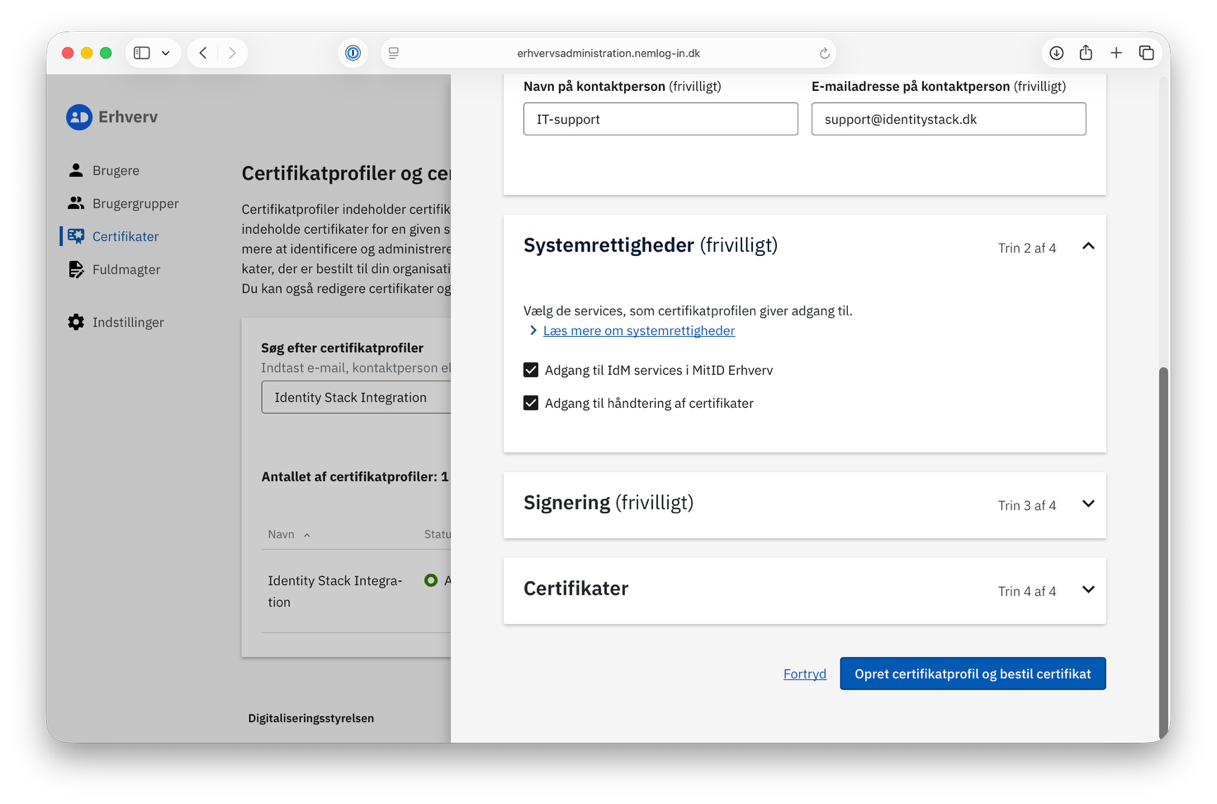
Enable Adgang til IdM services i MitID Erhverv. Enable Adgang til håndtering af certifikater.
7. Order the certificate
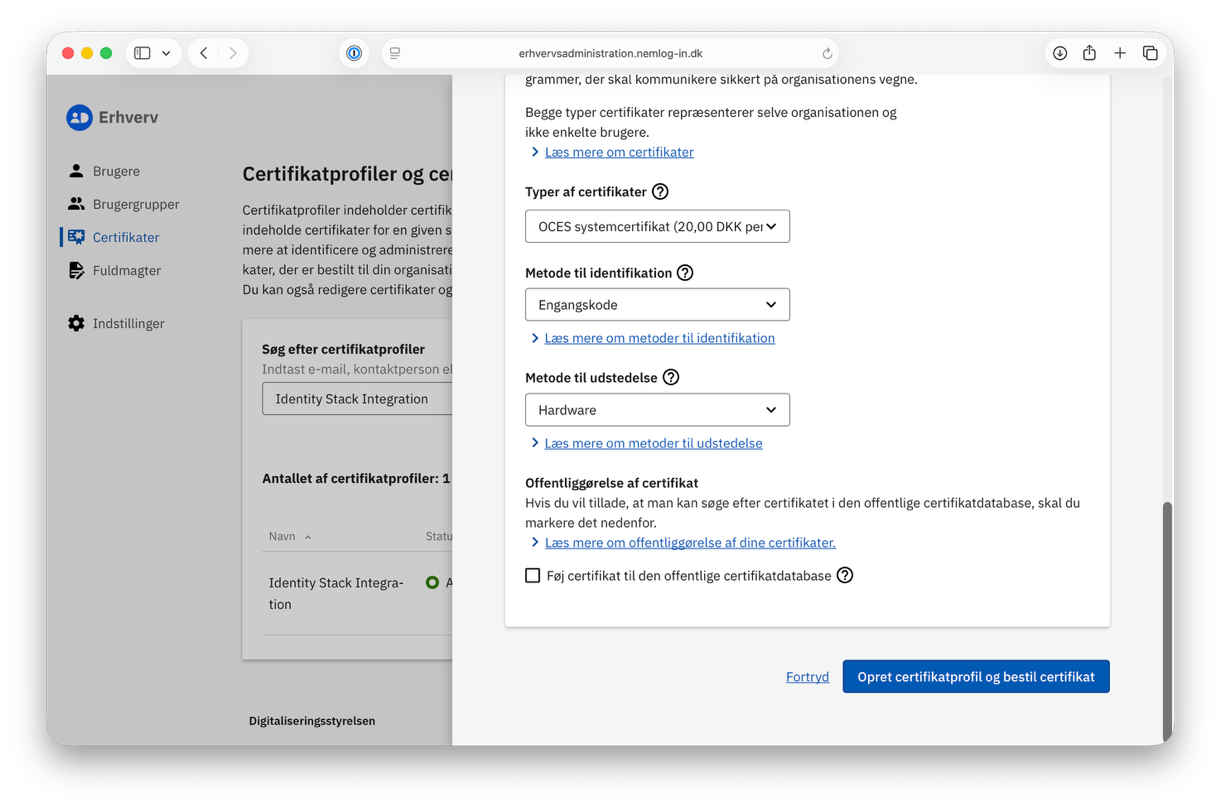
Select these options:
| Field | Value |
|---|---|
| Typer af certifikater | OCES systemcertifikat |
| Metode til identifikation | Engangskode |
| Metode til udstedelse | Hardware |
Then click Opret certifikatprofil og bestil certifikat.
8. Confirm the creation
Make sure that the data is correct. Click Bekræft oprettelse.
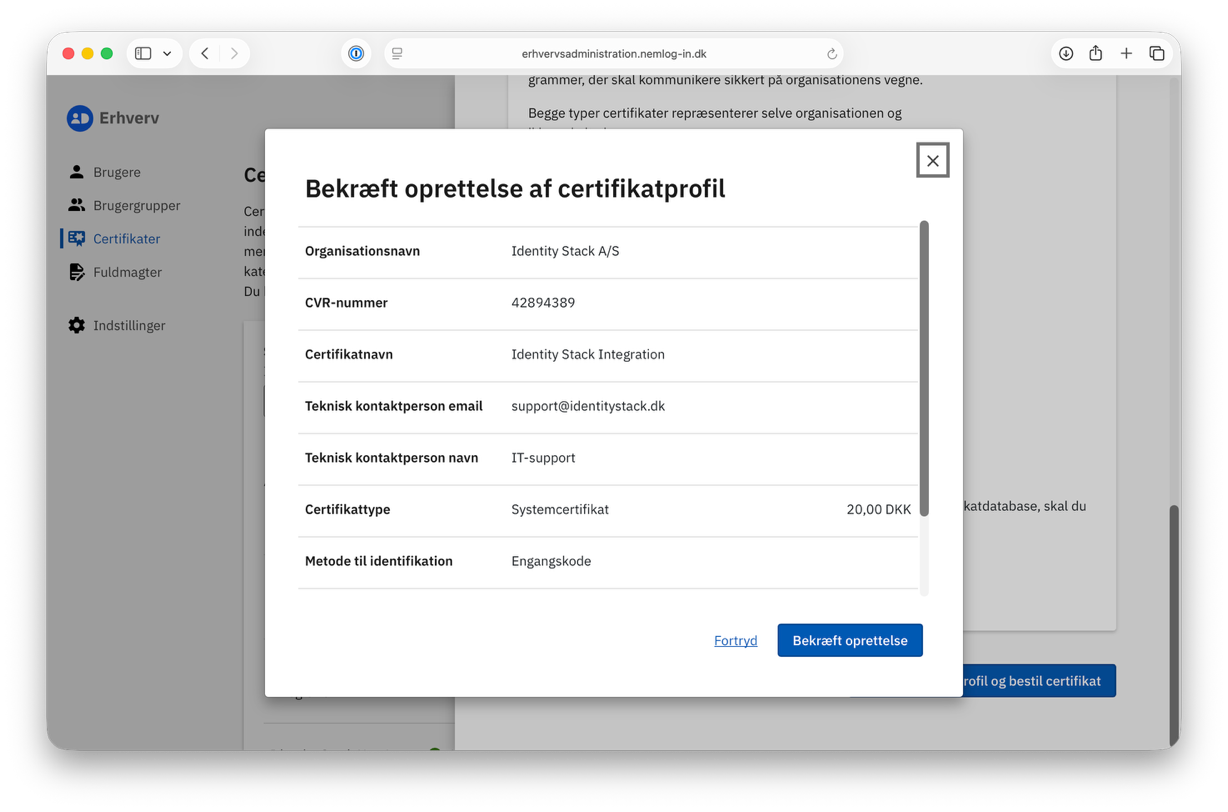
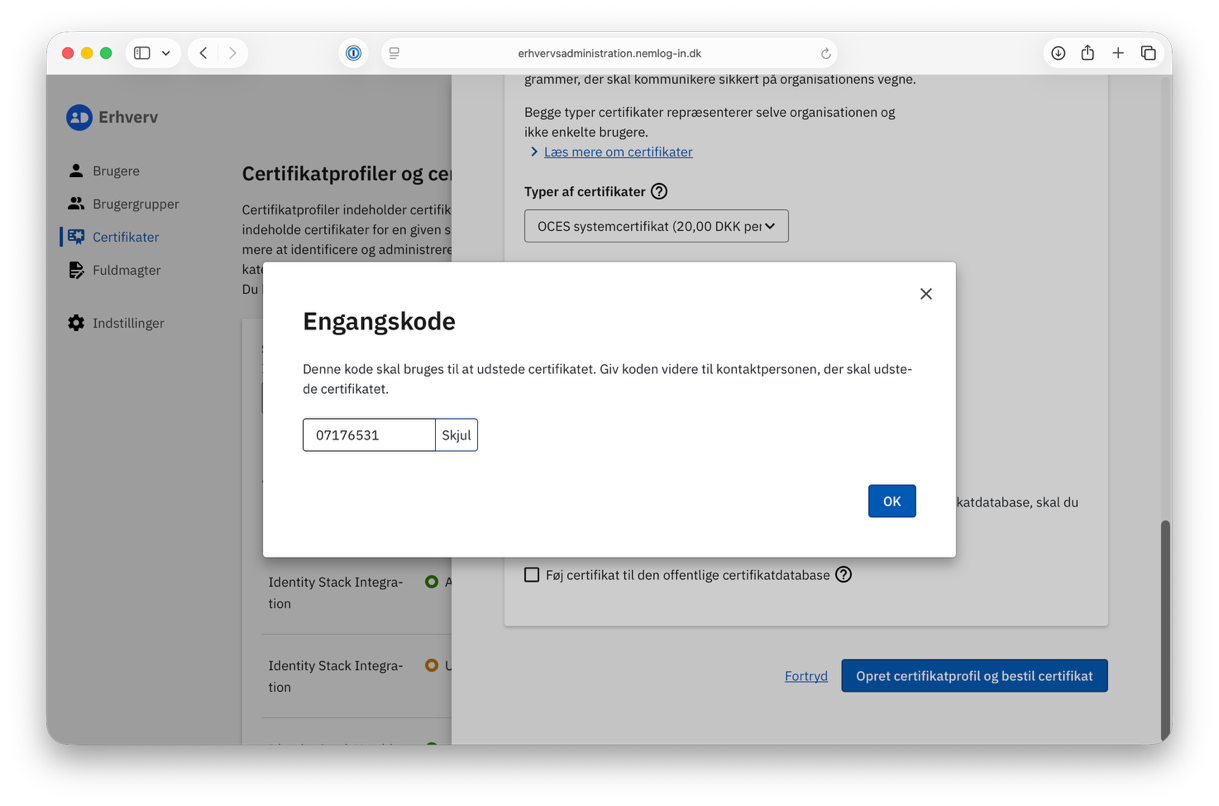
9. Write down the one-time code
Write down the Engangskode. You will use it in step 13. Click OK.
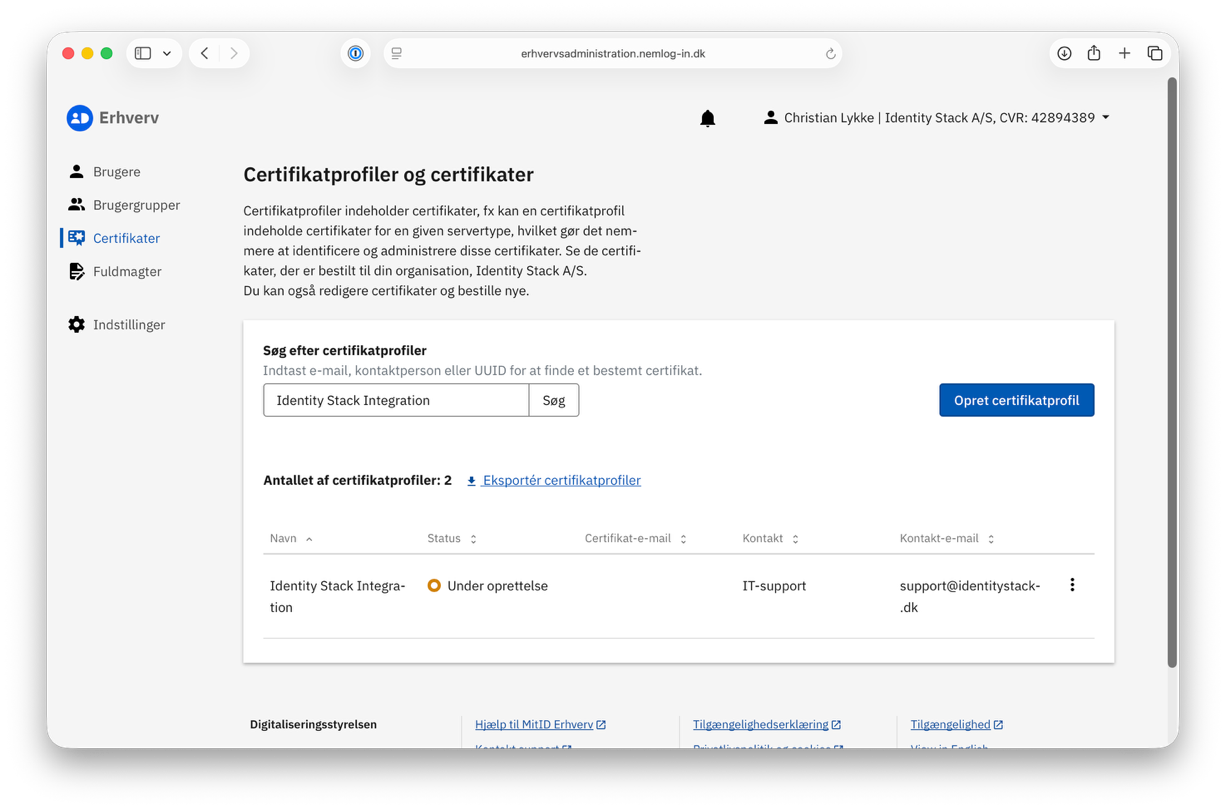
10. Open the certificate profile
Click the new certificate profile.
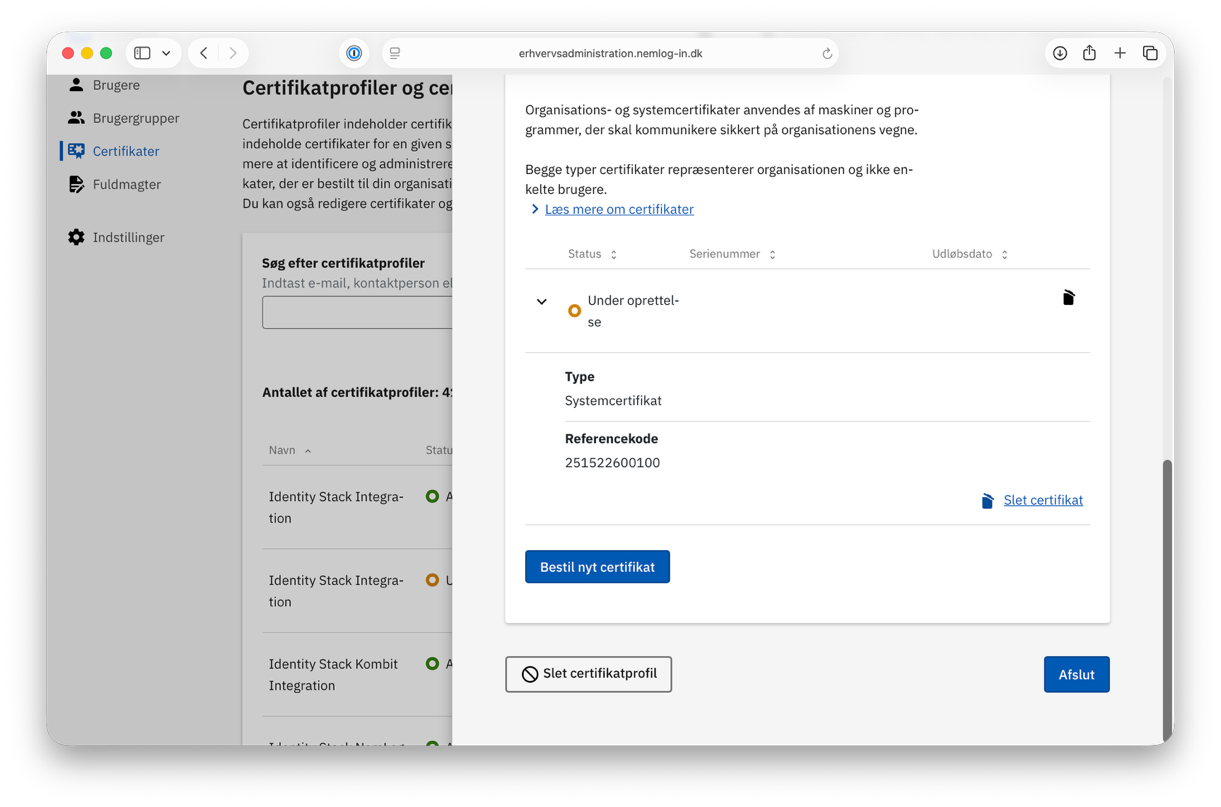
11. Write down the reference code
Open the Certifikater pane. Expand the certificate that has the status Under oprettelse. Write down the Referencekode. You will use it in step 13.
12. Add the integration in Identity Stack
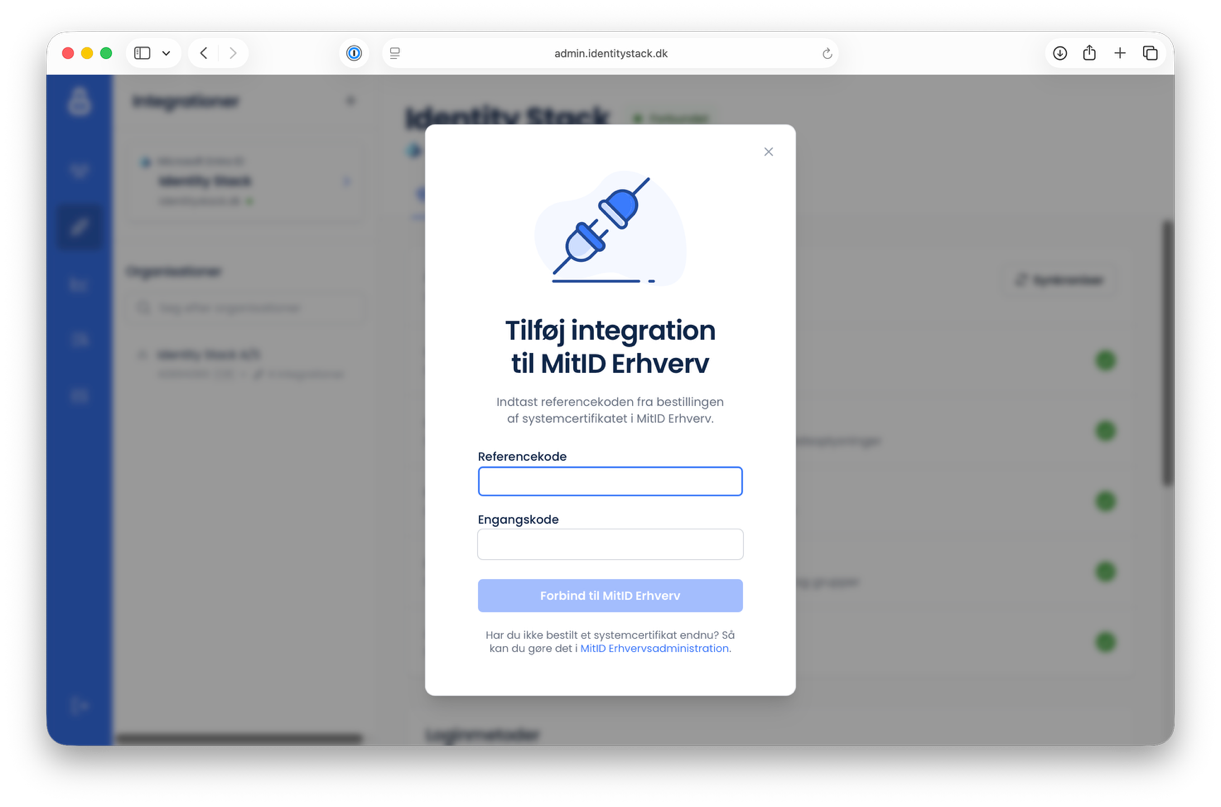
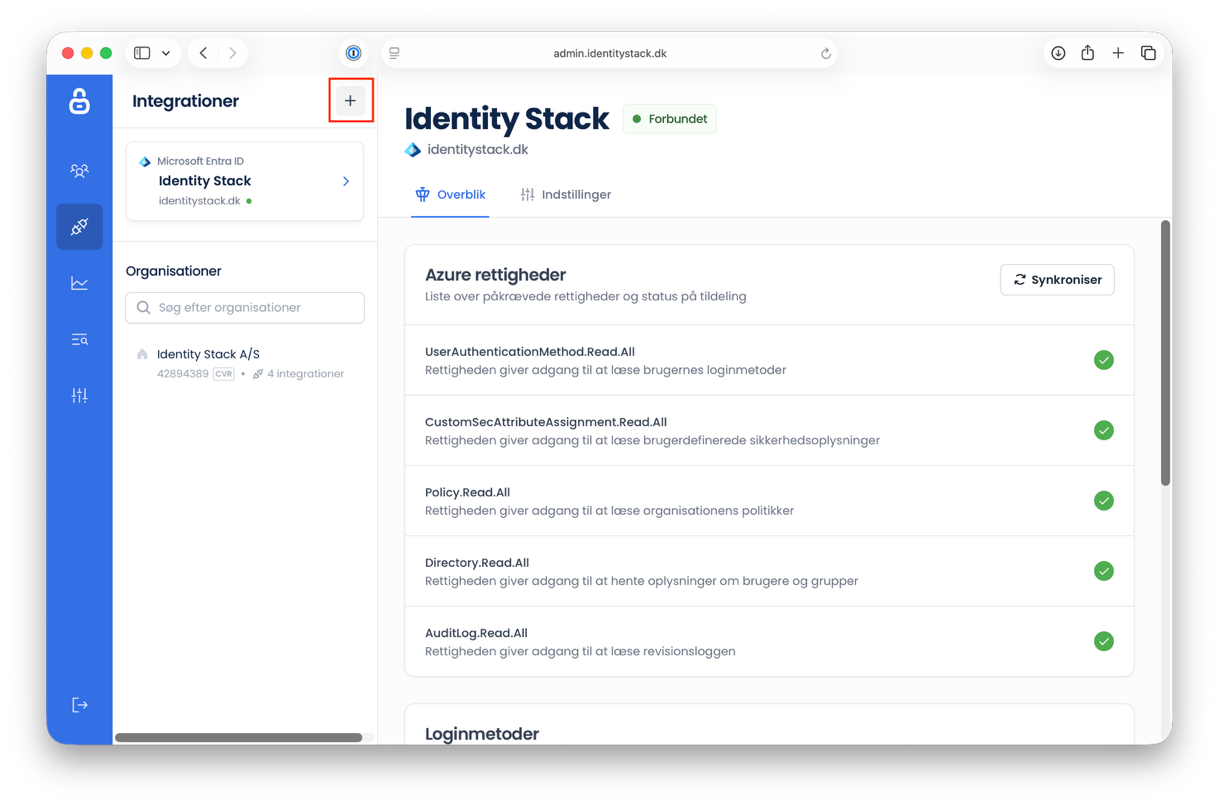
Go to the Identity Stack admin portal. Click the plus icon adjacent to the Integrationer headline.
13. Connect to MitID Erhverv
Enter the Referencekode and the Engangskode from steps 9 and 11. Click Forbind til MitID Erhverv.