

Appearance
Install Identity Stack Agent
This guide walks you through installing Identity Stack Agent as a Windows service on a domain-joined server.
We recommend installing Identity Stack Agent on at least 2 machines to ensure availability when, for example, installing security updates for the operating system. The agent can be installed on an existing host machine or a dedicated machine.
Prerequisites
Before you begin, you need an enrollment token and a control plane URL from your administrator or from Identity Stack support. Note that a token is single-use and can only be used to register a single host machine — if the agent is installed on 2 machines, you need 2 tokens.
Download the installer
Download the latest version of the installer:
https://identitystacksharedst.blob.core.windows.net/release/agent/IdentityStack-Agent-2.6.0-x64.exe
Run the installer
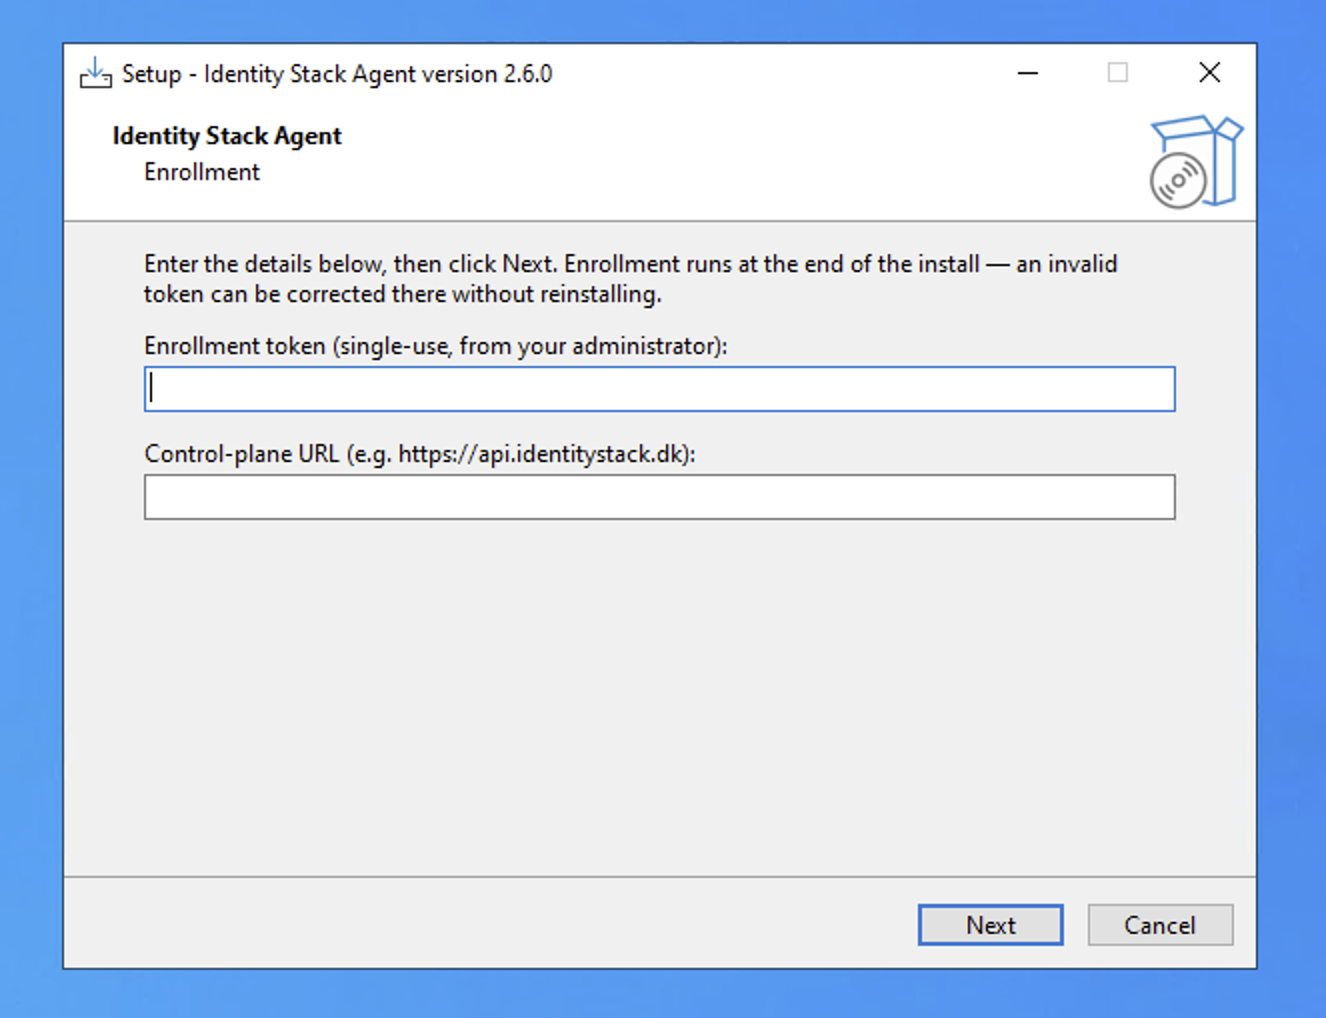
Start the installer on the host machine. On the Enrollment page, enter the enrollment token and the control plane URL (e.g. https://api.identitystack.dk), then click Next.
Enrollment runs at the end of the install — an invalid token can be corrected there without reinstalling.
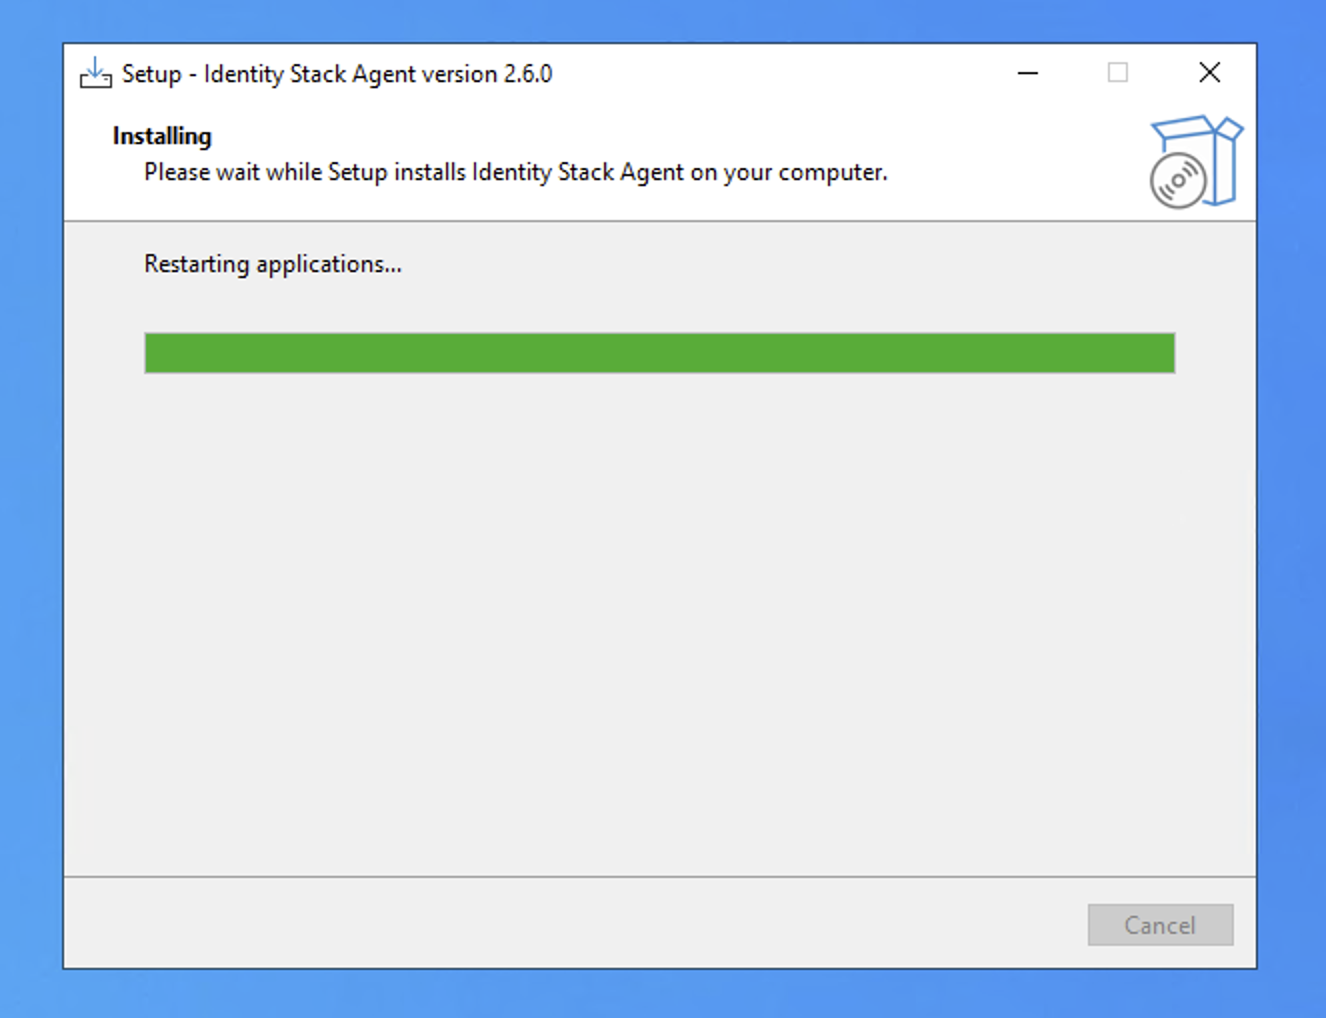
The installation completes automatically.
Click Finish to exit Setup.
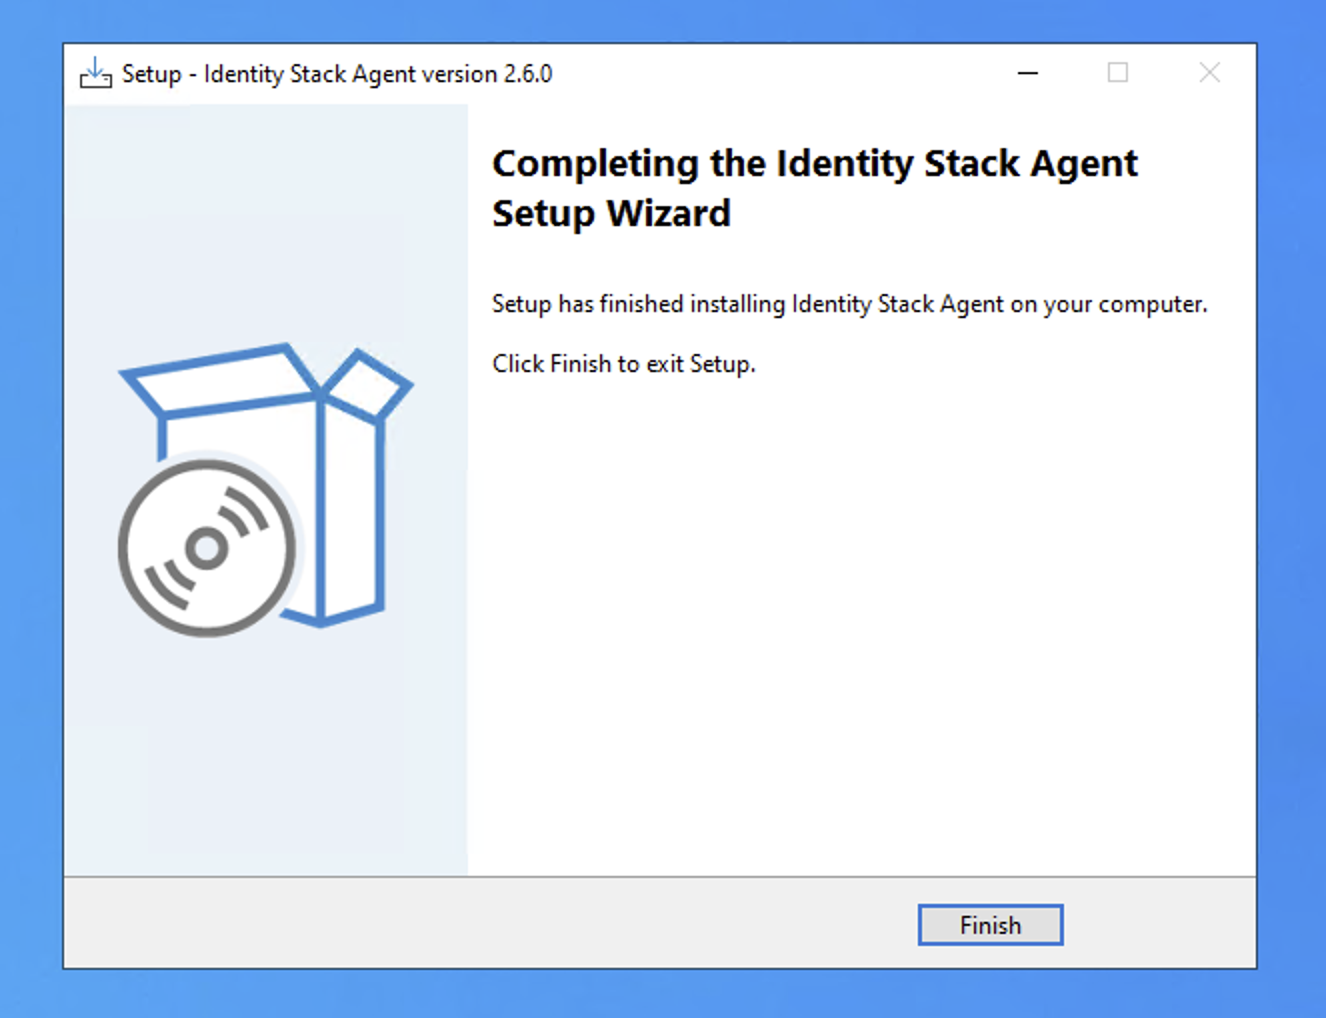
The Windows service starts automatically and connects to Identity Stack.
Next steps
At this point, the agent is not yet connected to Active Directory. This requires a Group Managed Service Account (gMSA) assigned to the host machines: