

Appearance
Setup Identity Stack
This guide walks you through setting up Identity Stack in your Microsoft Entra ID tenant by installing and configuring the Identity Stack enterprise application.
1. Install the application
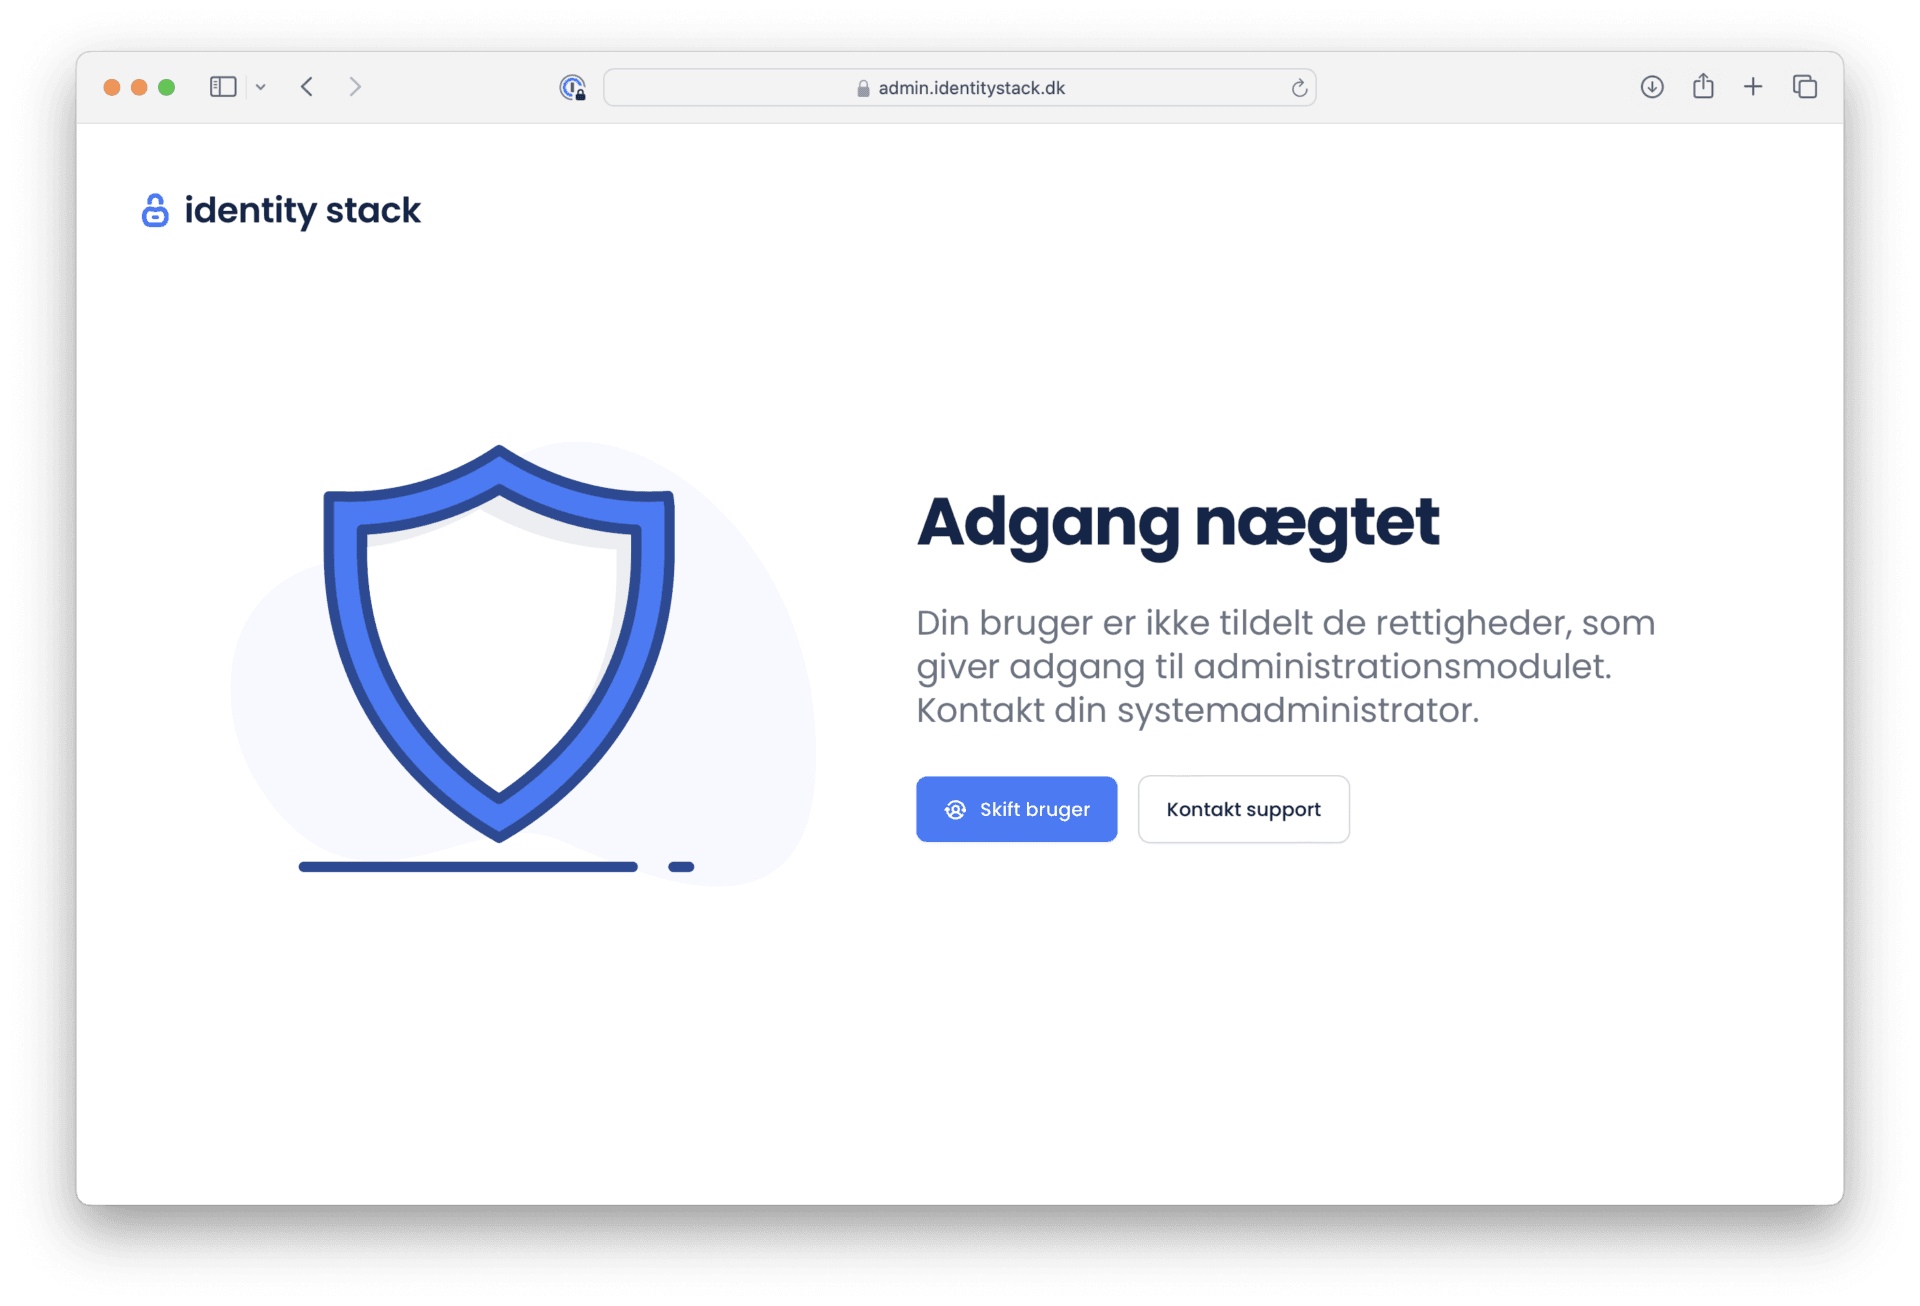
Go to Identity Stack Admin at https://admin.identitystack.dk and sign in with your Microsoft work account. You may be asked to consent to the sign-in. When you see the Access denied screen, the application has been installed in your tenant and is ready to be configured — access is denied because no roles have been assigned yet.
2. Grant admin consent
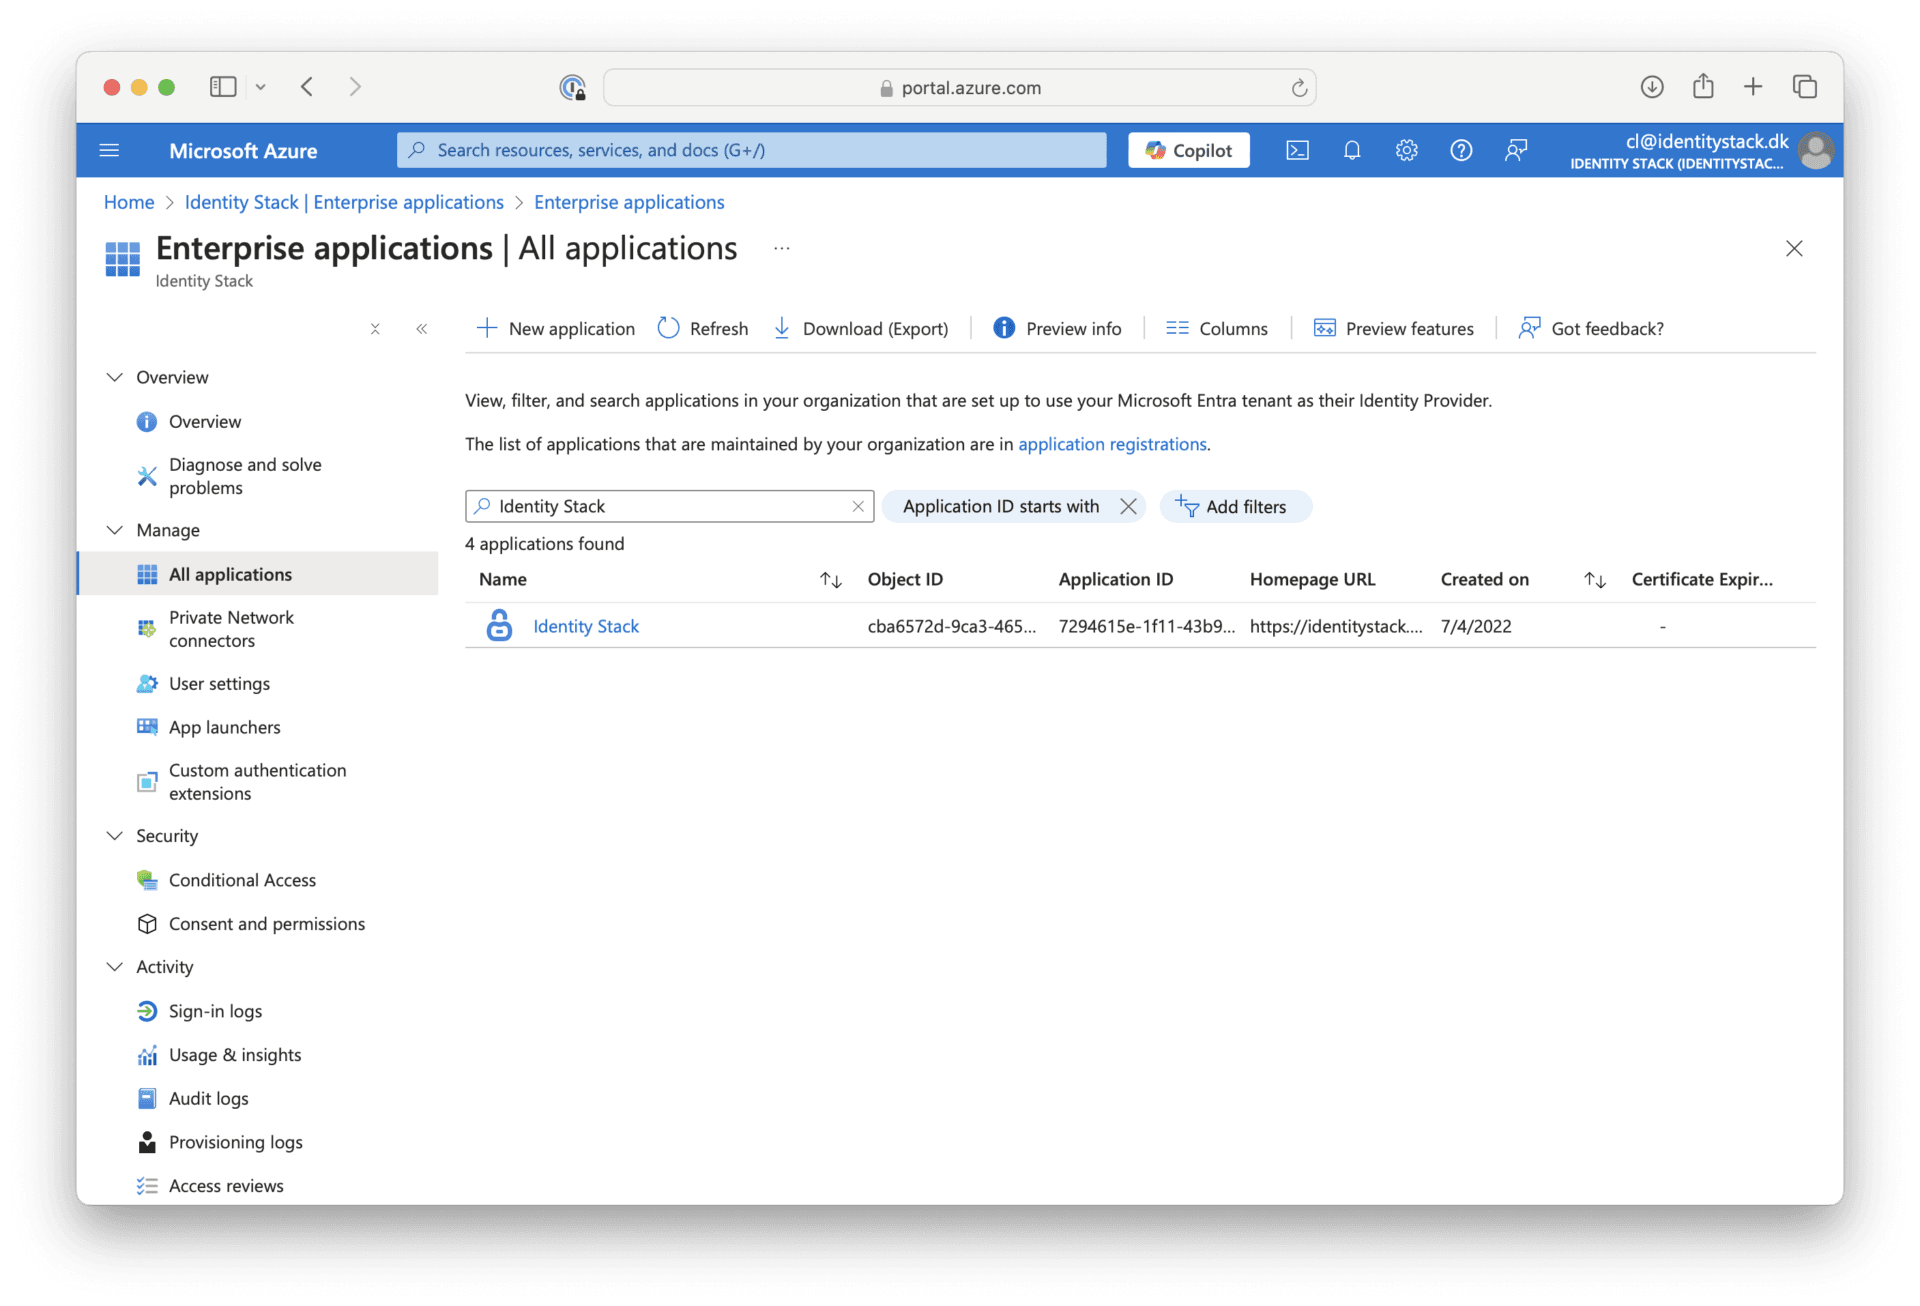
Go to the Microsoft Azure Portal or the Microsoft Entra Admin Center and search for the application Identity Stack under Enterprise Applications.
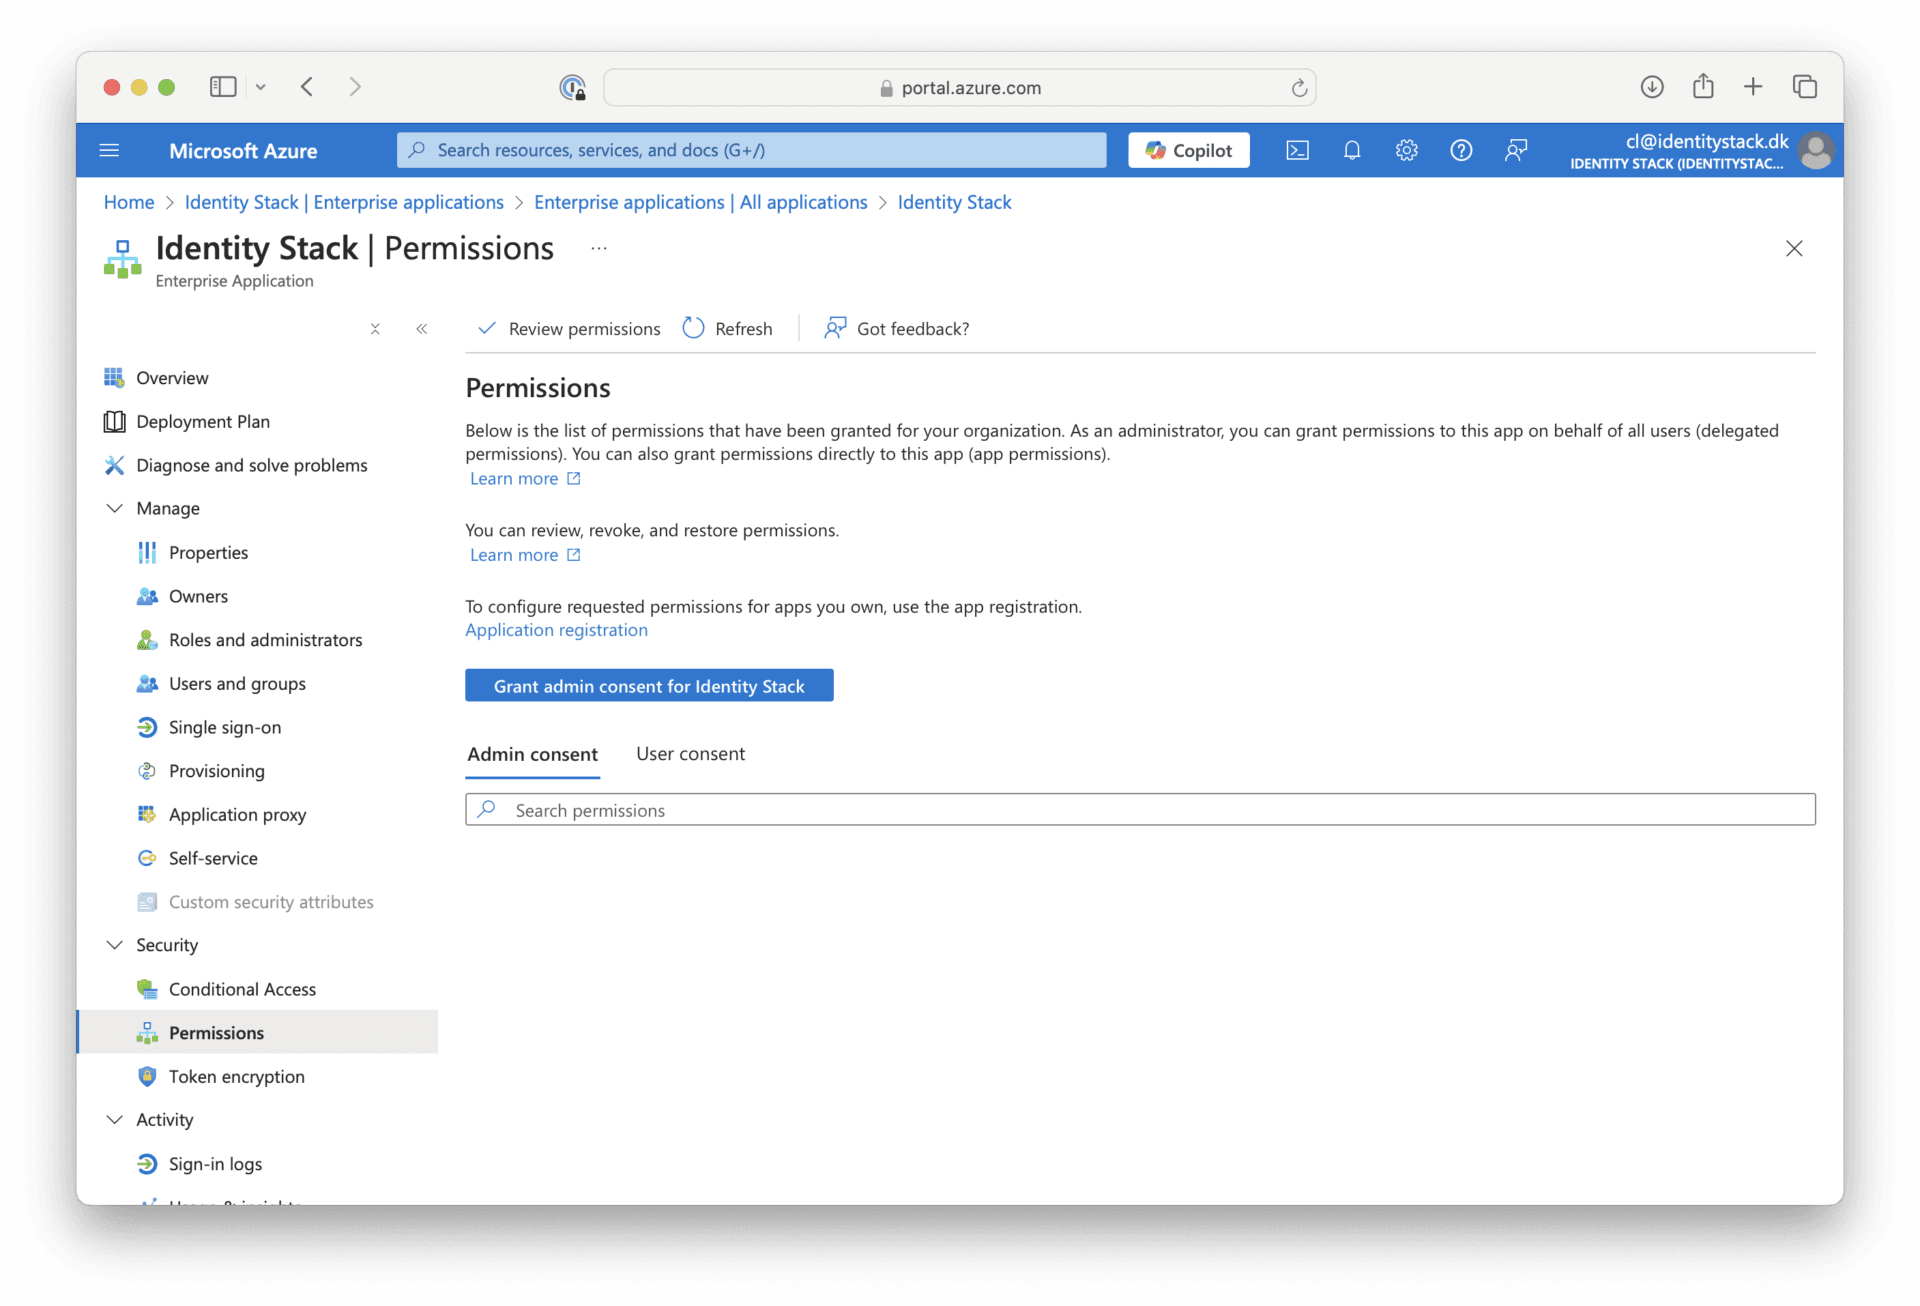
Go to the Permissions page and click Grant admin consent for Identity Stack to grant the required permissions to the application.
You may be asked to sign in again. Admin consent can only be granted for all permissions at once. Which permissions are actually required depends on the products and services in your agreement:
| Permission | Type | Required |
|---|---|---|
Directory.Read.All | Application permission | Required |
Policy.Read.All | Application permission | Required |
UserAuthenticationMethod.Read.All | Application permission | Required |
AuditLog.Read.All | Application permission | Required |
openid profile | Delegated permission | Required |
User.ReadWrite.All | Delegated permission | Optional — required for password reset |
UserAuthenticationMethod.ReadWrite.All | Delegated permission | Optional — required for issuing a Temporary Access Pass (TAP) |
Policy.ReadWrite.AuthenticationMethod | Delegated permission | Optional — required for managing hardware OATH tokens (TOTP) |
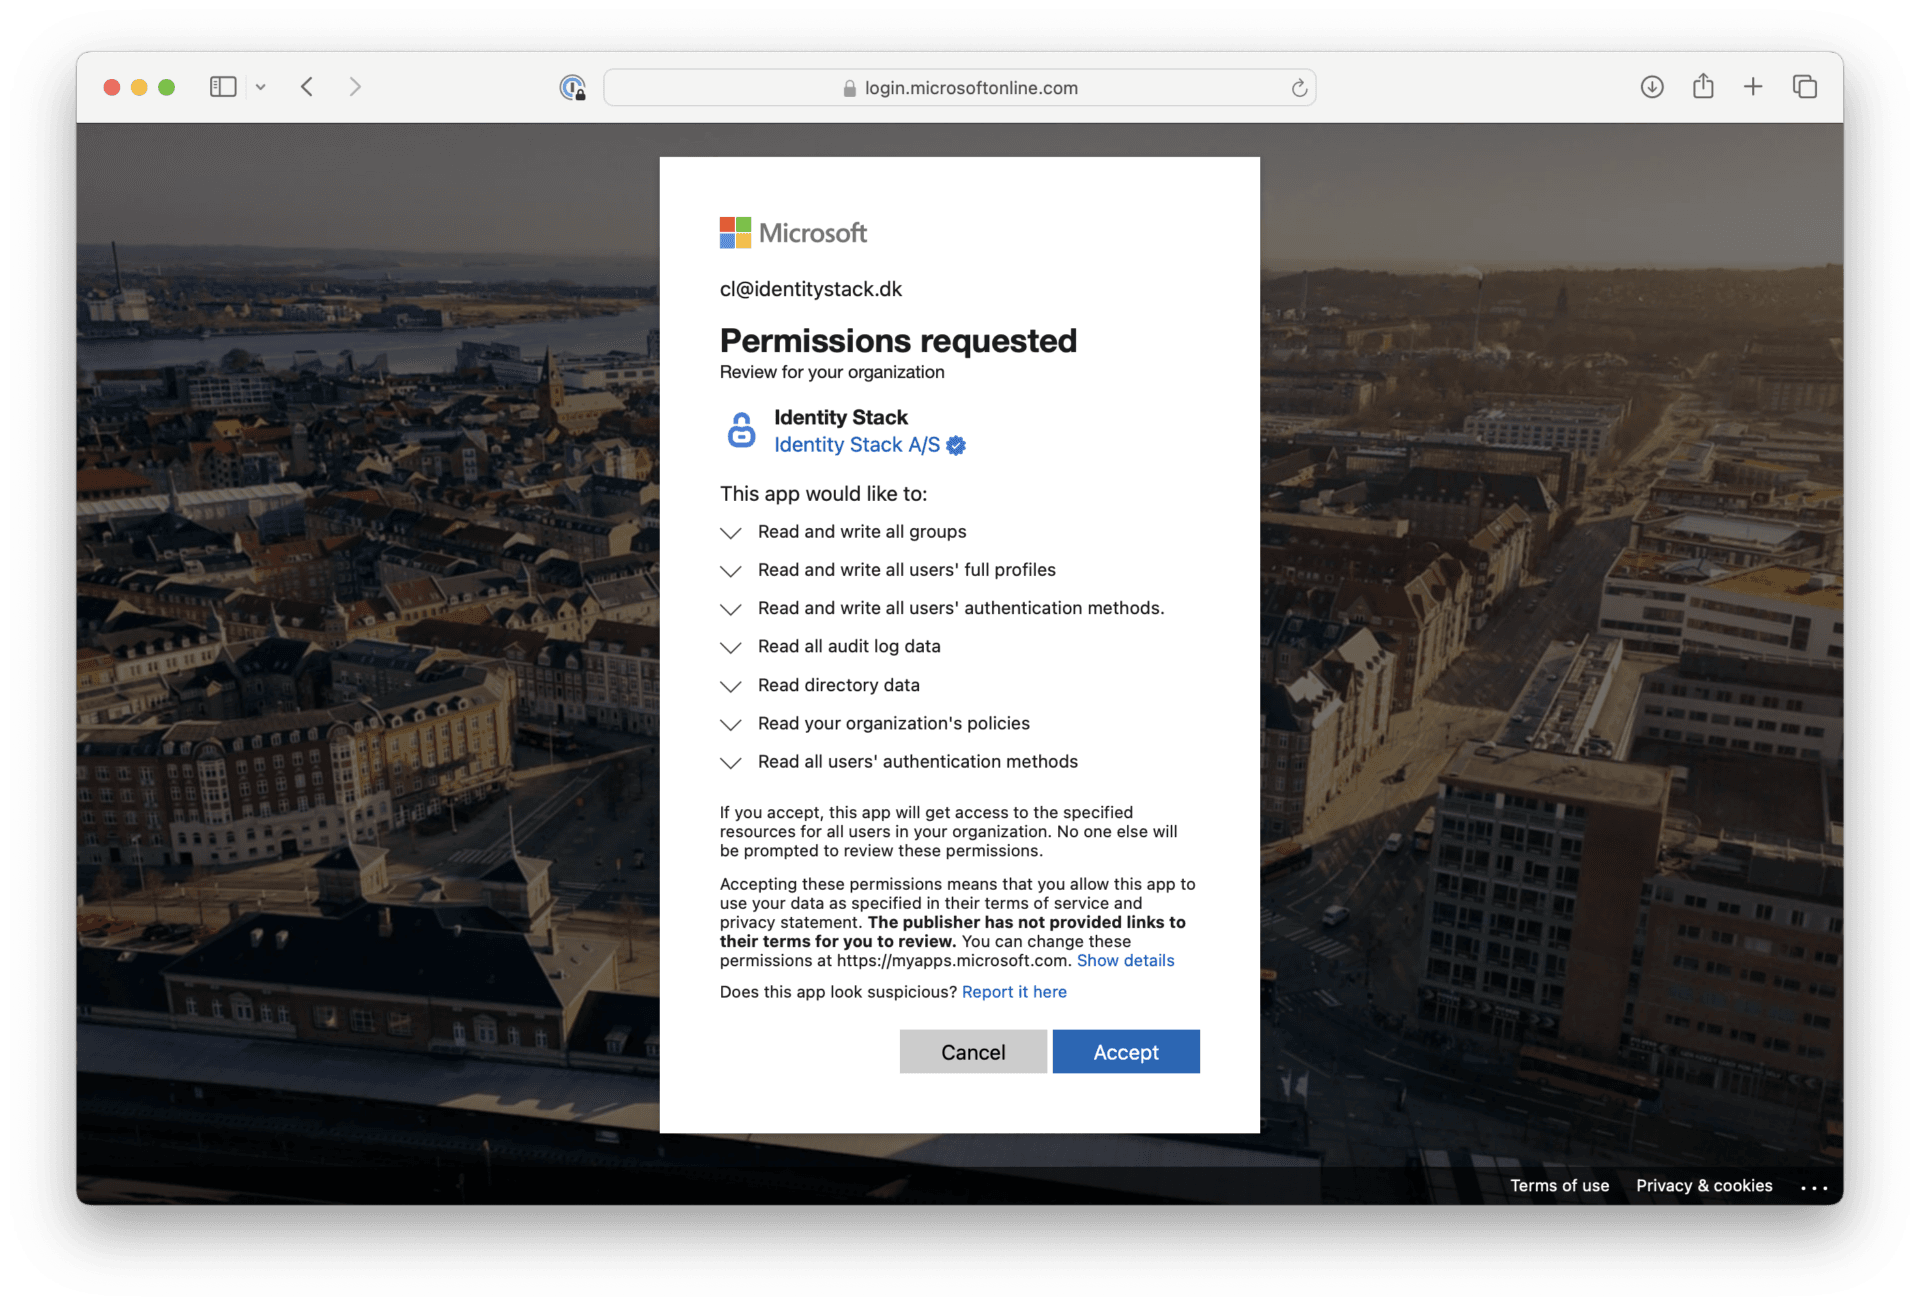
Note that it can take a few minutes before the permissions appear on the page. Once the permissions are granted, consent can be revoked for any permissions that are not needed.
3. Assign access to Identity Stack Admin
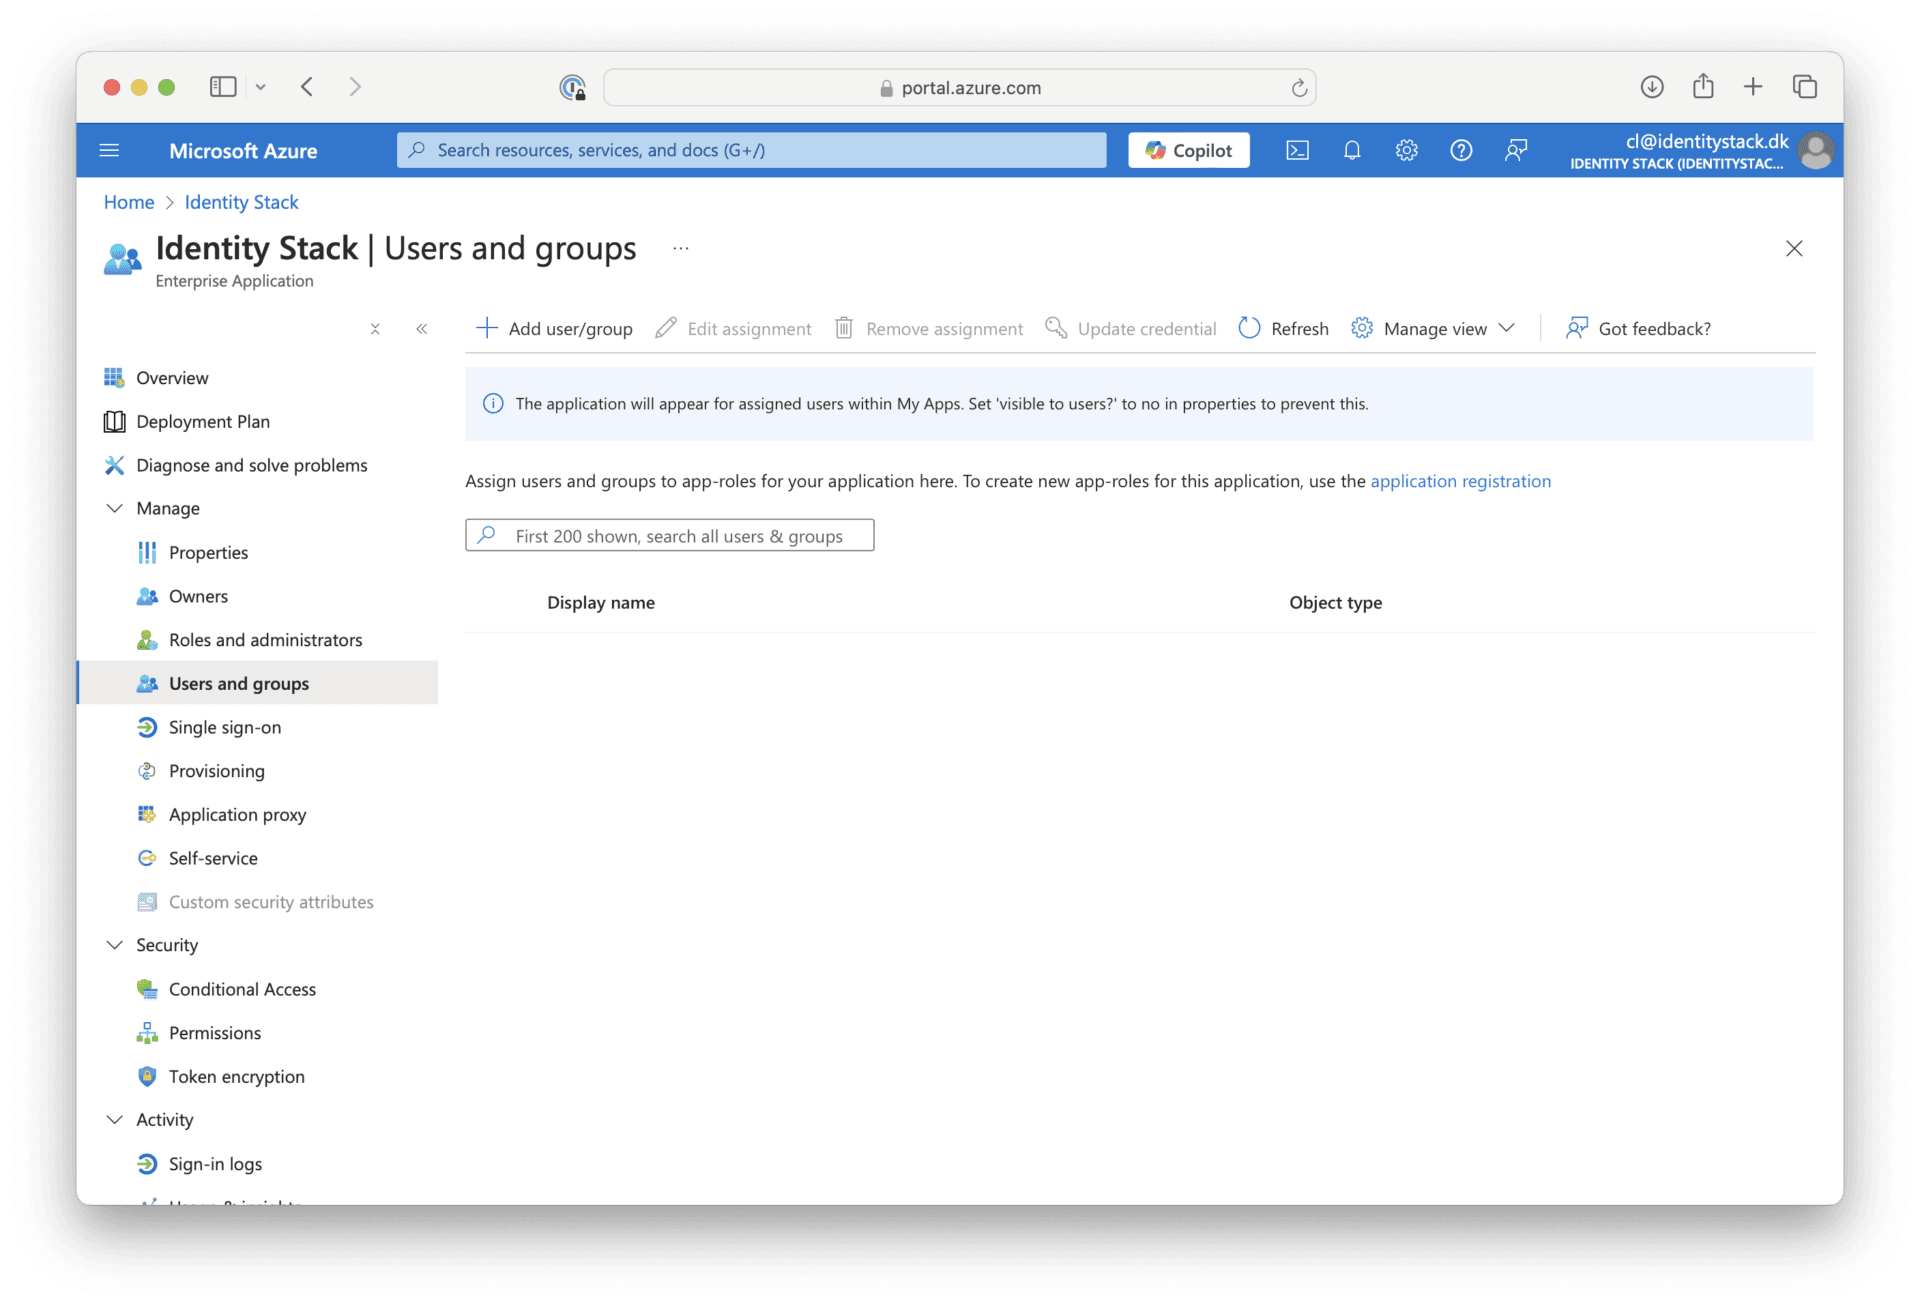
Go to the Users and groups page and click Add user/group.
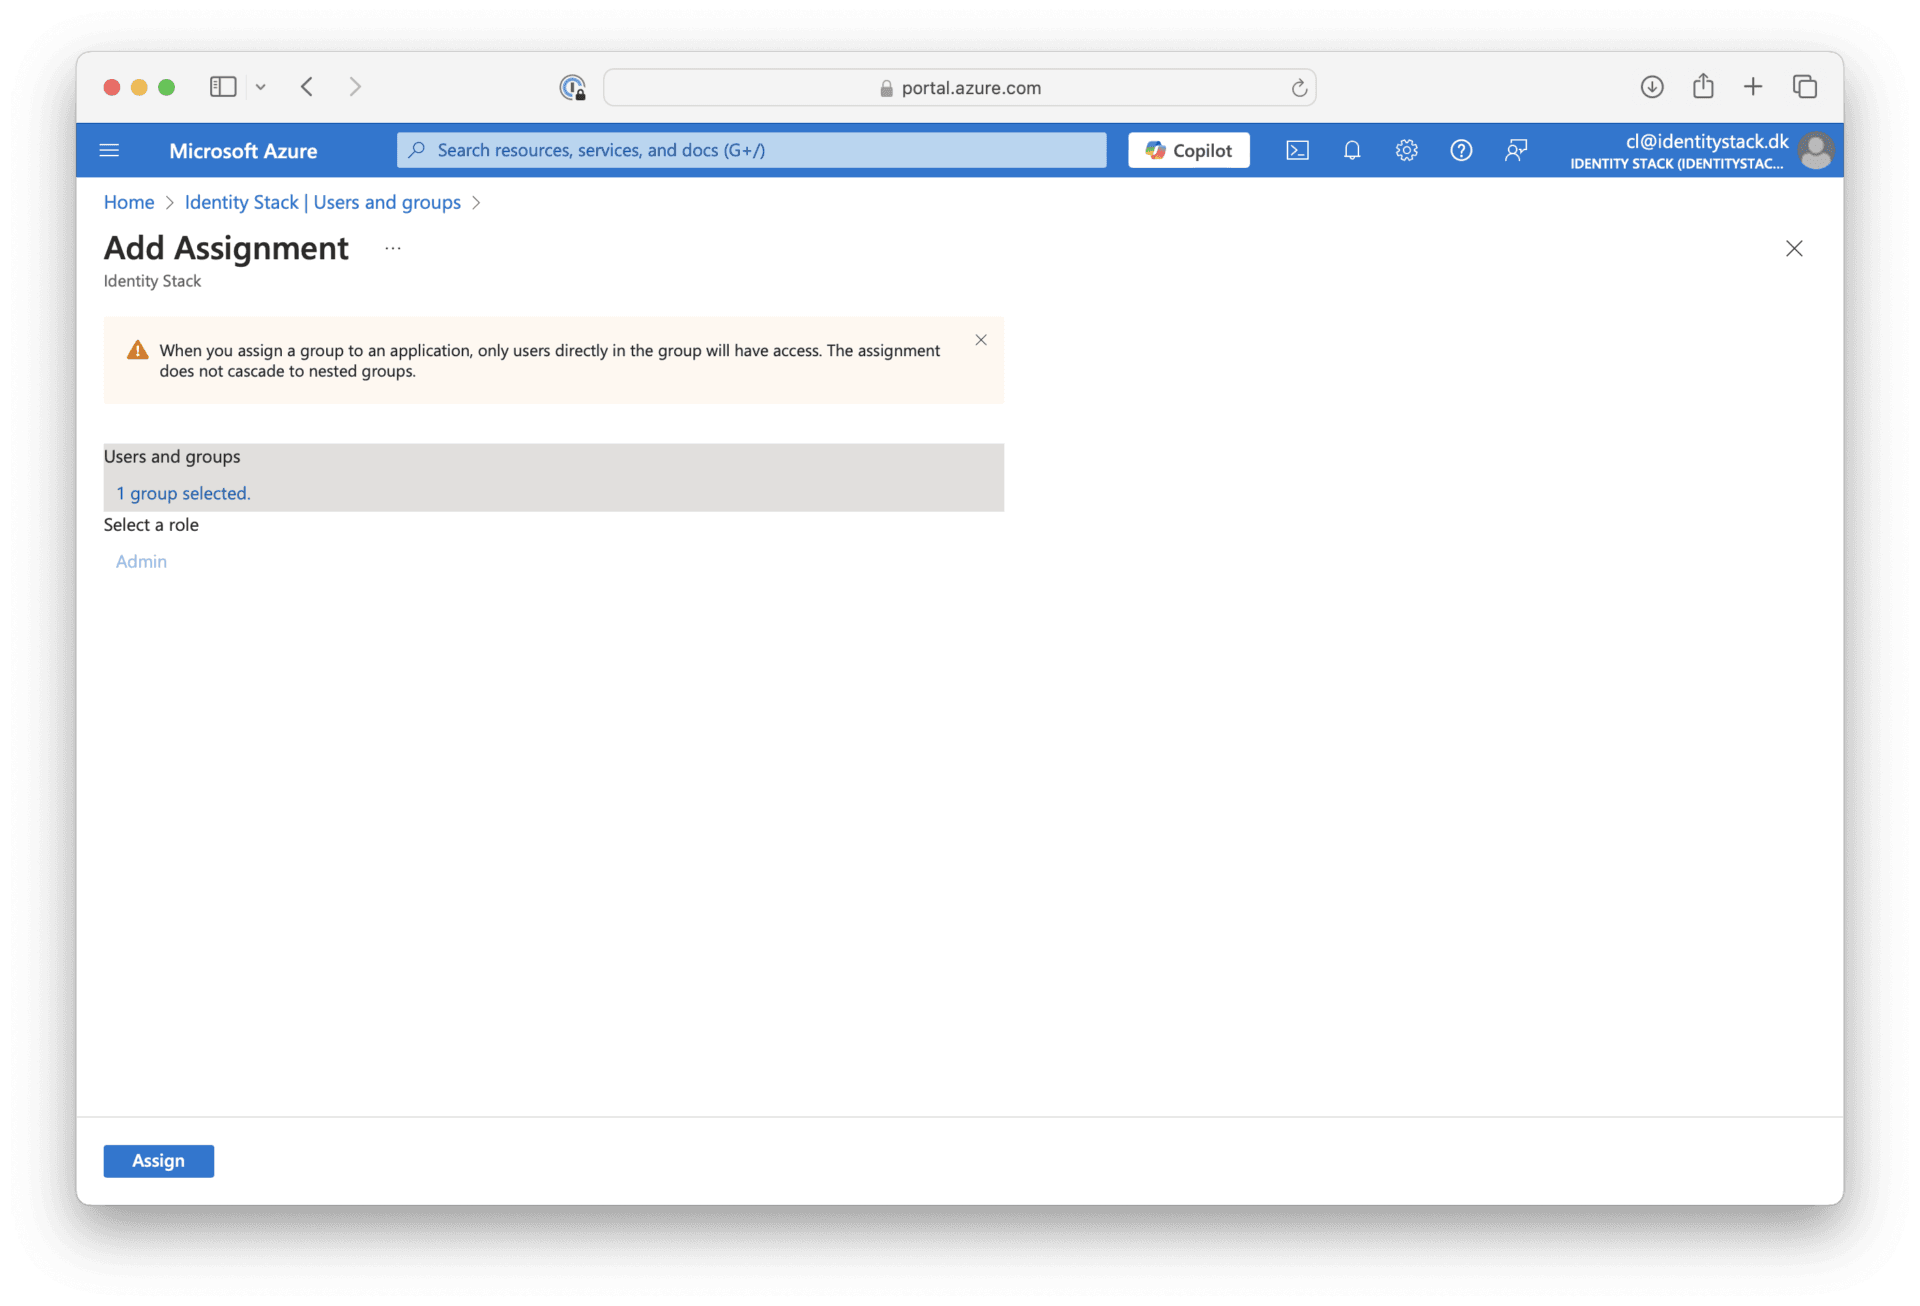
Select a Microsoft Entra group containing the users who should have access to Identity Stack Admin. Select the Admin role and click Assign. It is also possible to assign access to individual users.
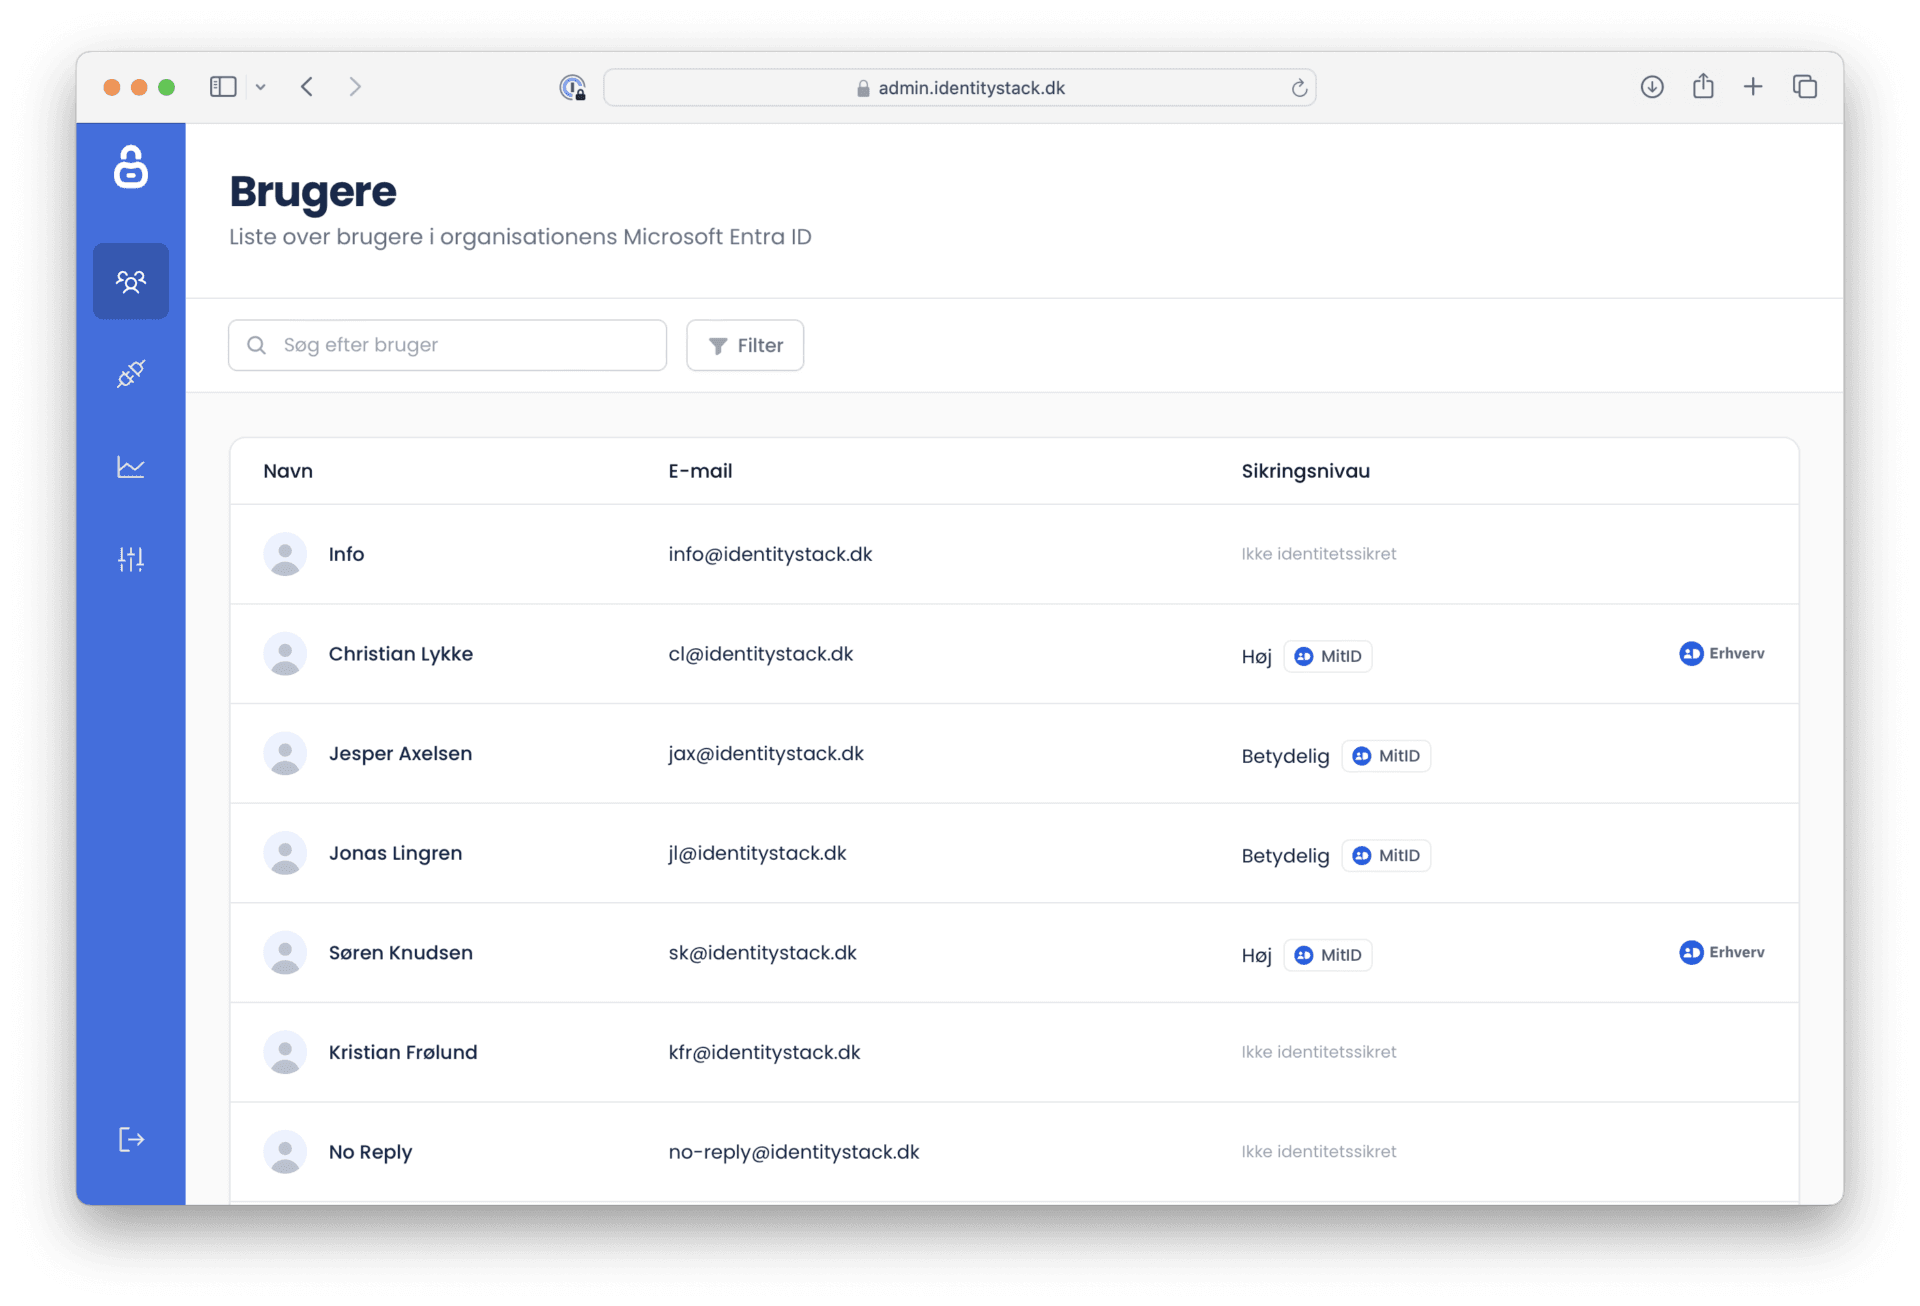
The application is now ready to use, and you can sign in to Identity Stack Admin at https://admin.identitystack.dk. Synchronization of users and groups starts automatically within a few minutes.
Next steps
To enable BusinessID for users — password reset and multi-factor management — the application needs Microsoft Entra roles: