Integration with MitID Erhverv
Prerequisites
- You must serve as a brugeradministrator within your organization.
- Note that a new certificate incurs a cost of 20 DKK, which is billed by NemLog-in.
Step-by-step guide
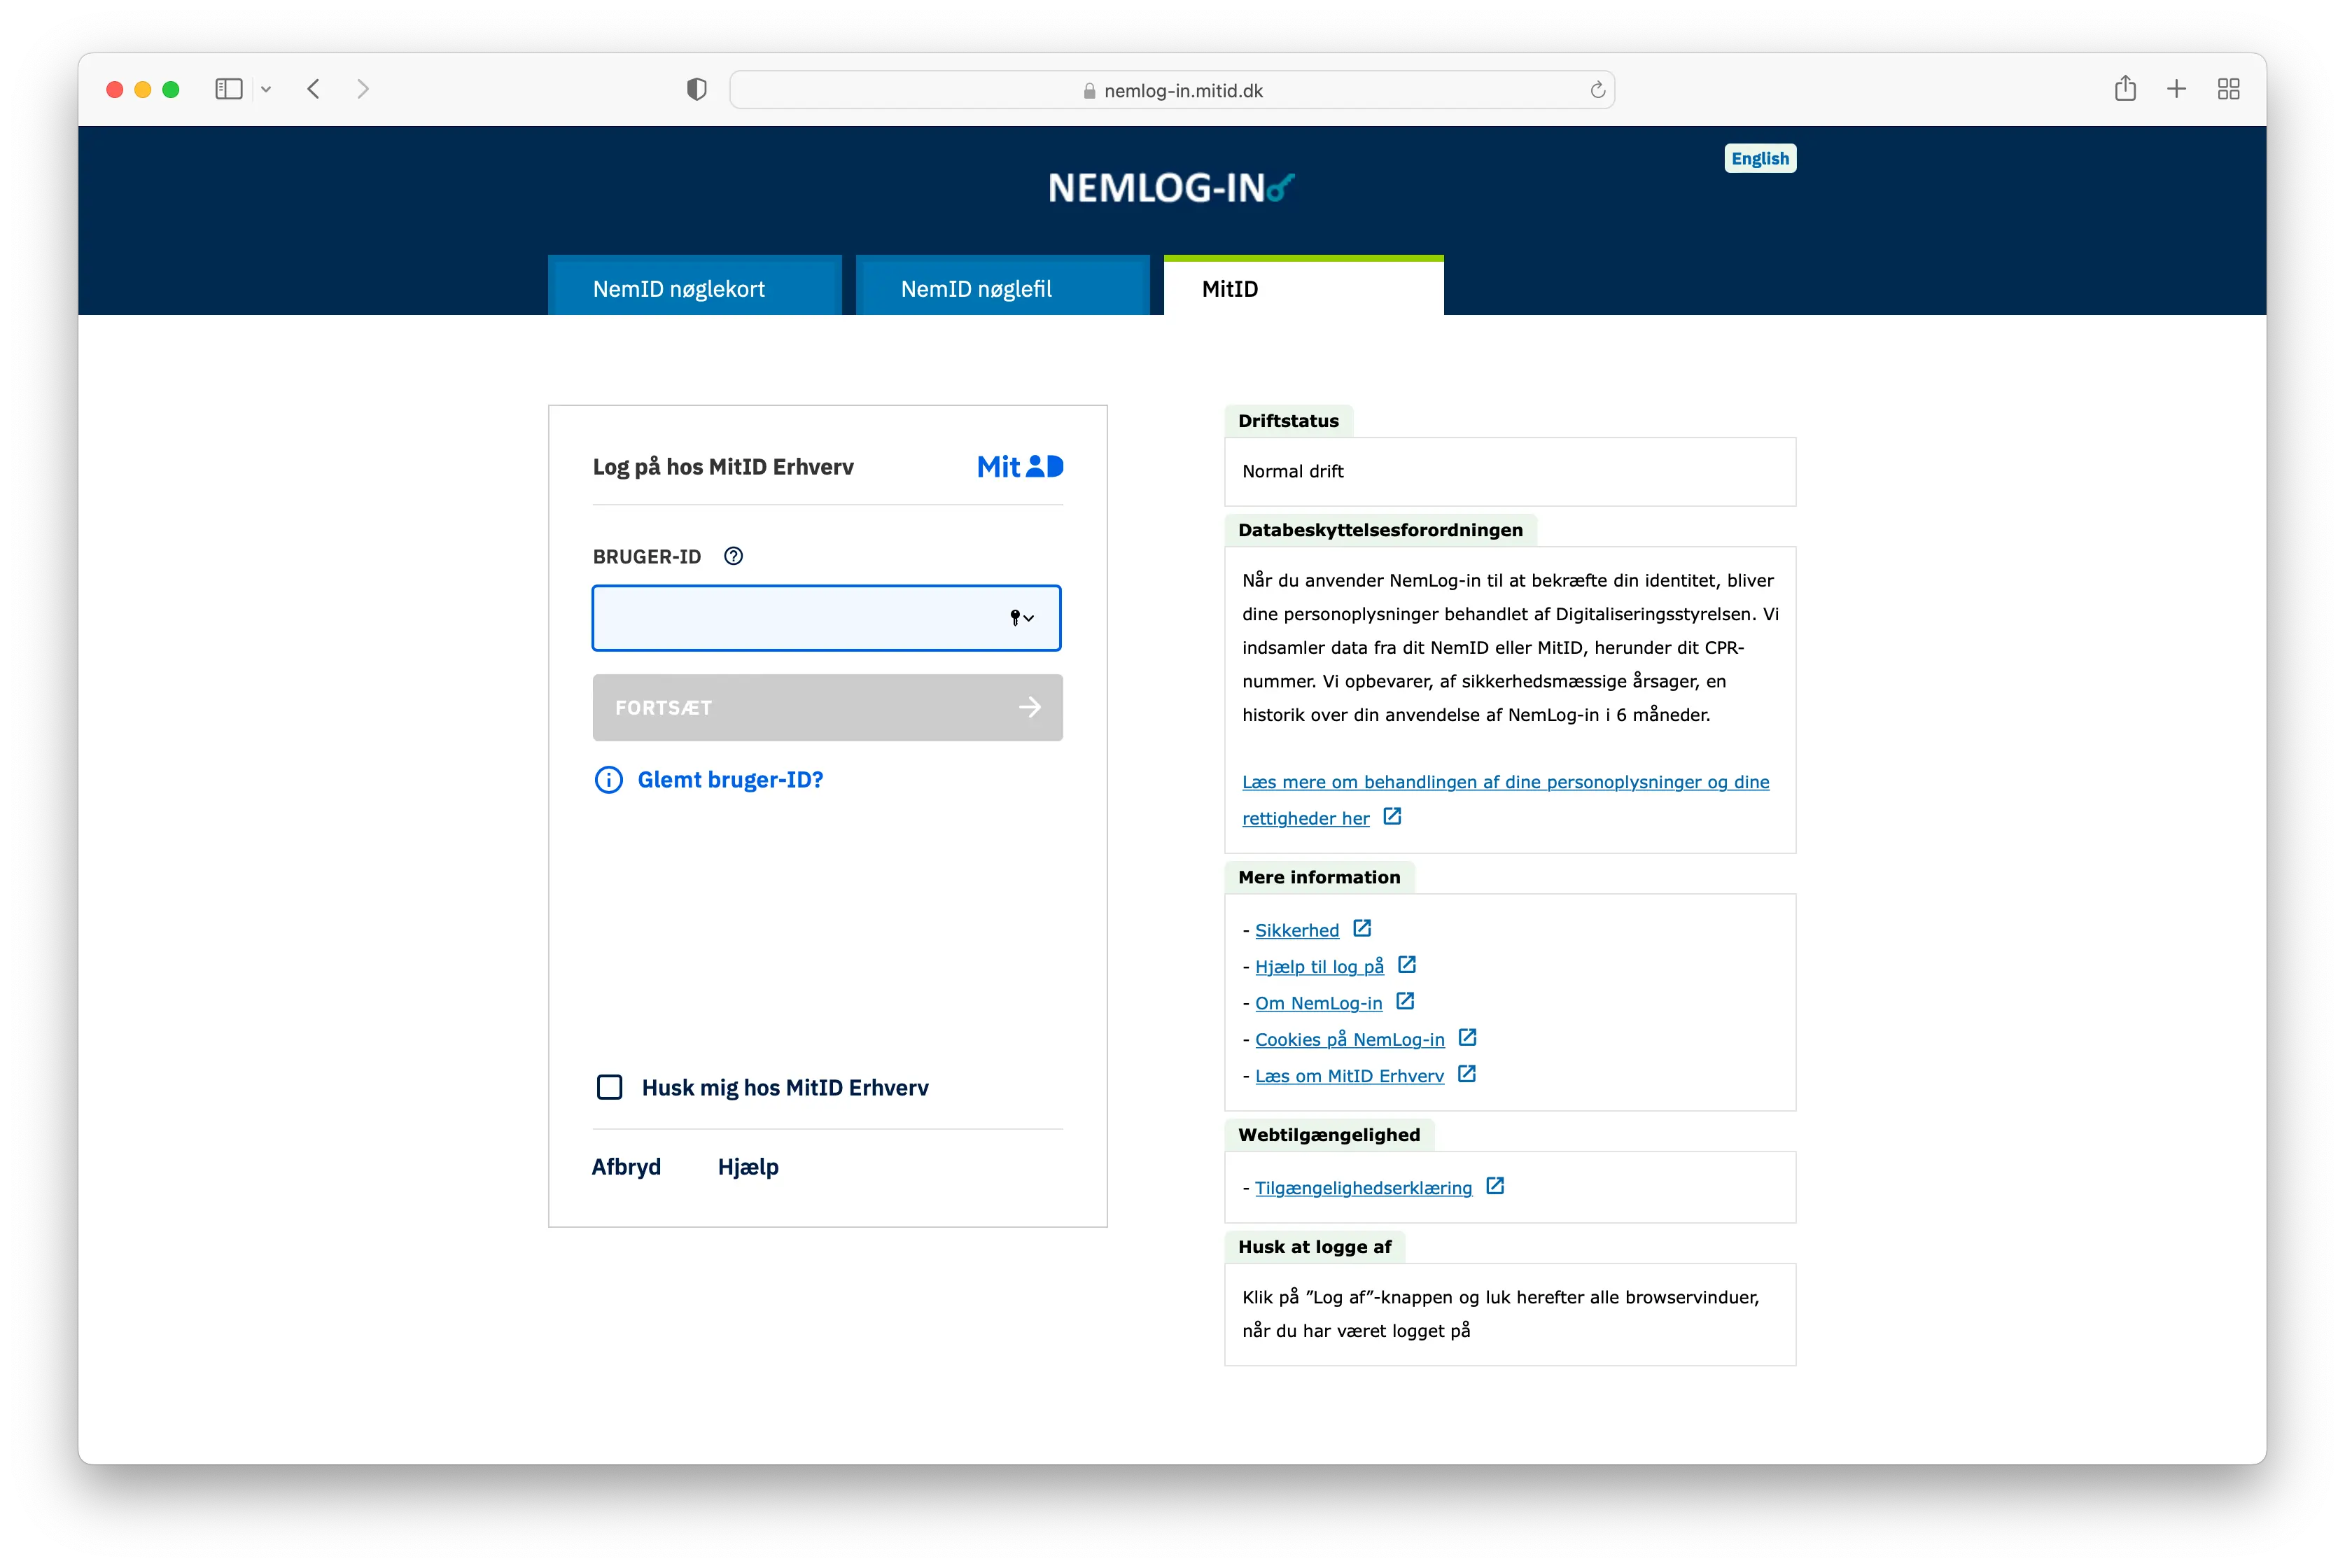
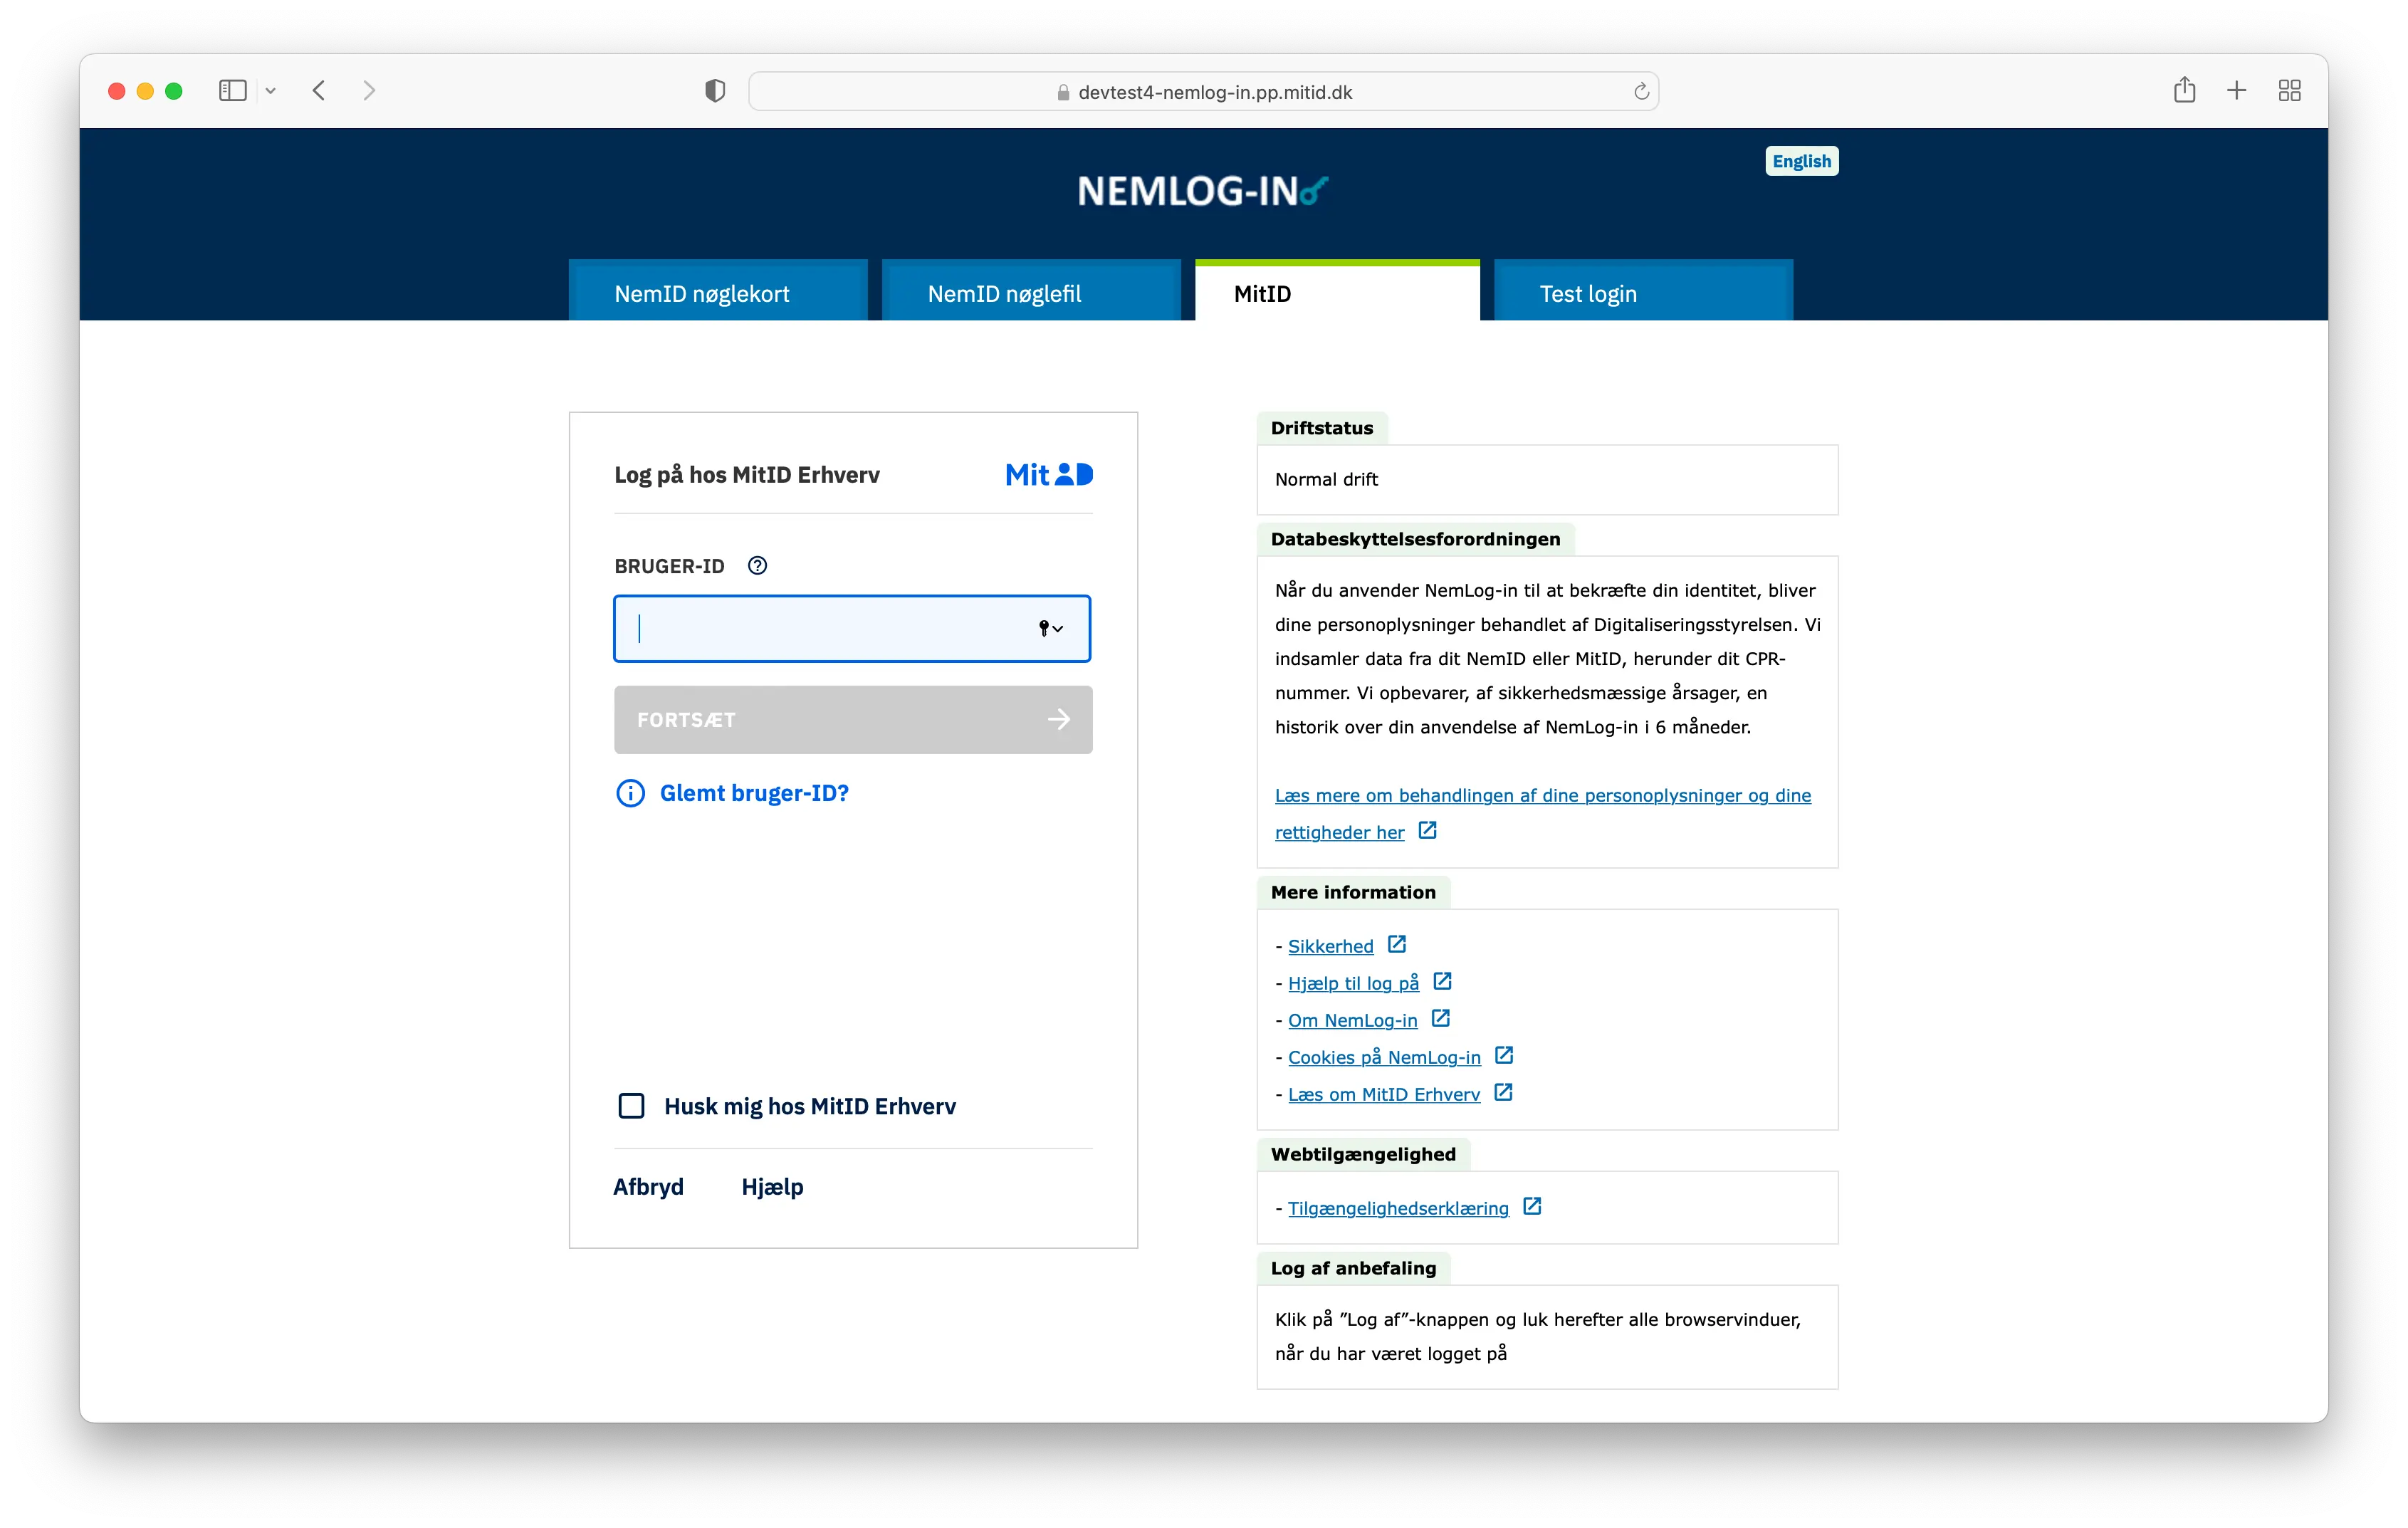
Navigate to the ErhvervsIdentitetsAdministration (EIA) portal and sign in using your MitID business credentials.
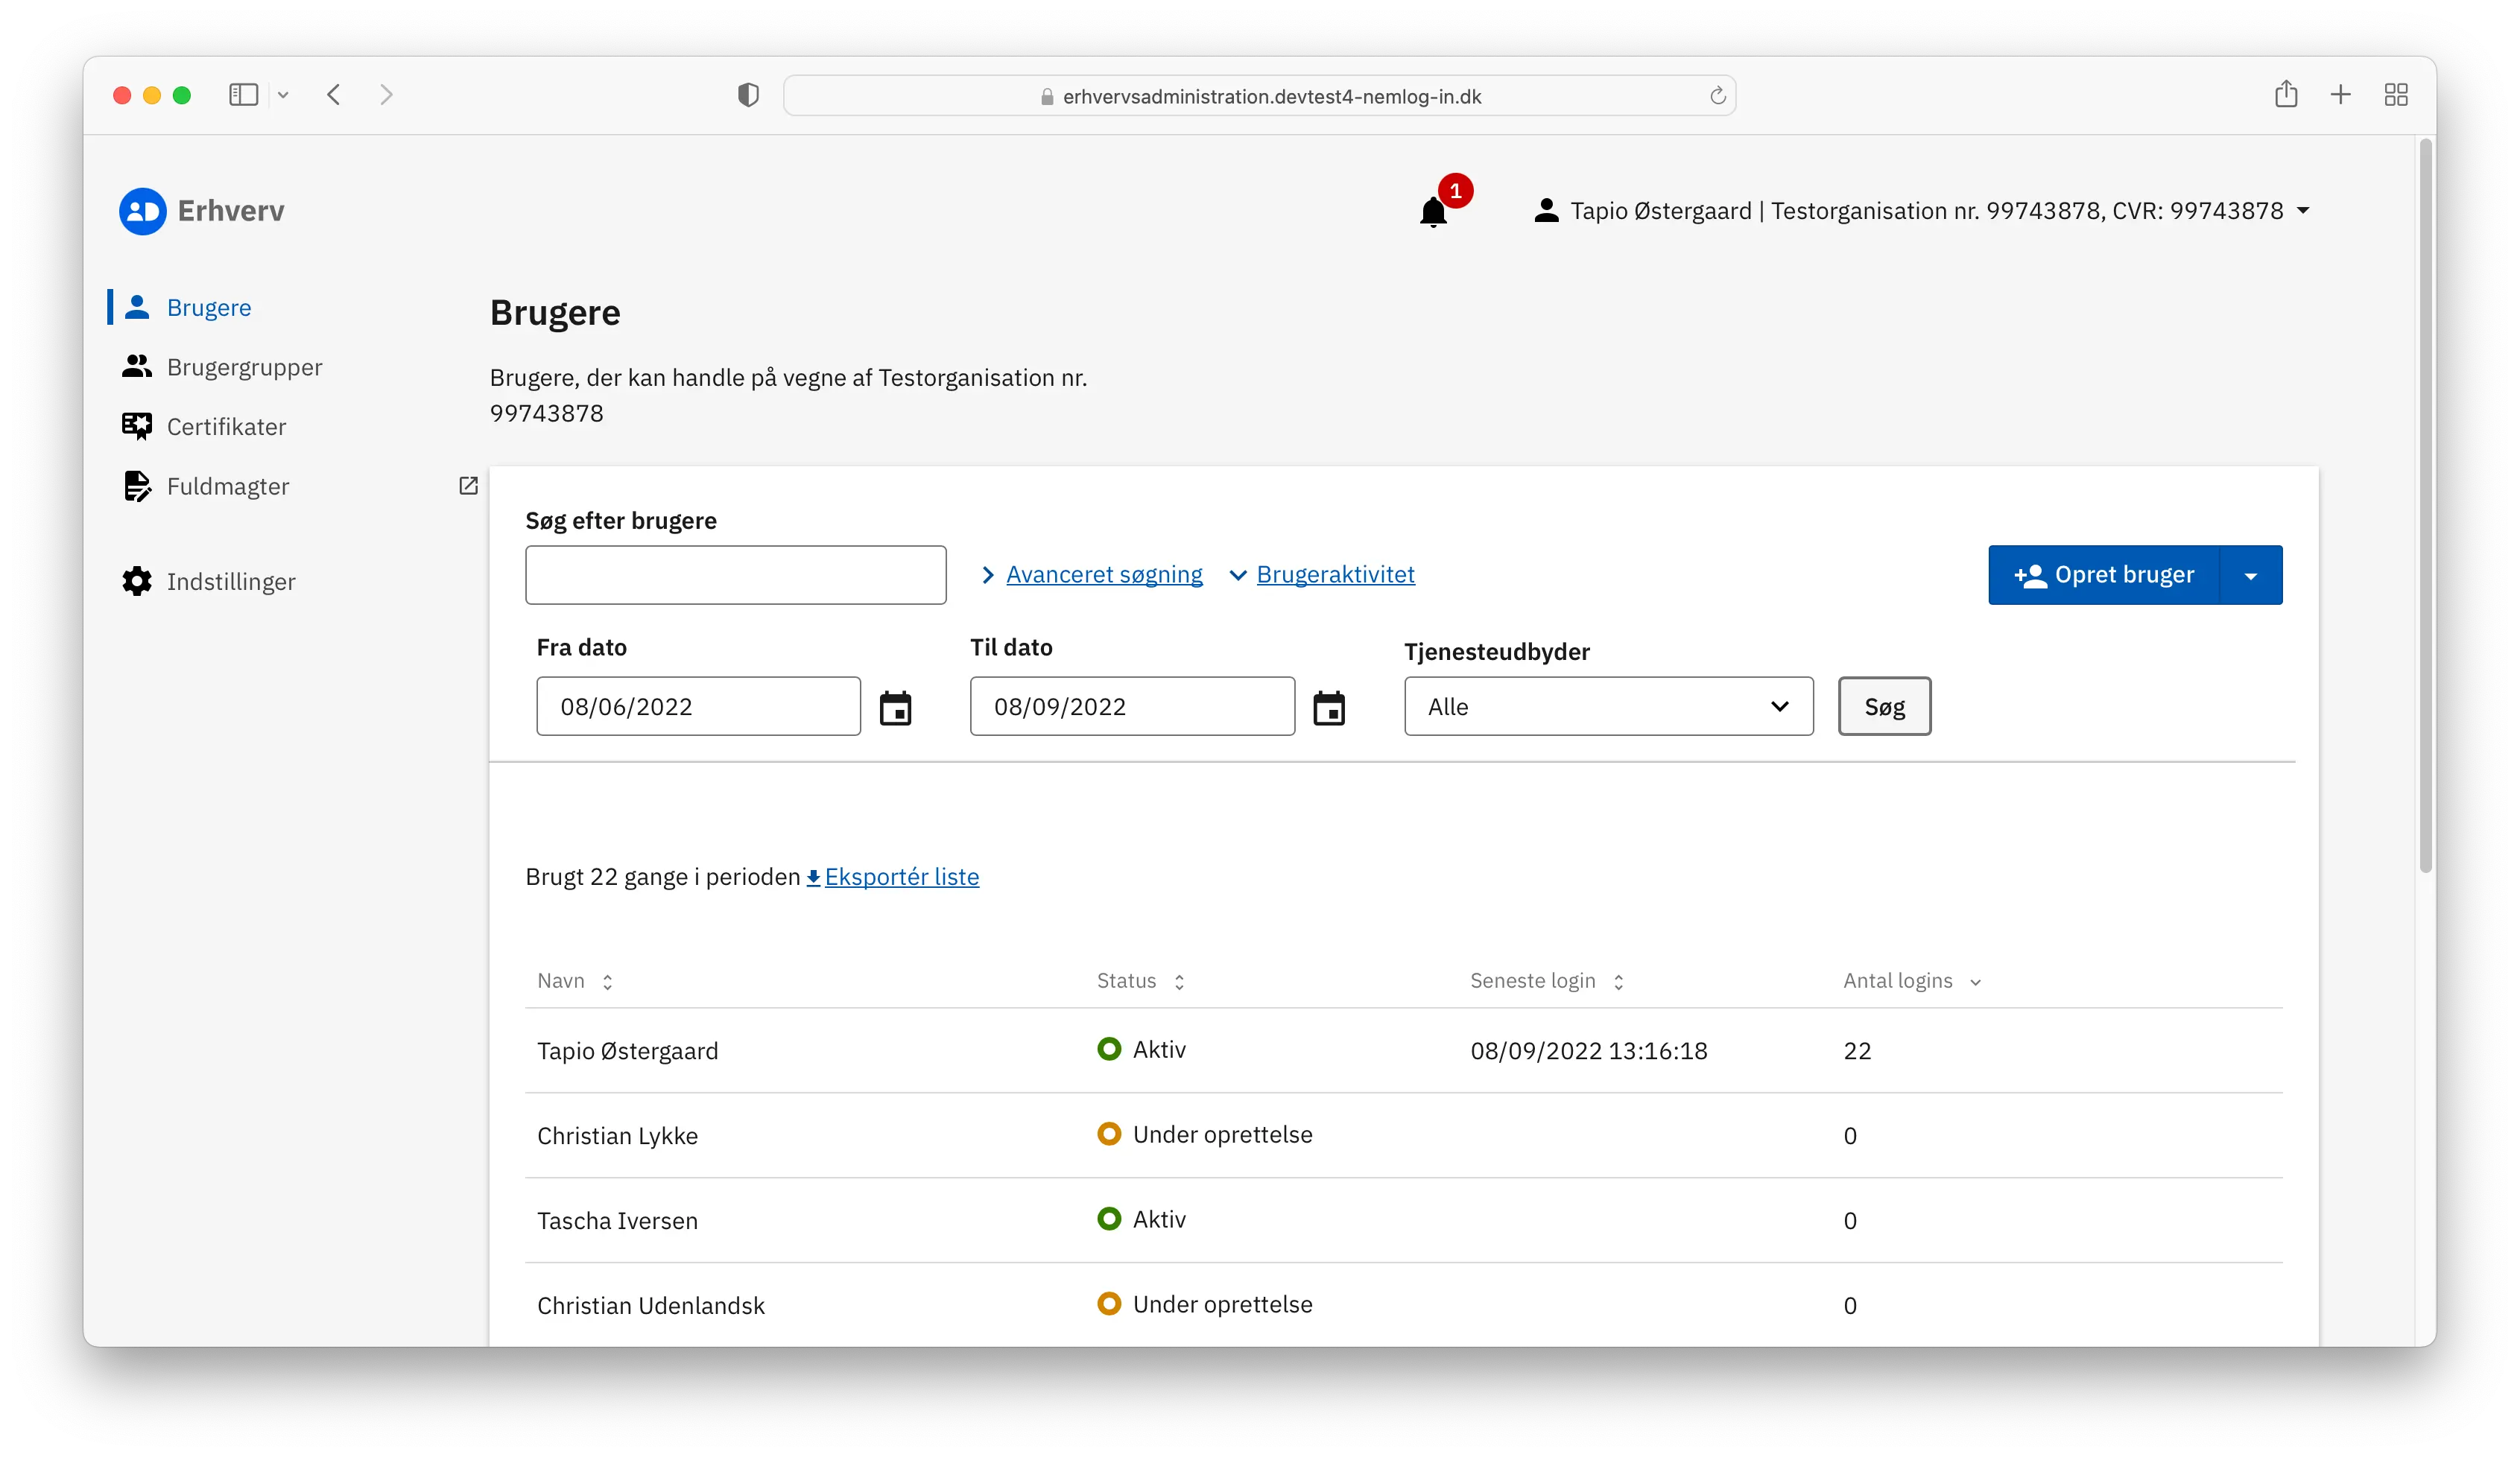
After a successful login, you will be presented with an overview of all the users. Click on Certifikater in the left menu.
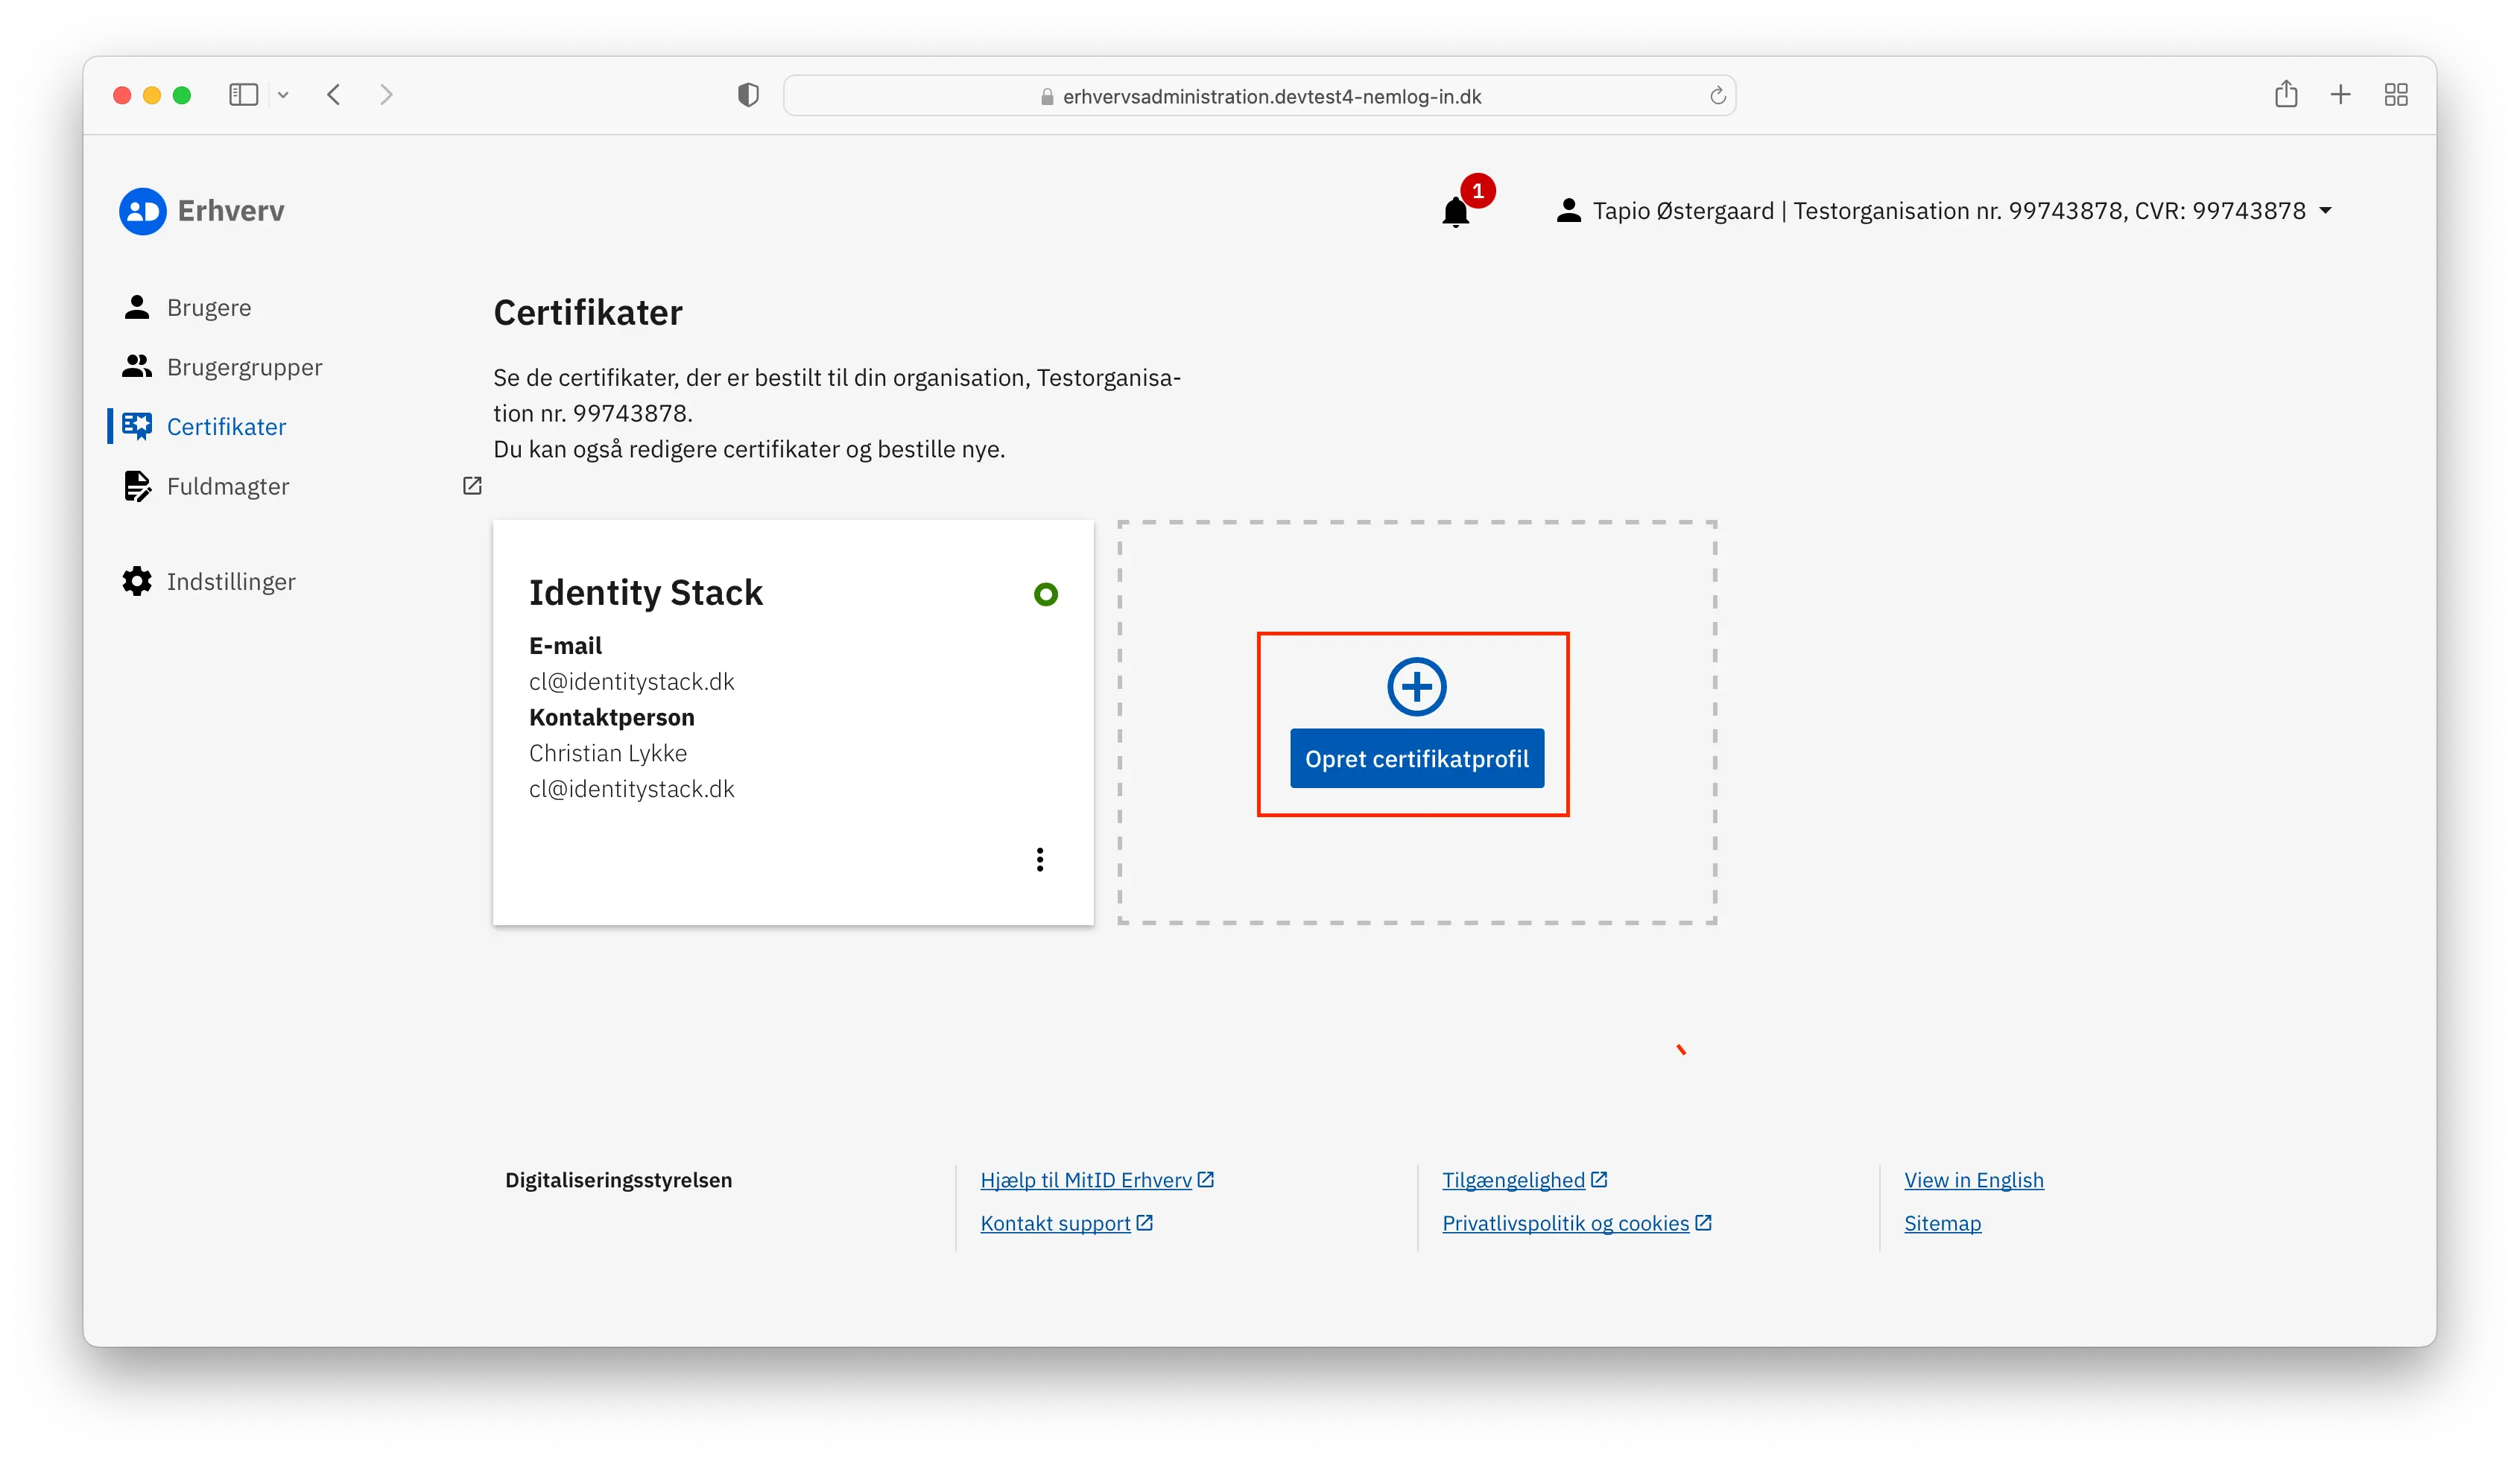
This will display a list of all certificates issued by your organization. To generate a new certificate, click on the blue Opret certifikatprofil button.
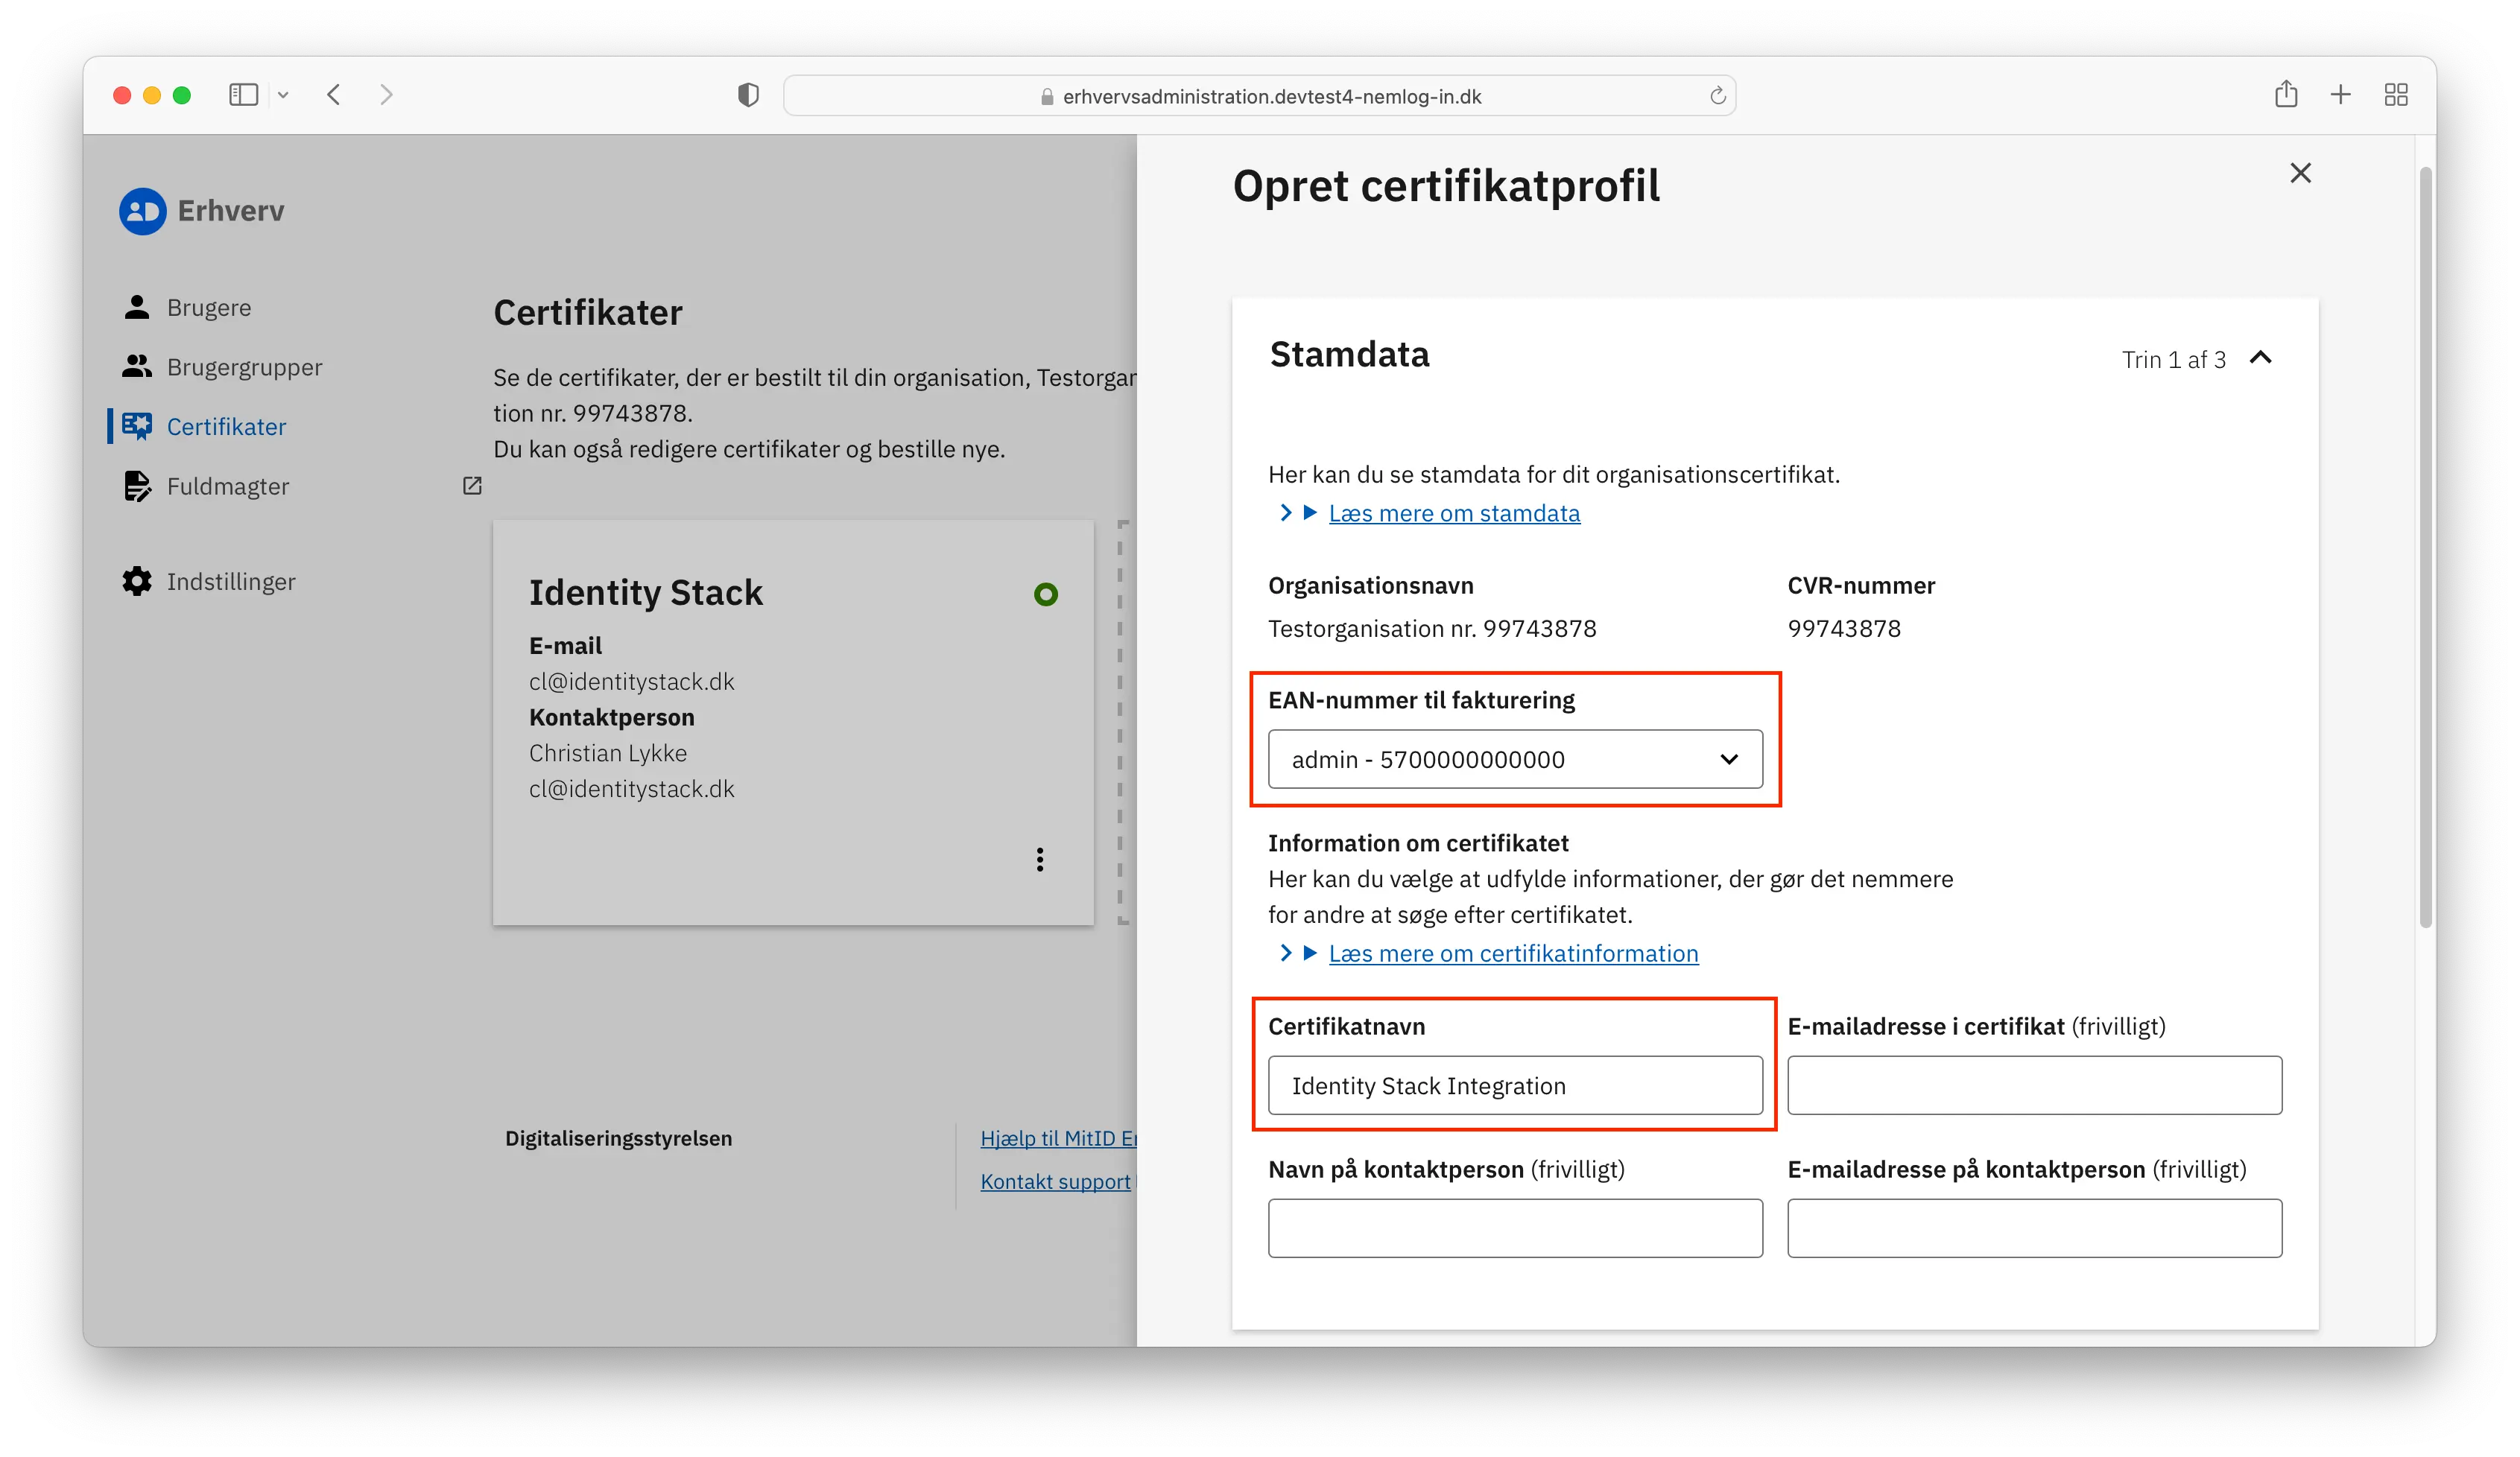
A new window will open, prompting you to fill in the certificate details. In the Stamdata section, you're required to input an EAN number for billing purposes. Keep in mind that issuing a new certificate costs 20 DKK (this will be billed to your organization by NemLog-in). Following this, you should name the certificate, ideally indicating its purpose (e.g., Identity Stack Integration).
Proceed to the Systemrettigheder section. Here, you must enable Adgang til IdM services i MitID Erhverv.
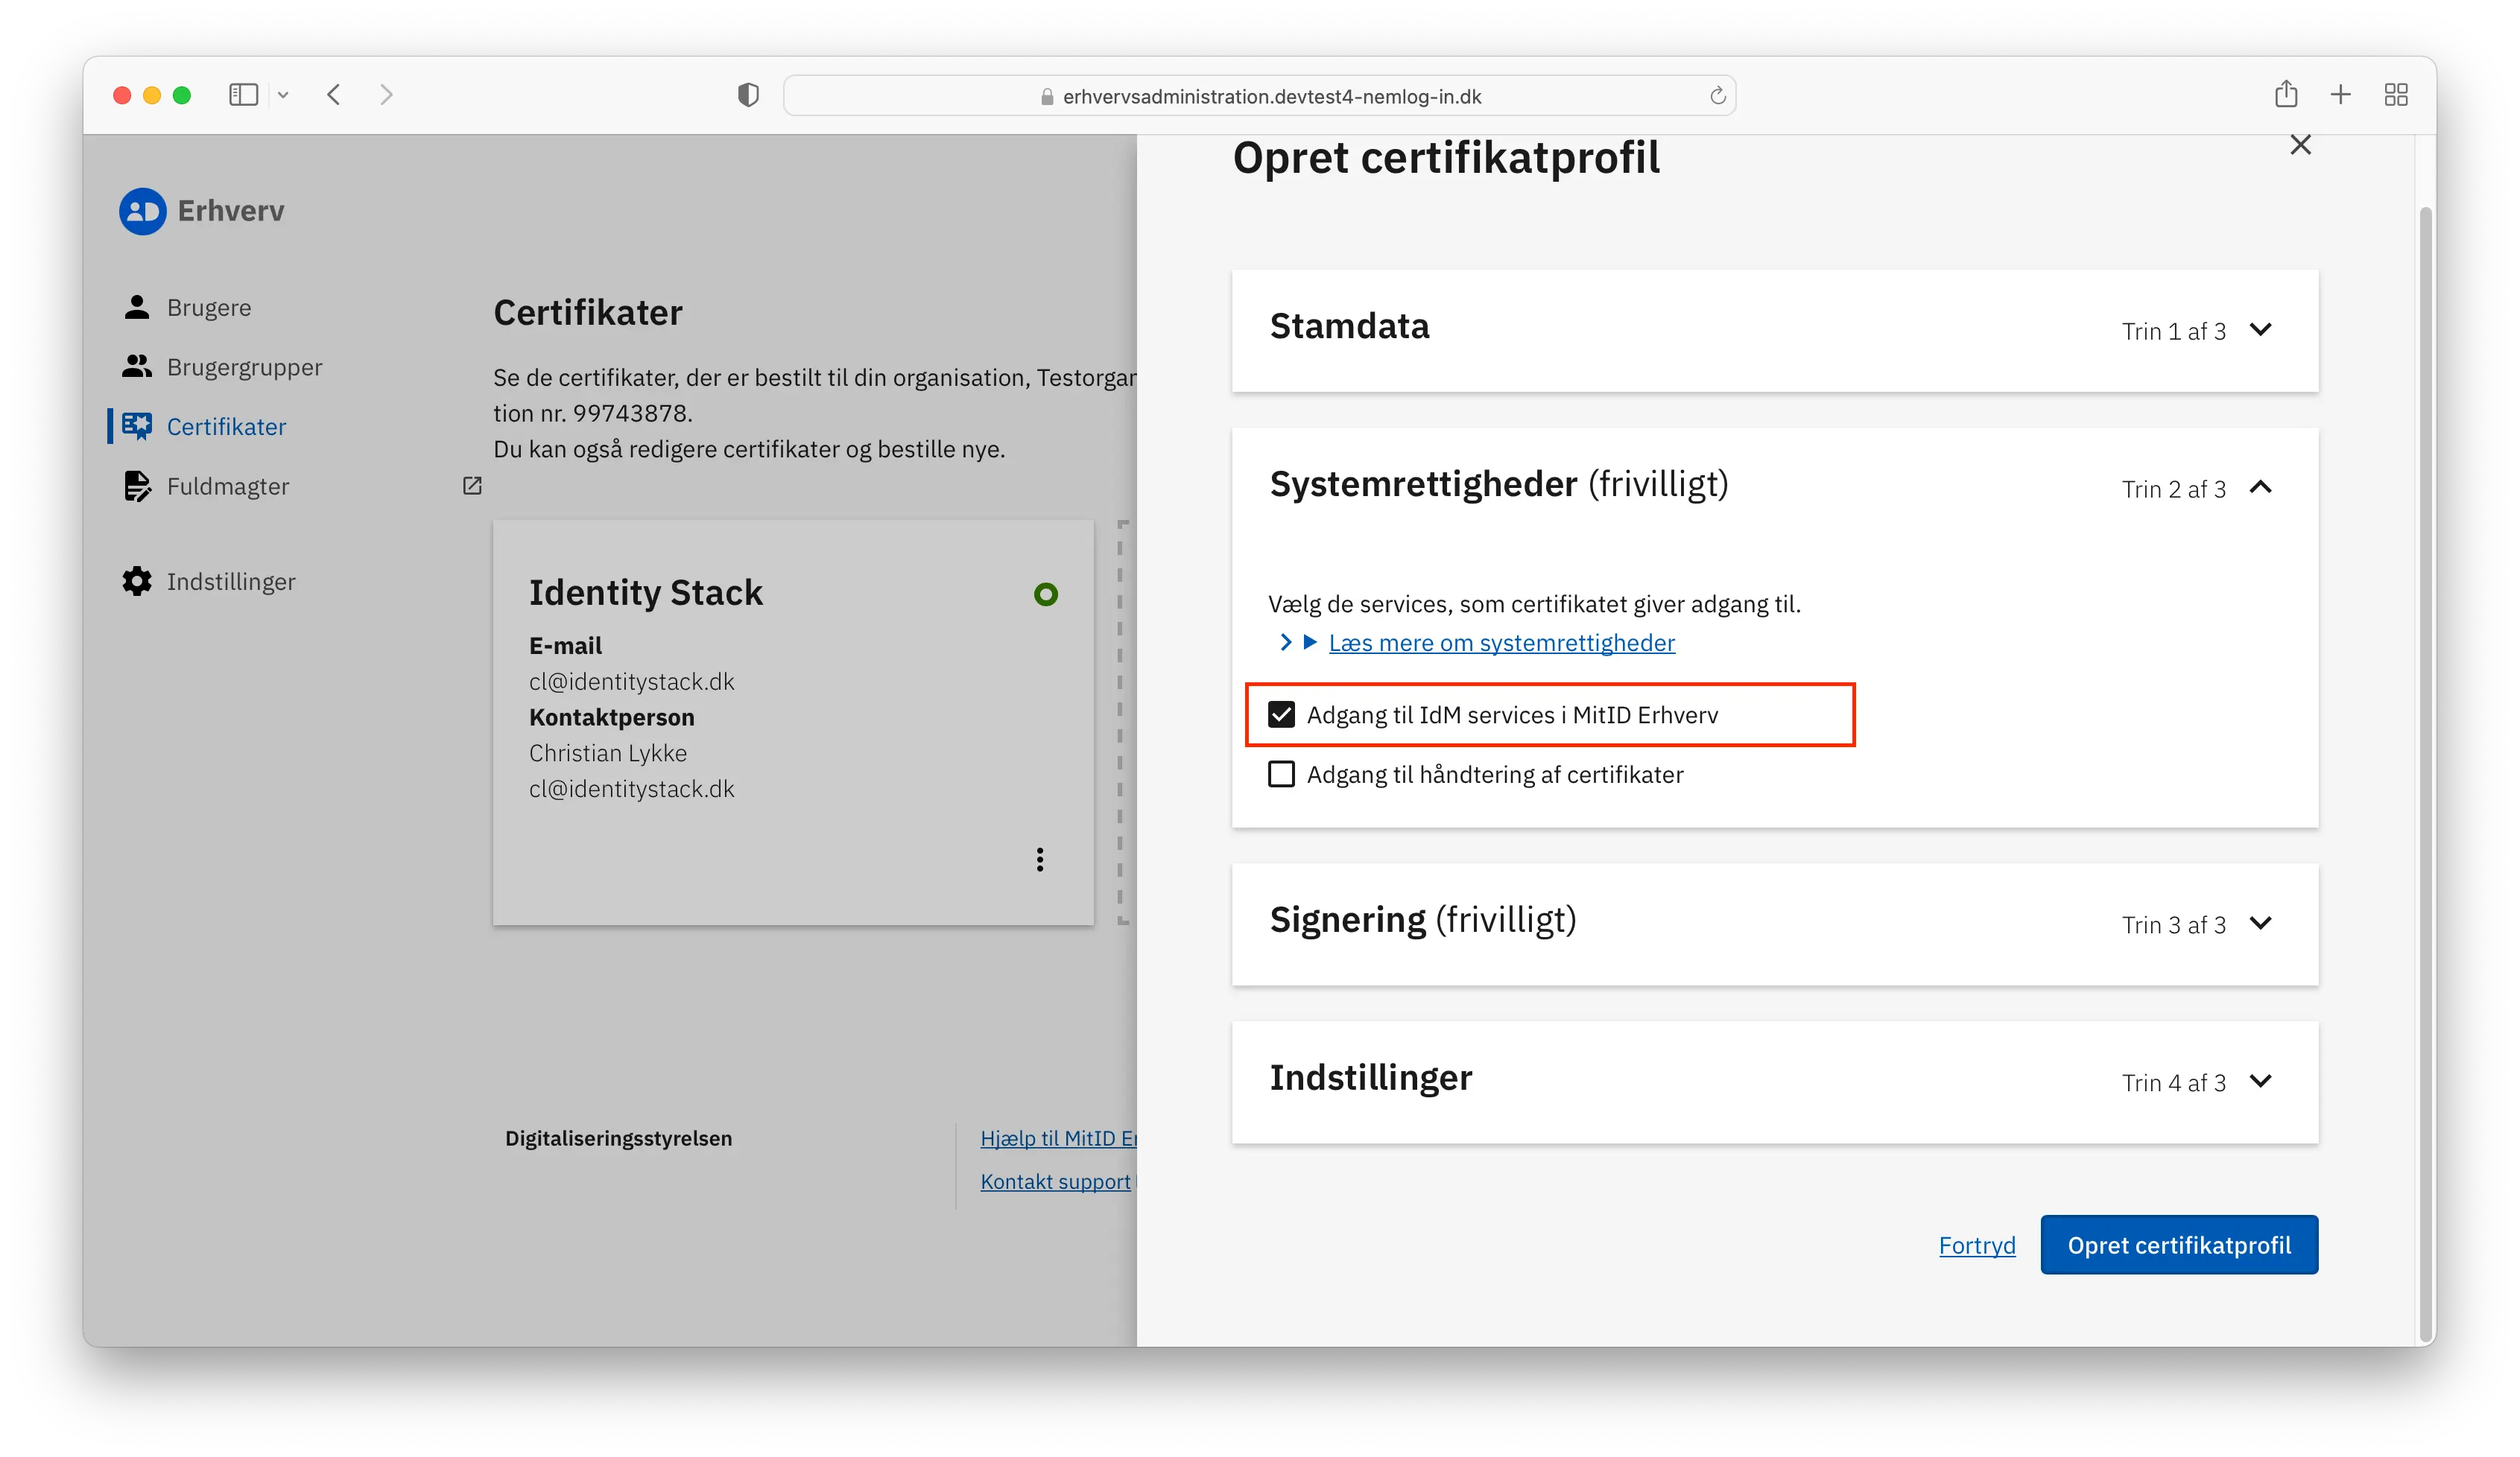
You may skip the Signering section.
In the final section Instillinger you will have to fill in a few details as depicted in the screenshot below. We will go through each of them here:
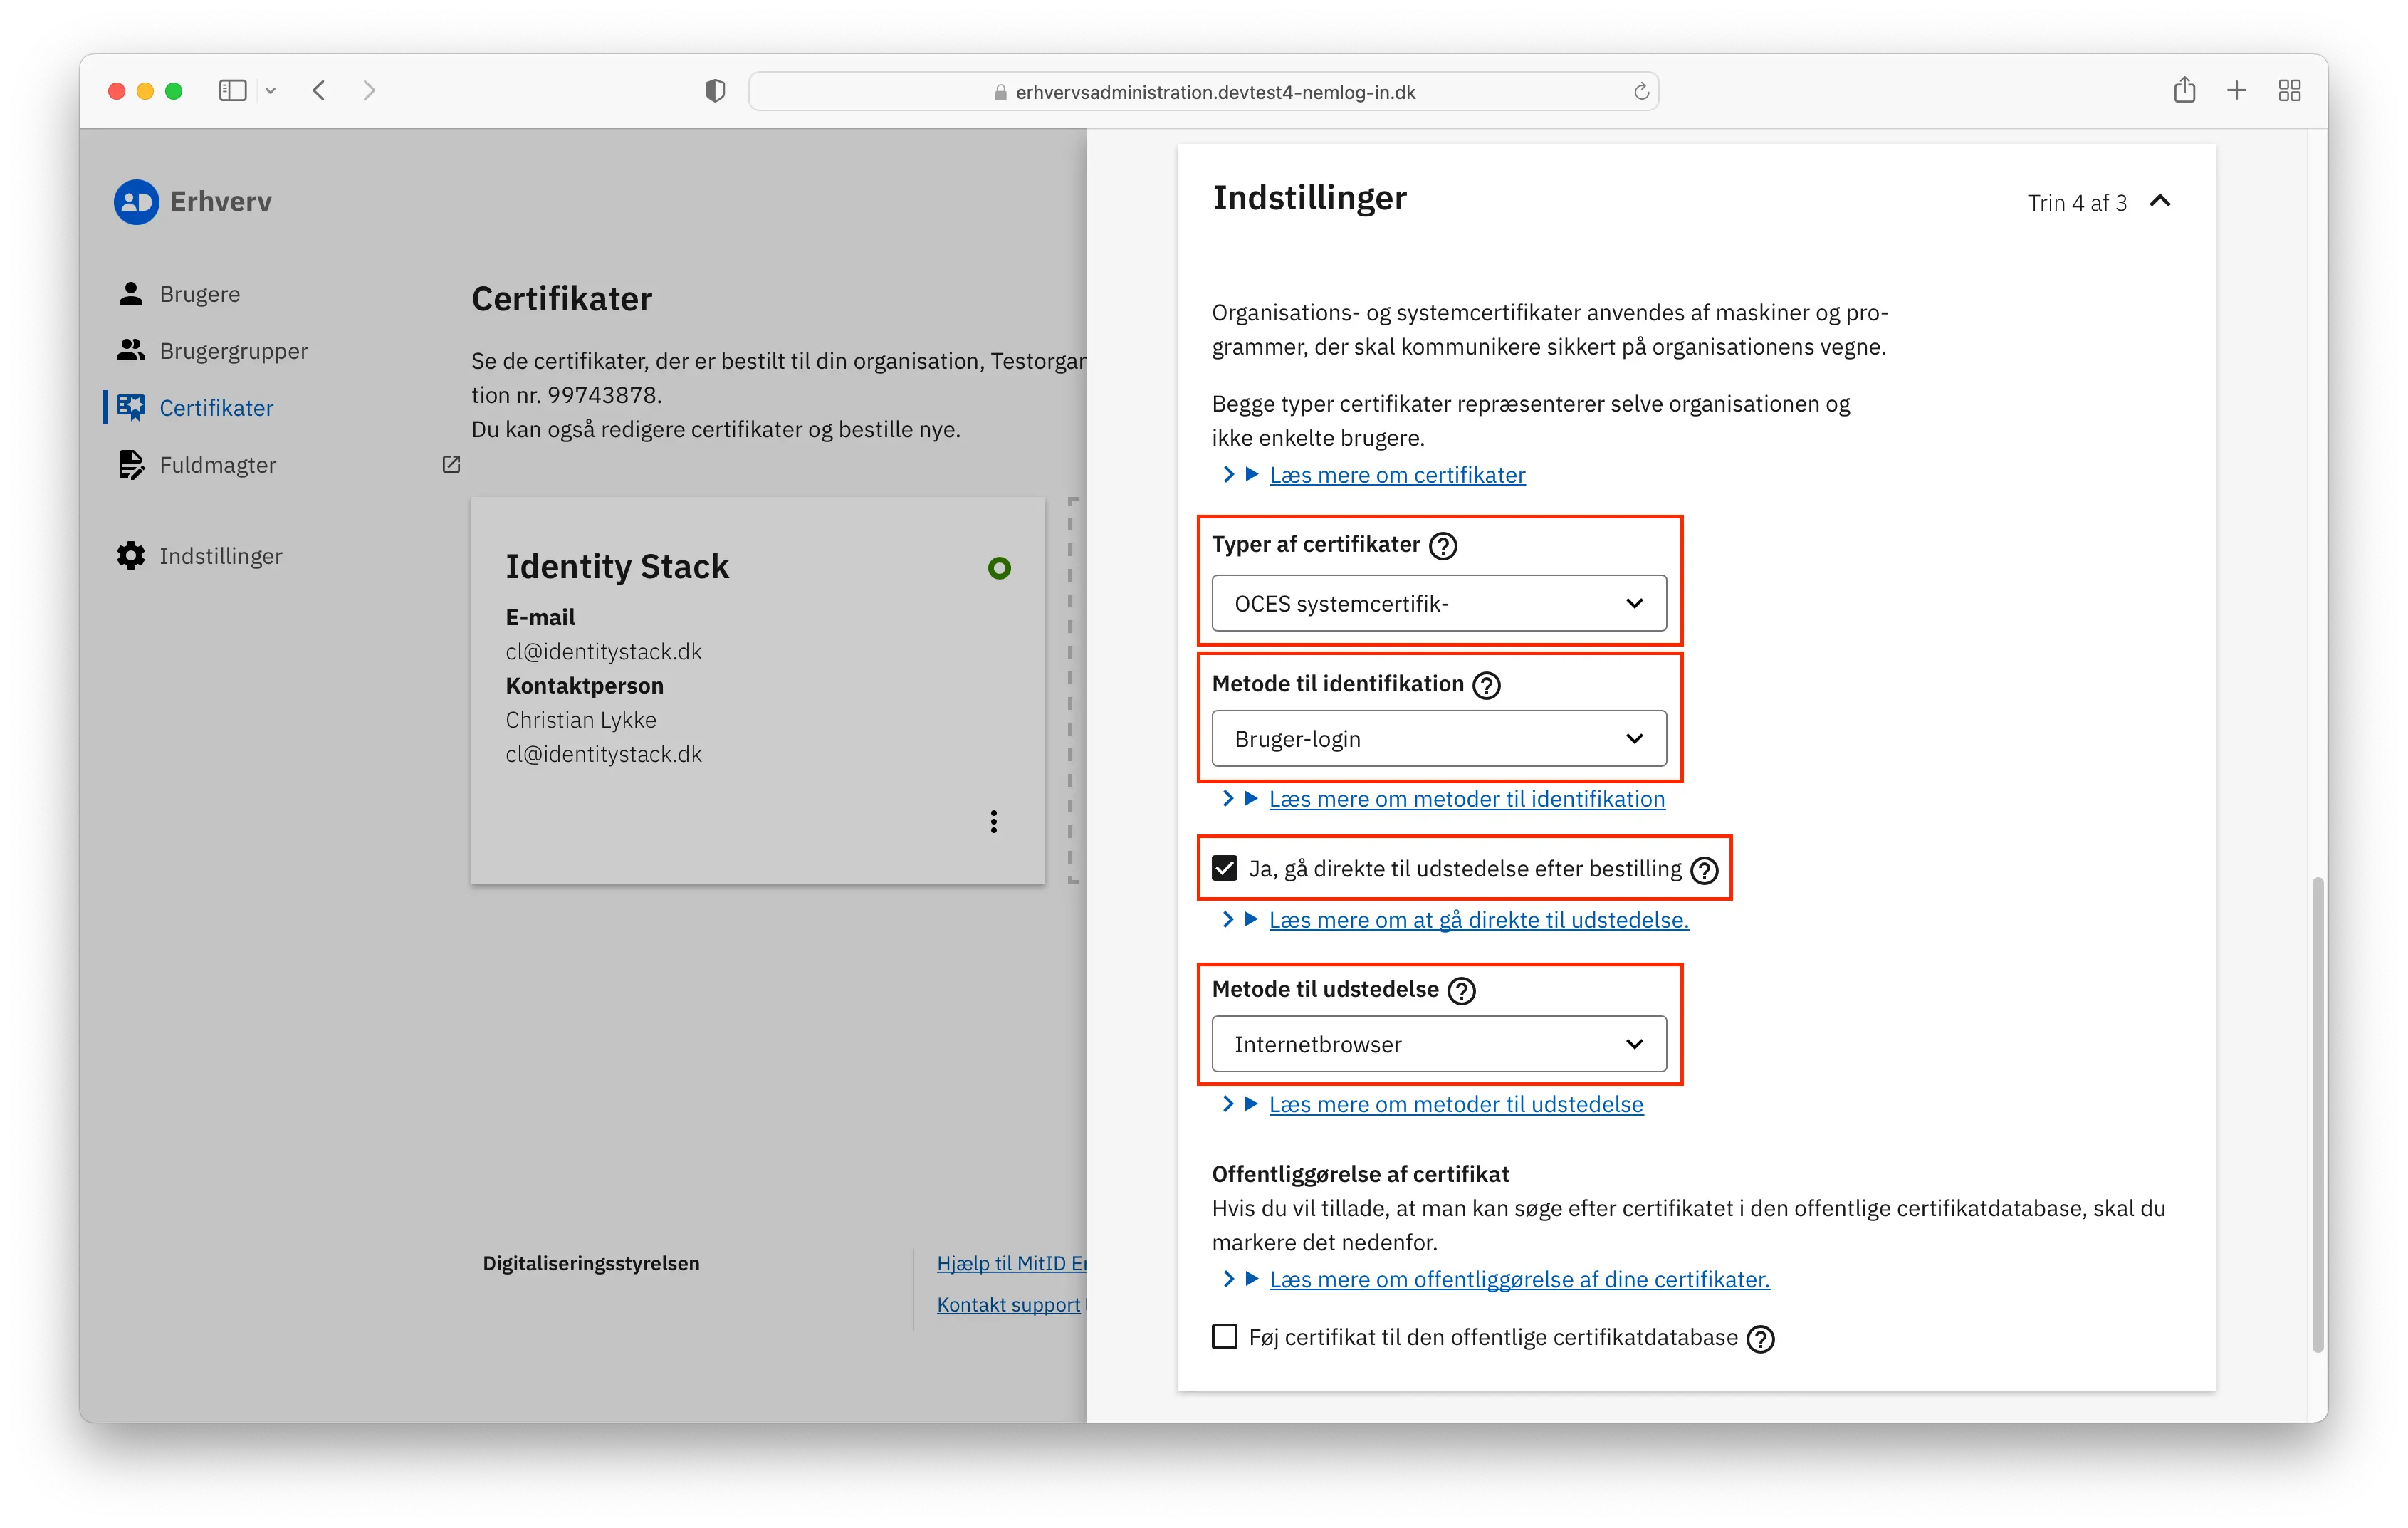
Typer af certifikater: Choose OCES systemcertifikat from the options. This refers to the certificate type. For more information on different types of certificates, visit here.
Metode til identifikation: Select Bruger-login. This is the identification method you'll use. When a new certificate is issued, the issuer must confirm their identity to ensure the correct issuance. Check the box for Ja, gå direkte til udstedelse efter bestilling.
Metode til udstedelse: Choose Internetbrowser
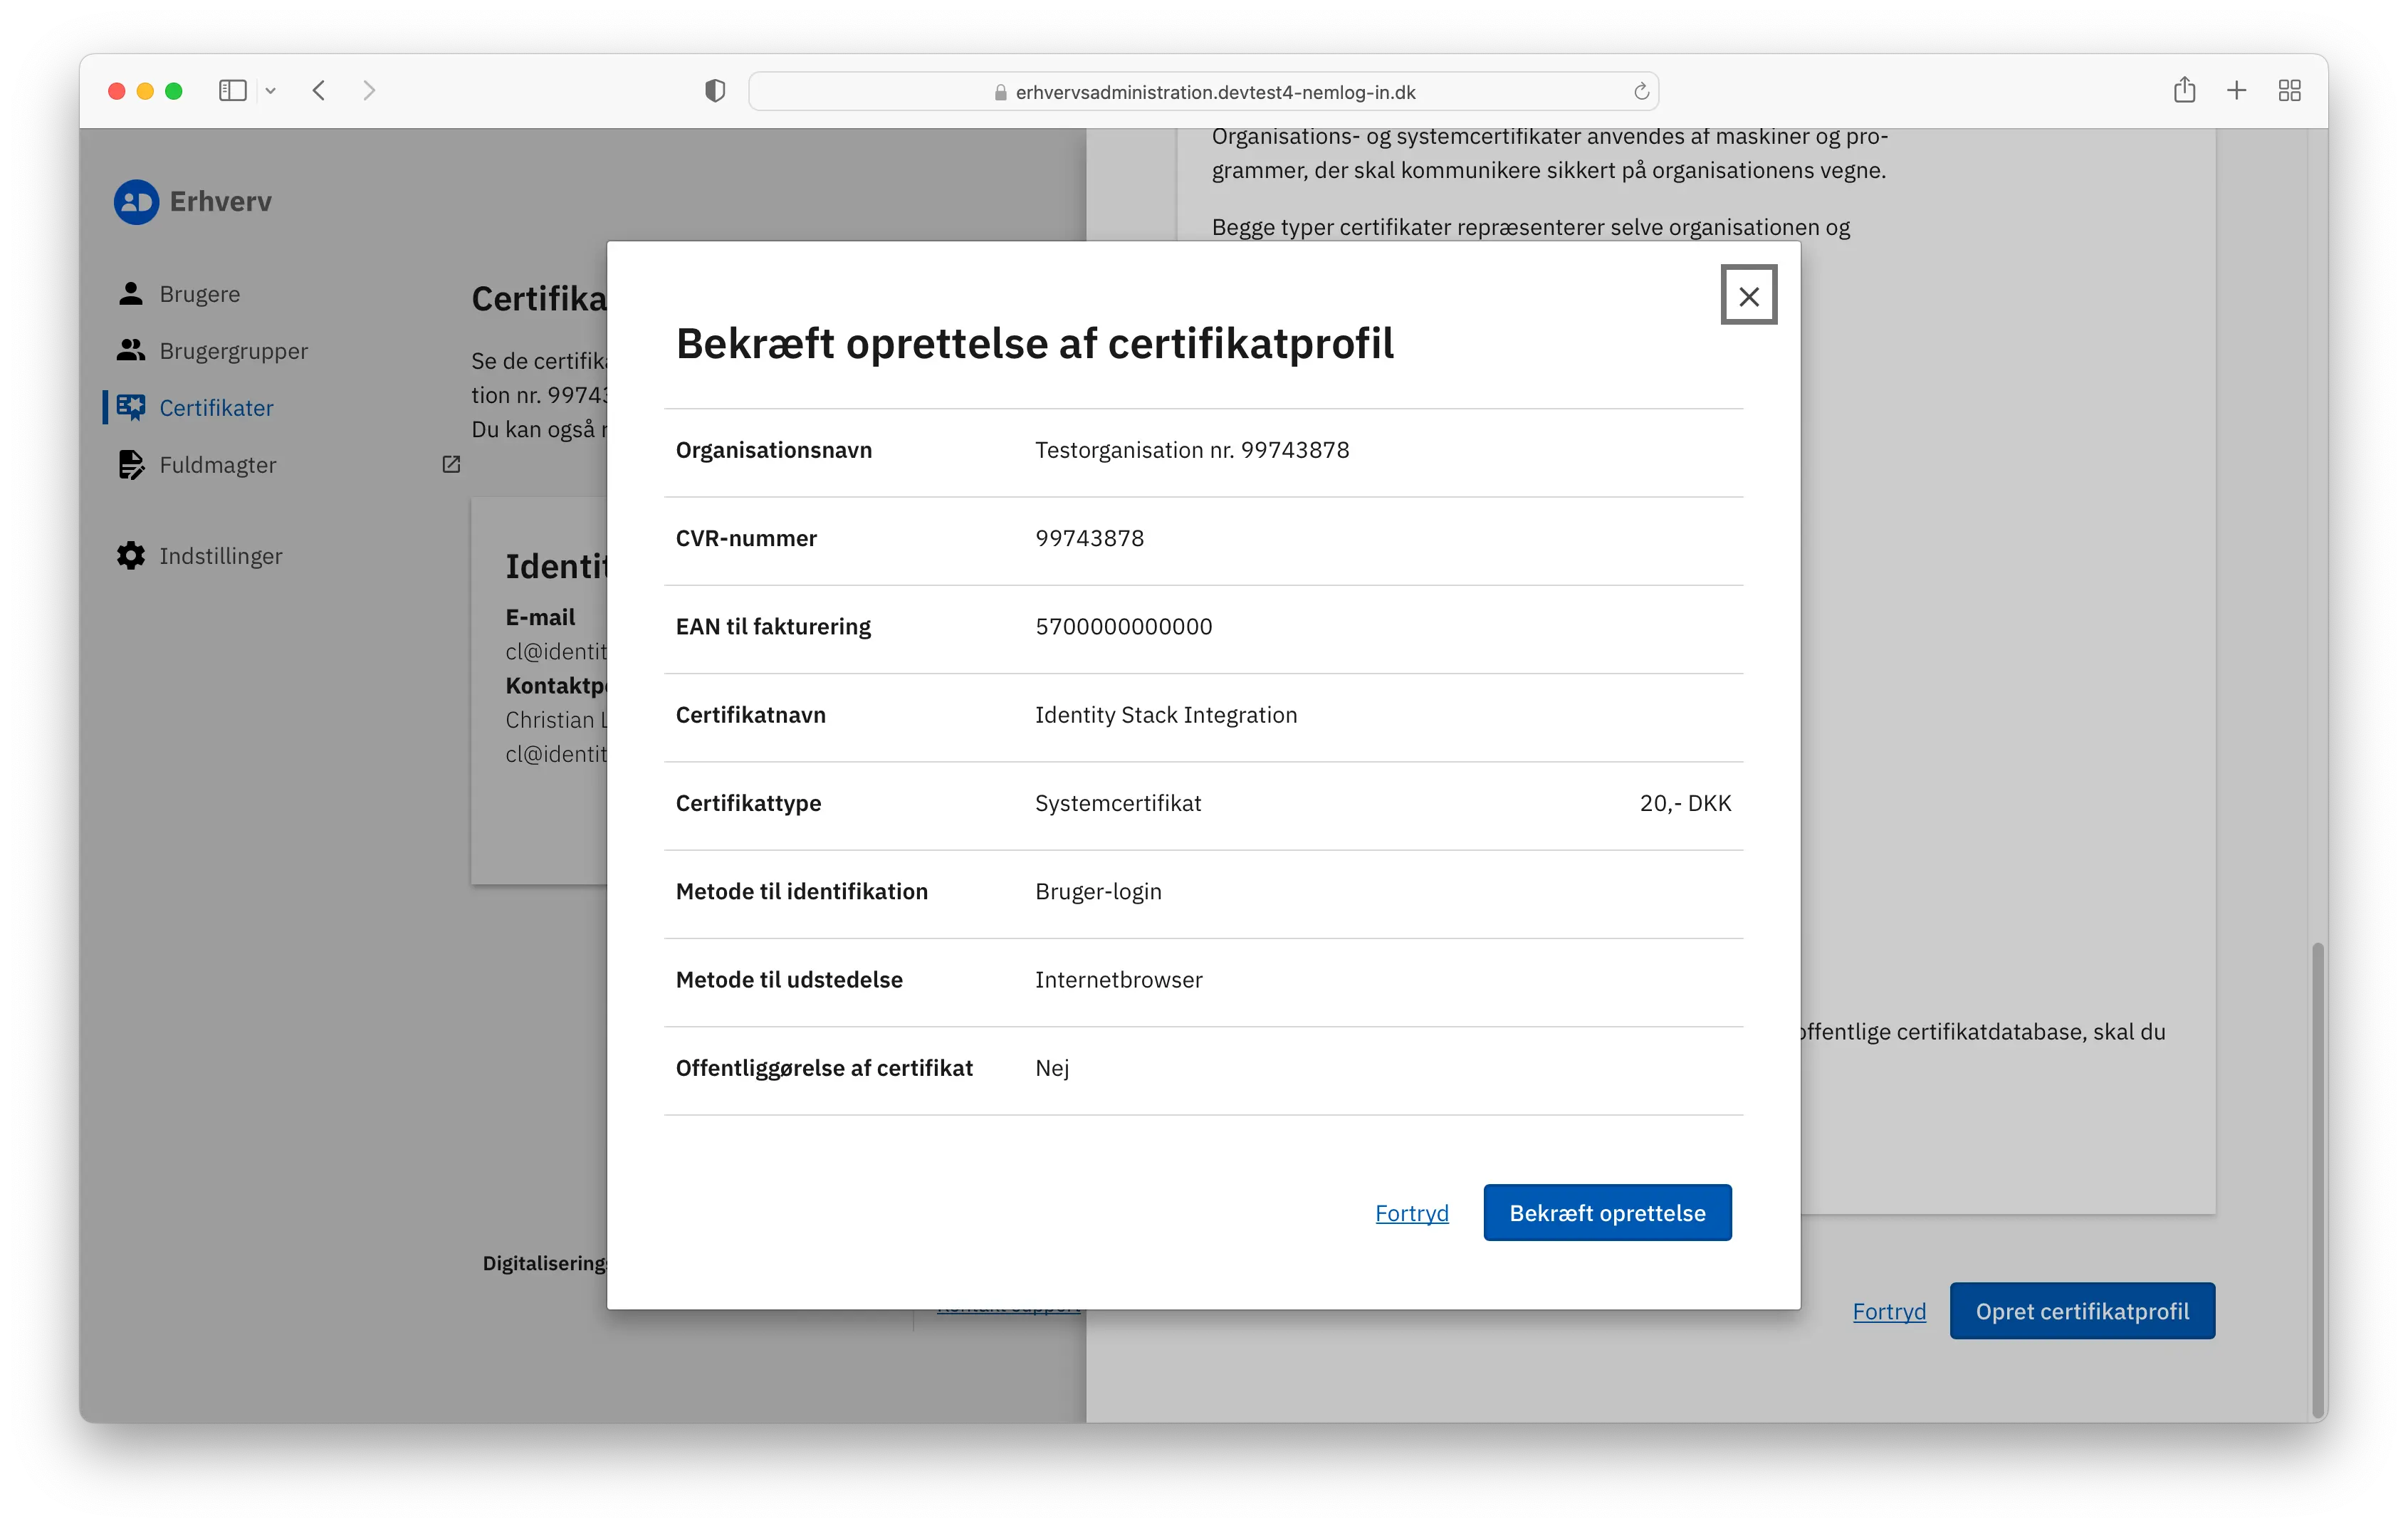
To create the certificate, click Opret certifikatprofil, then confirm the creation by clicking Bekræft oprettelse.
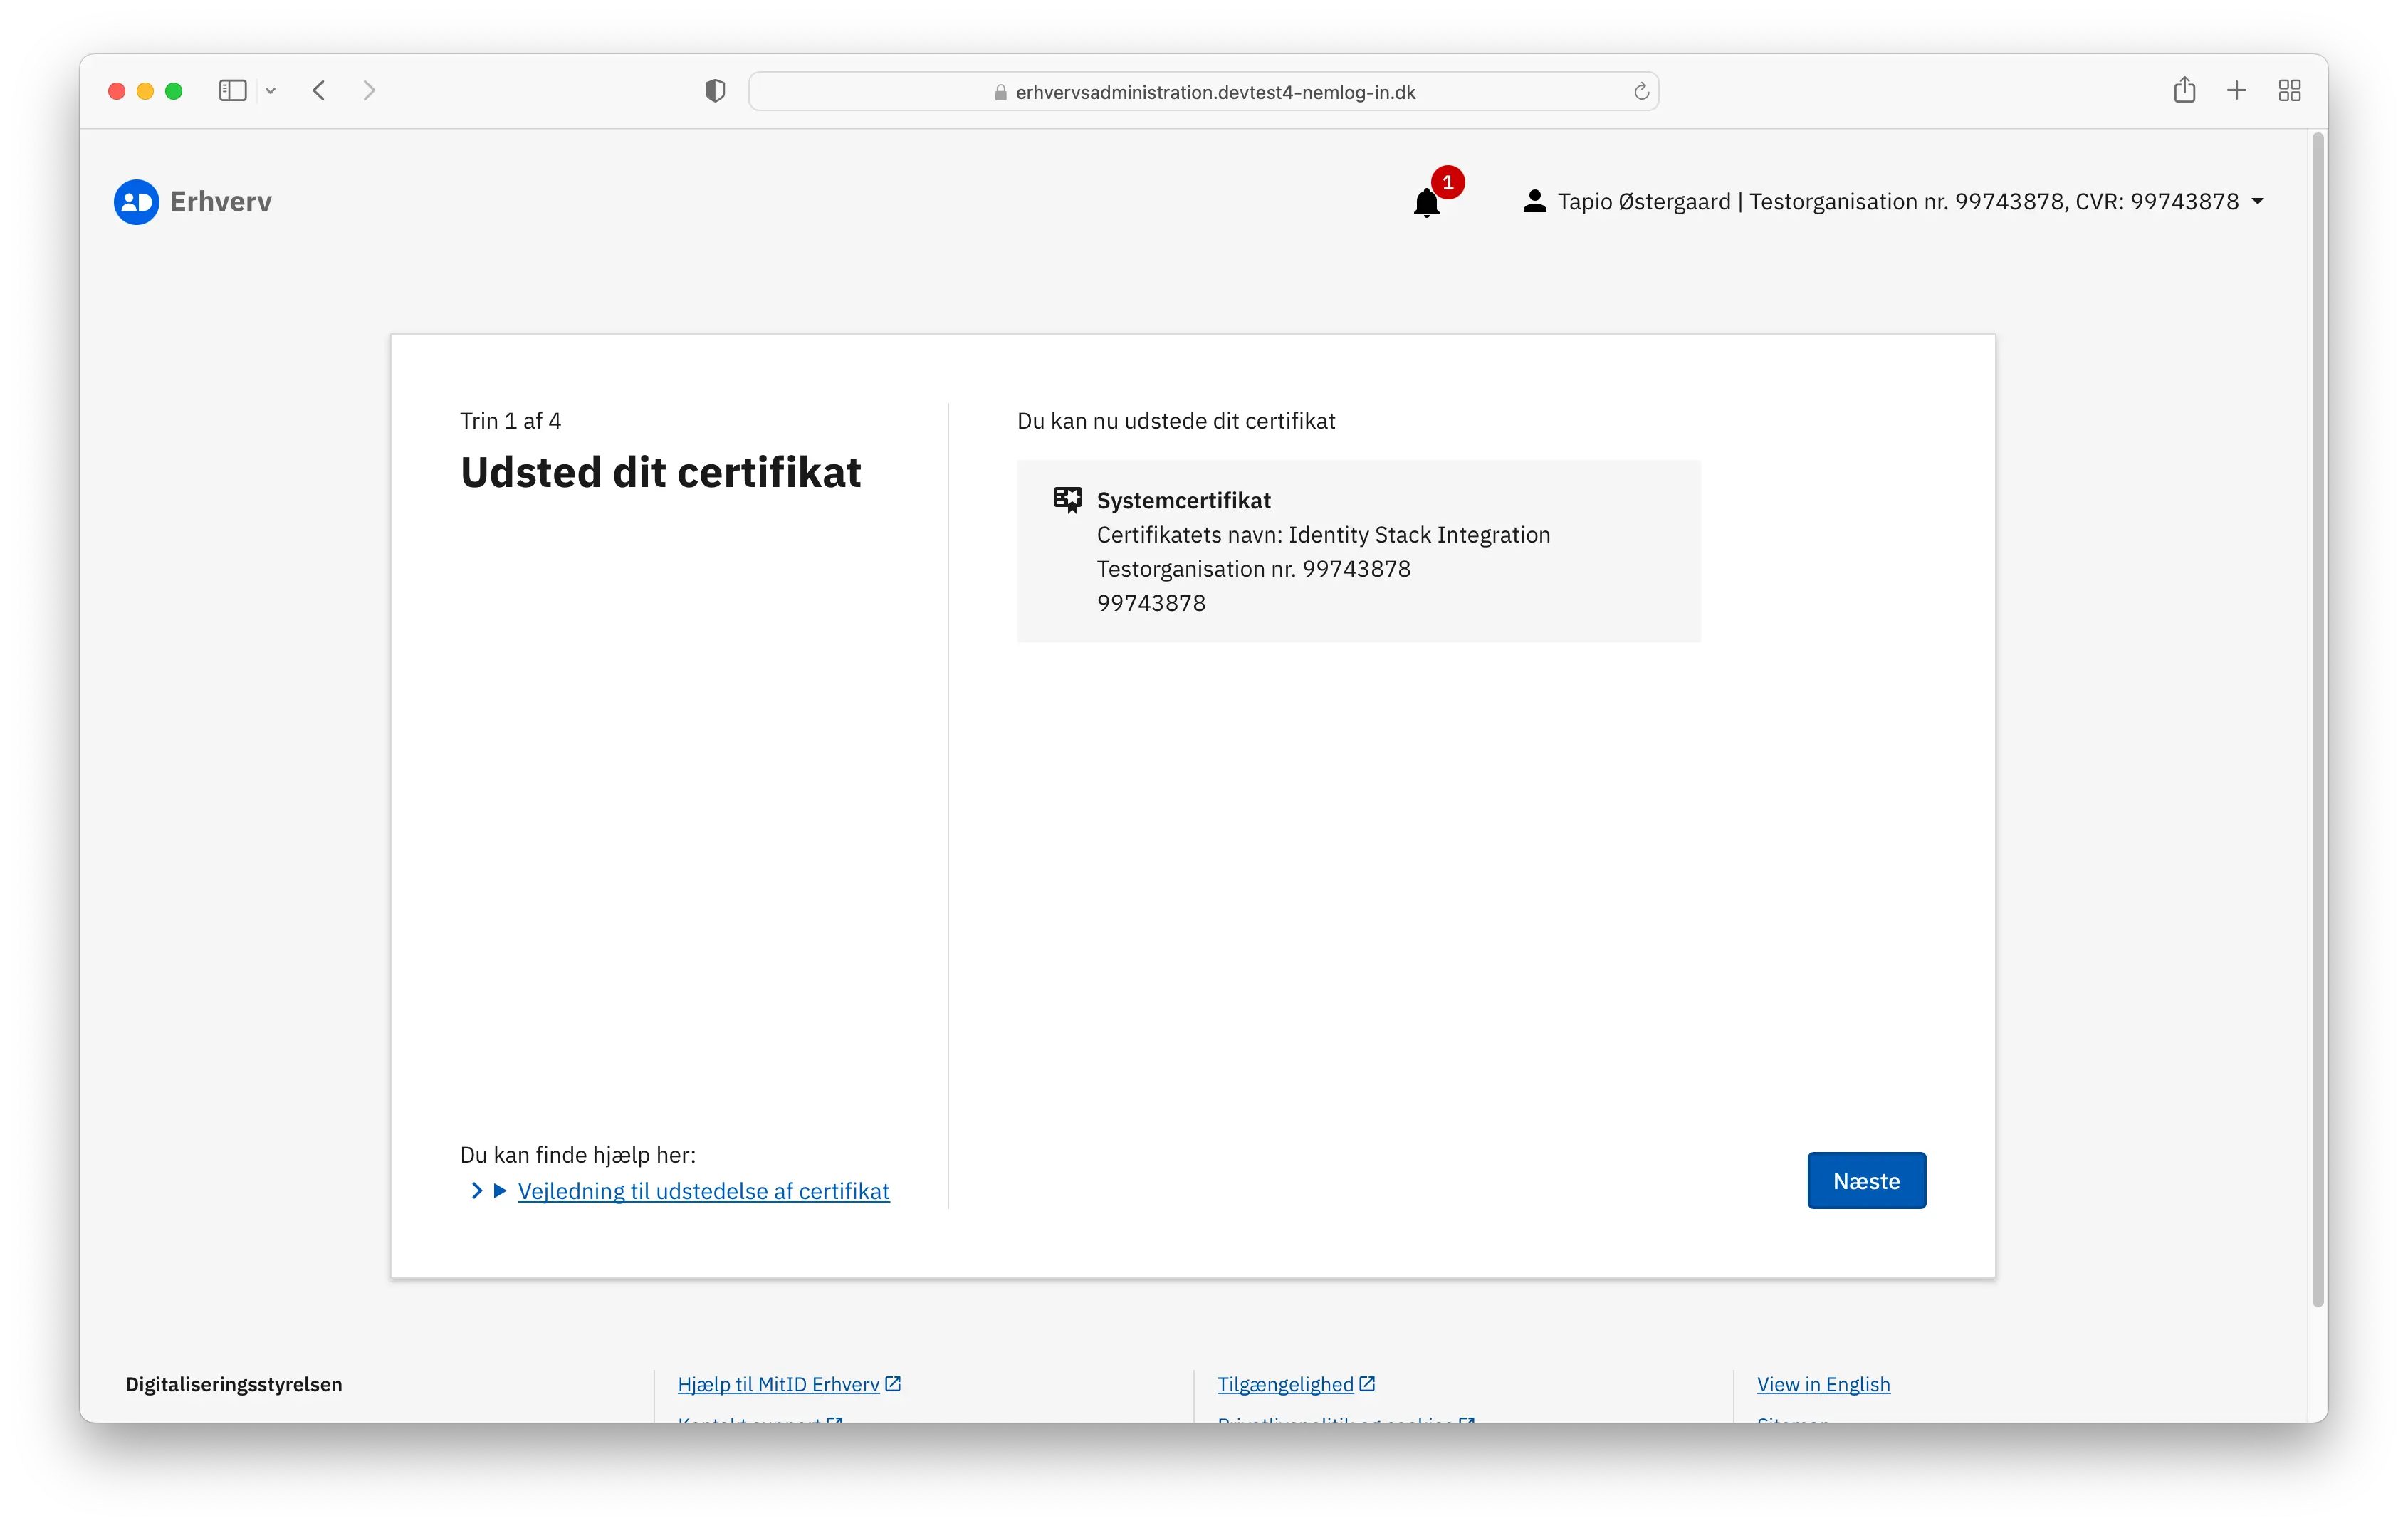
Your certificate is now created and ready to be issued. Select Udsted Certifikat.
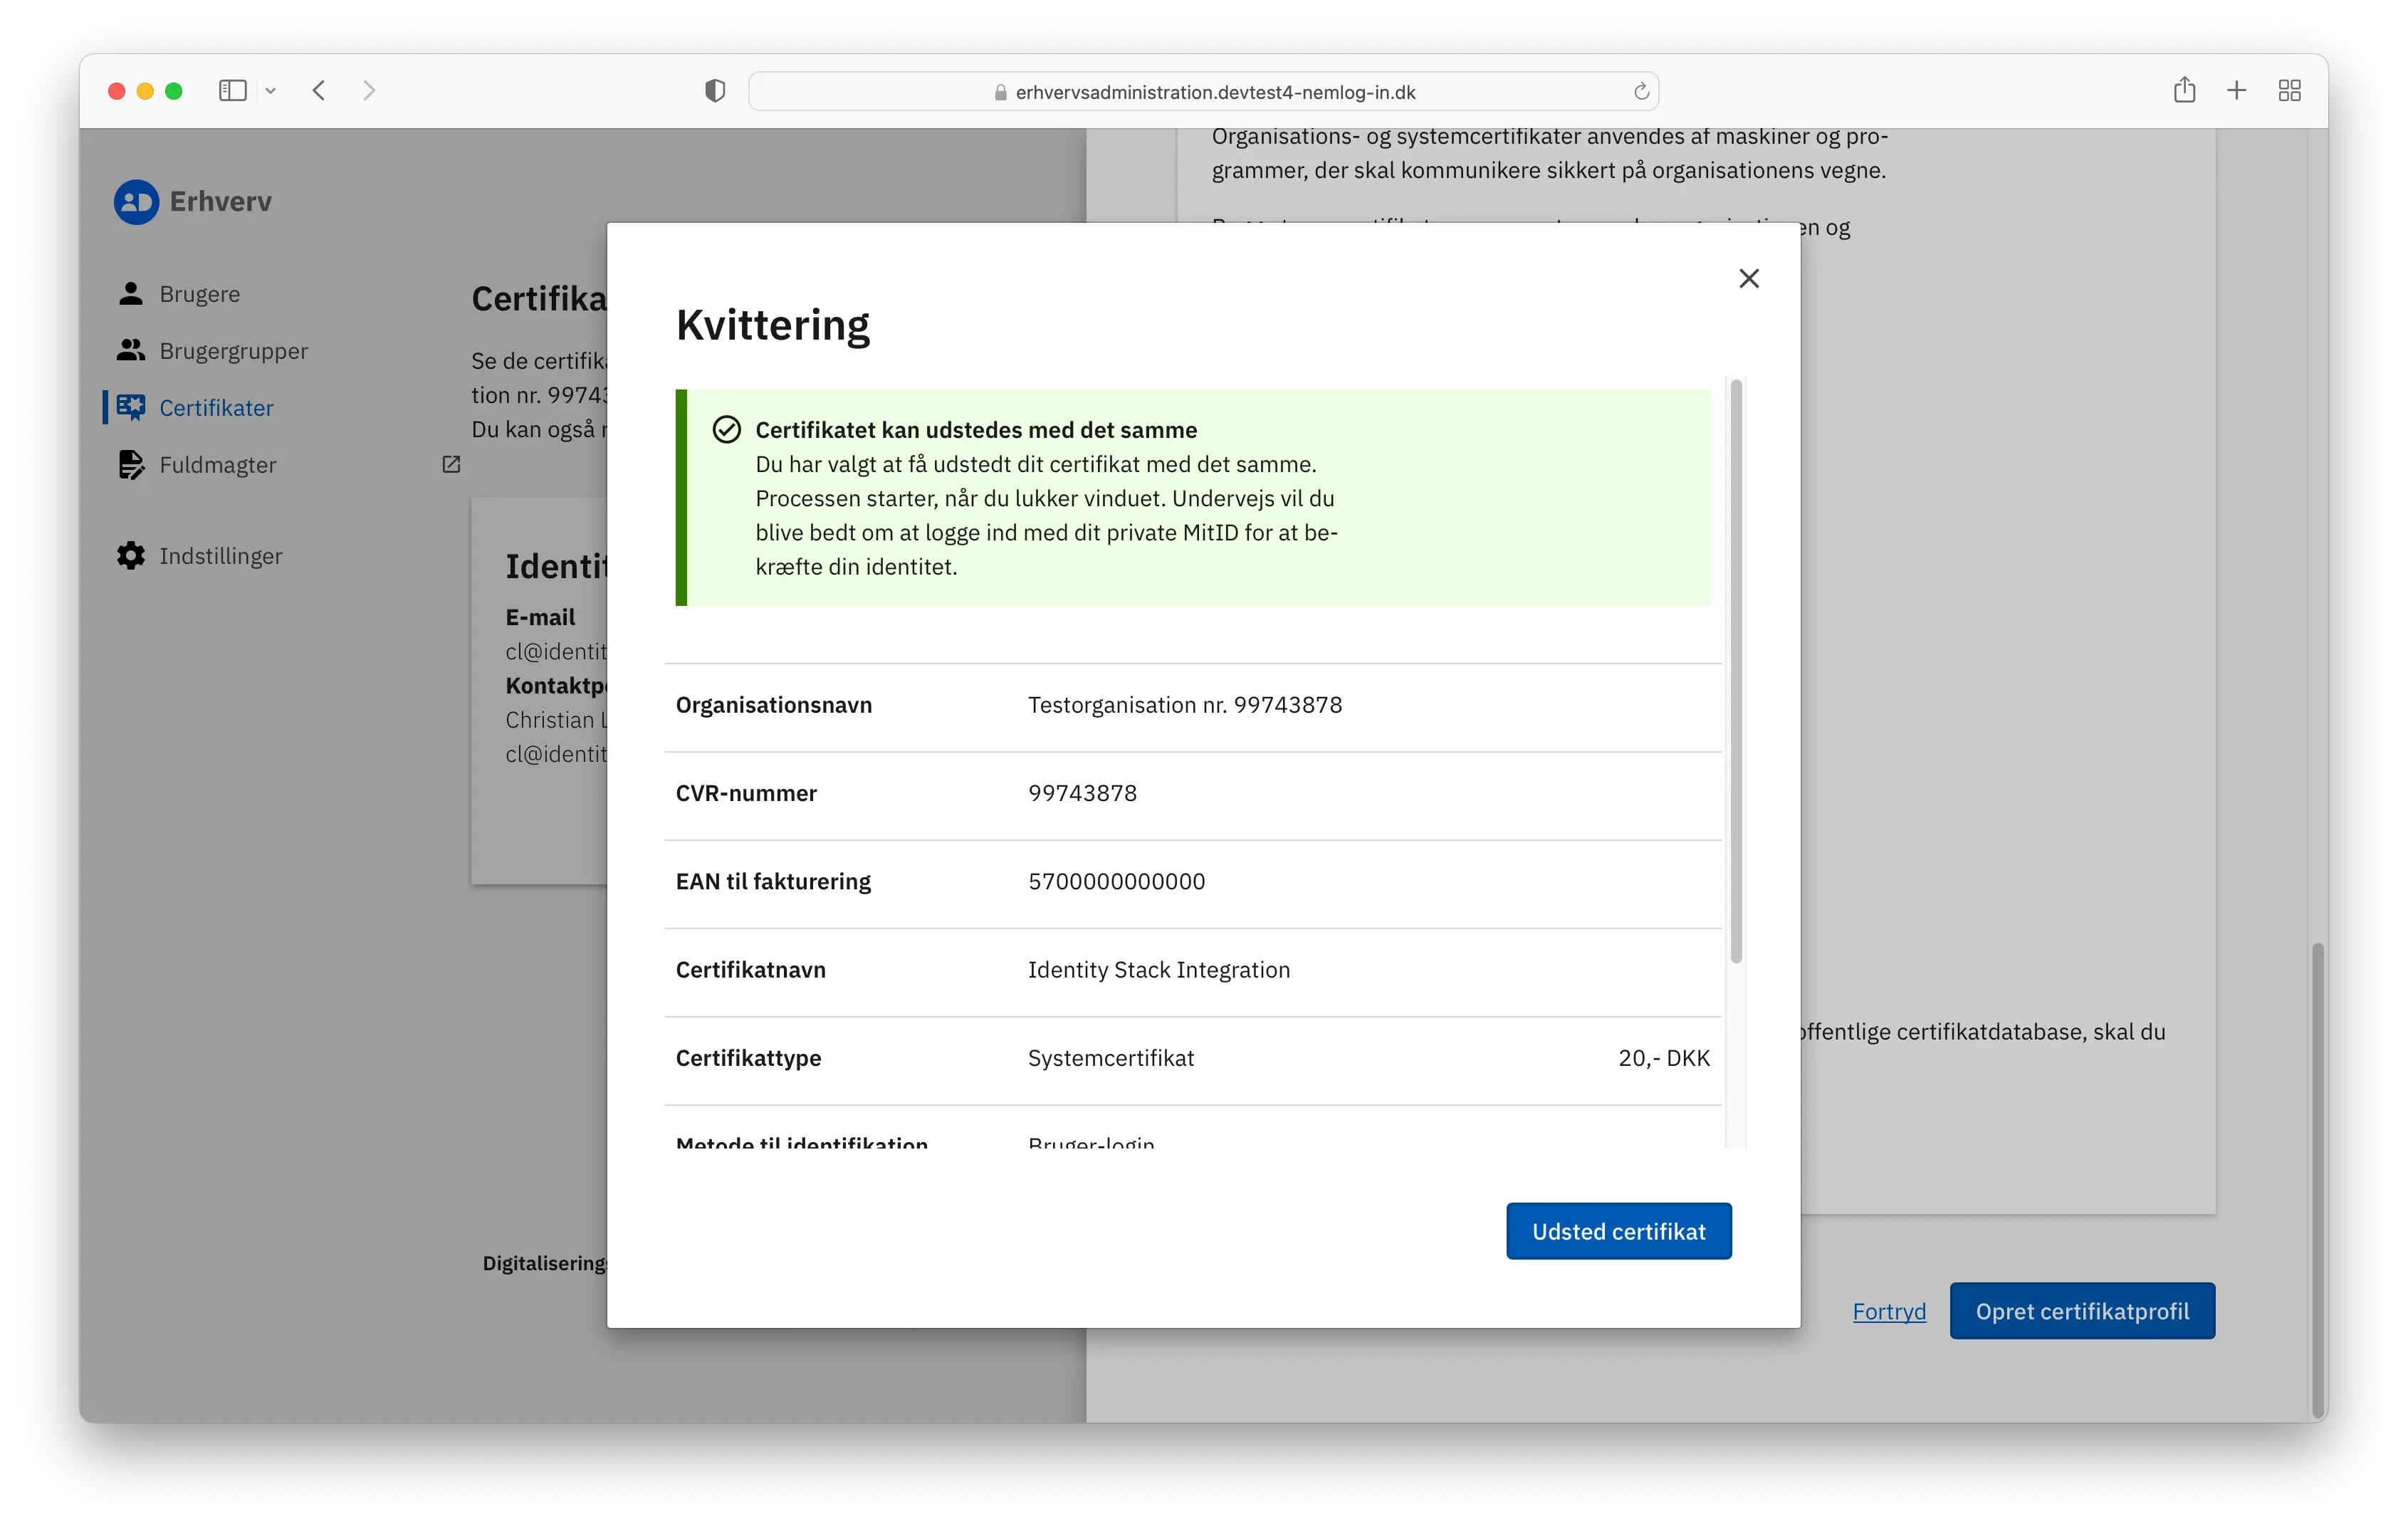
You will be redirected to NemLog-in for authentication with MitID to verify your identity.
After successful identity verification, the certificate issuance will commence. Click Næste to begin the process.
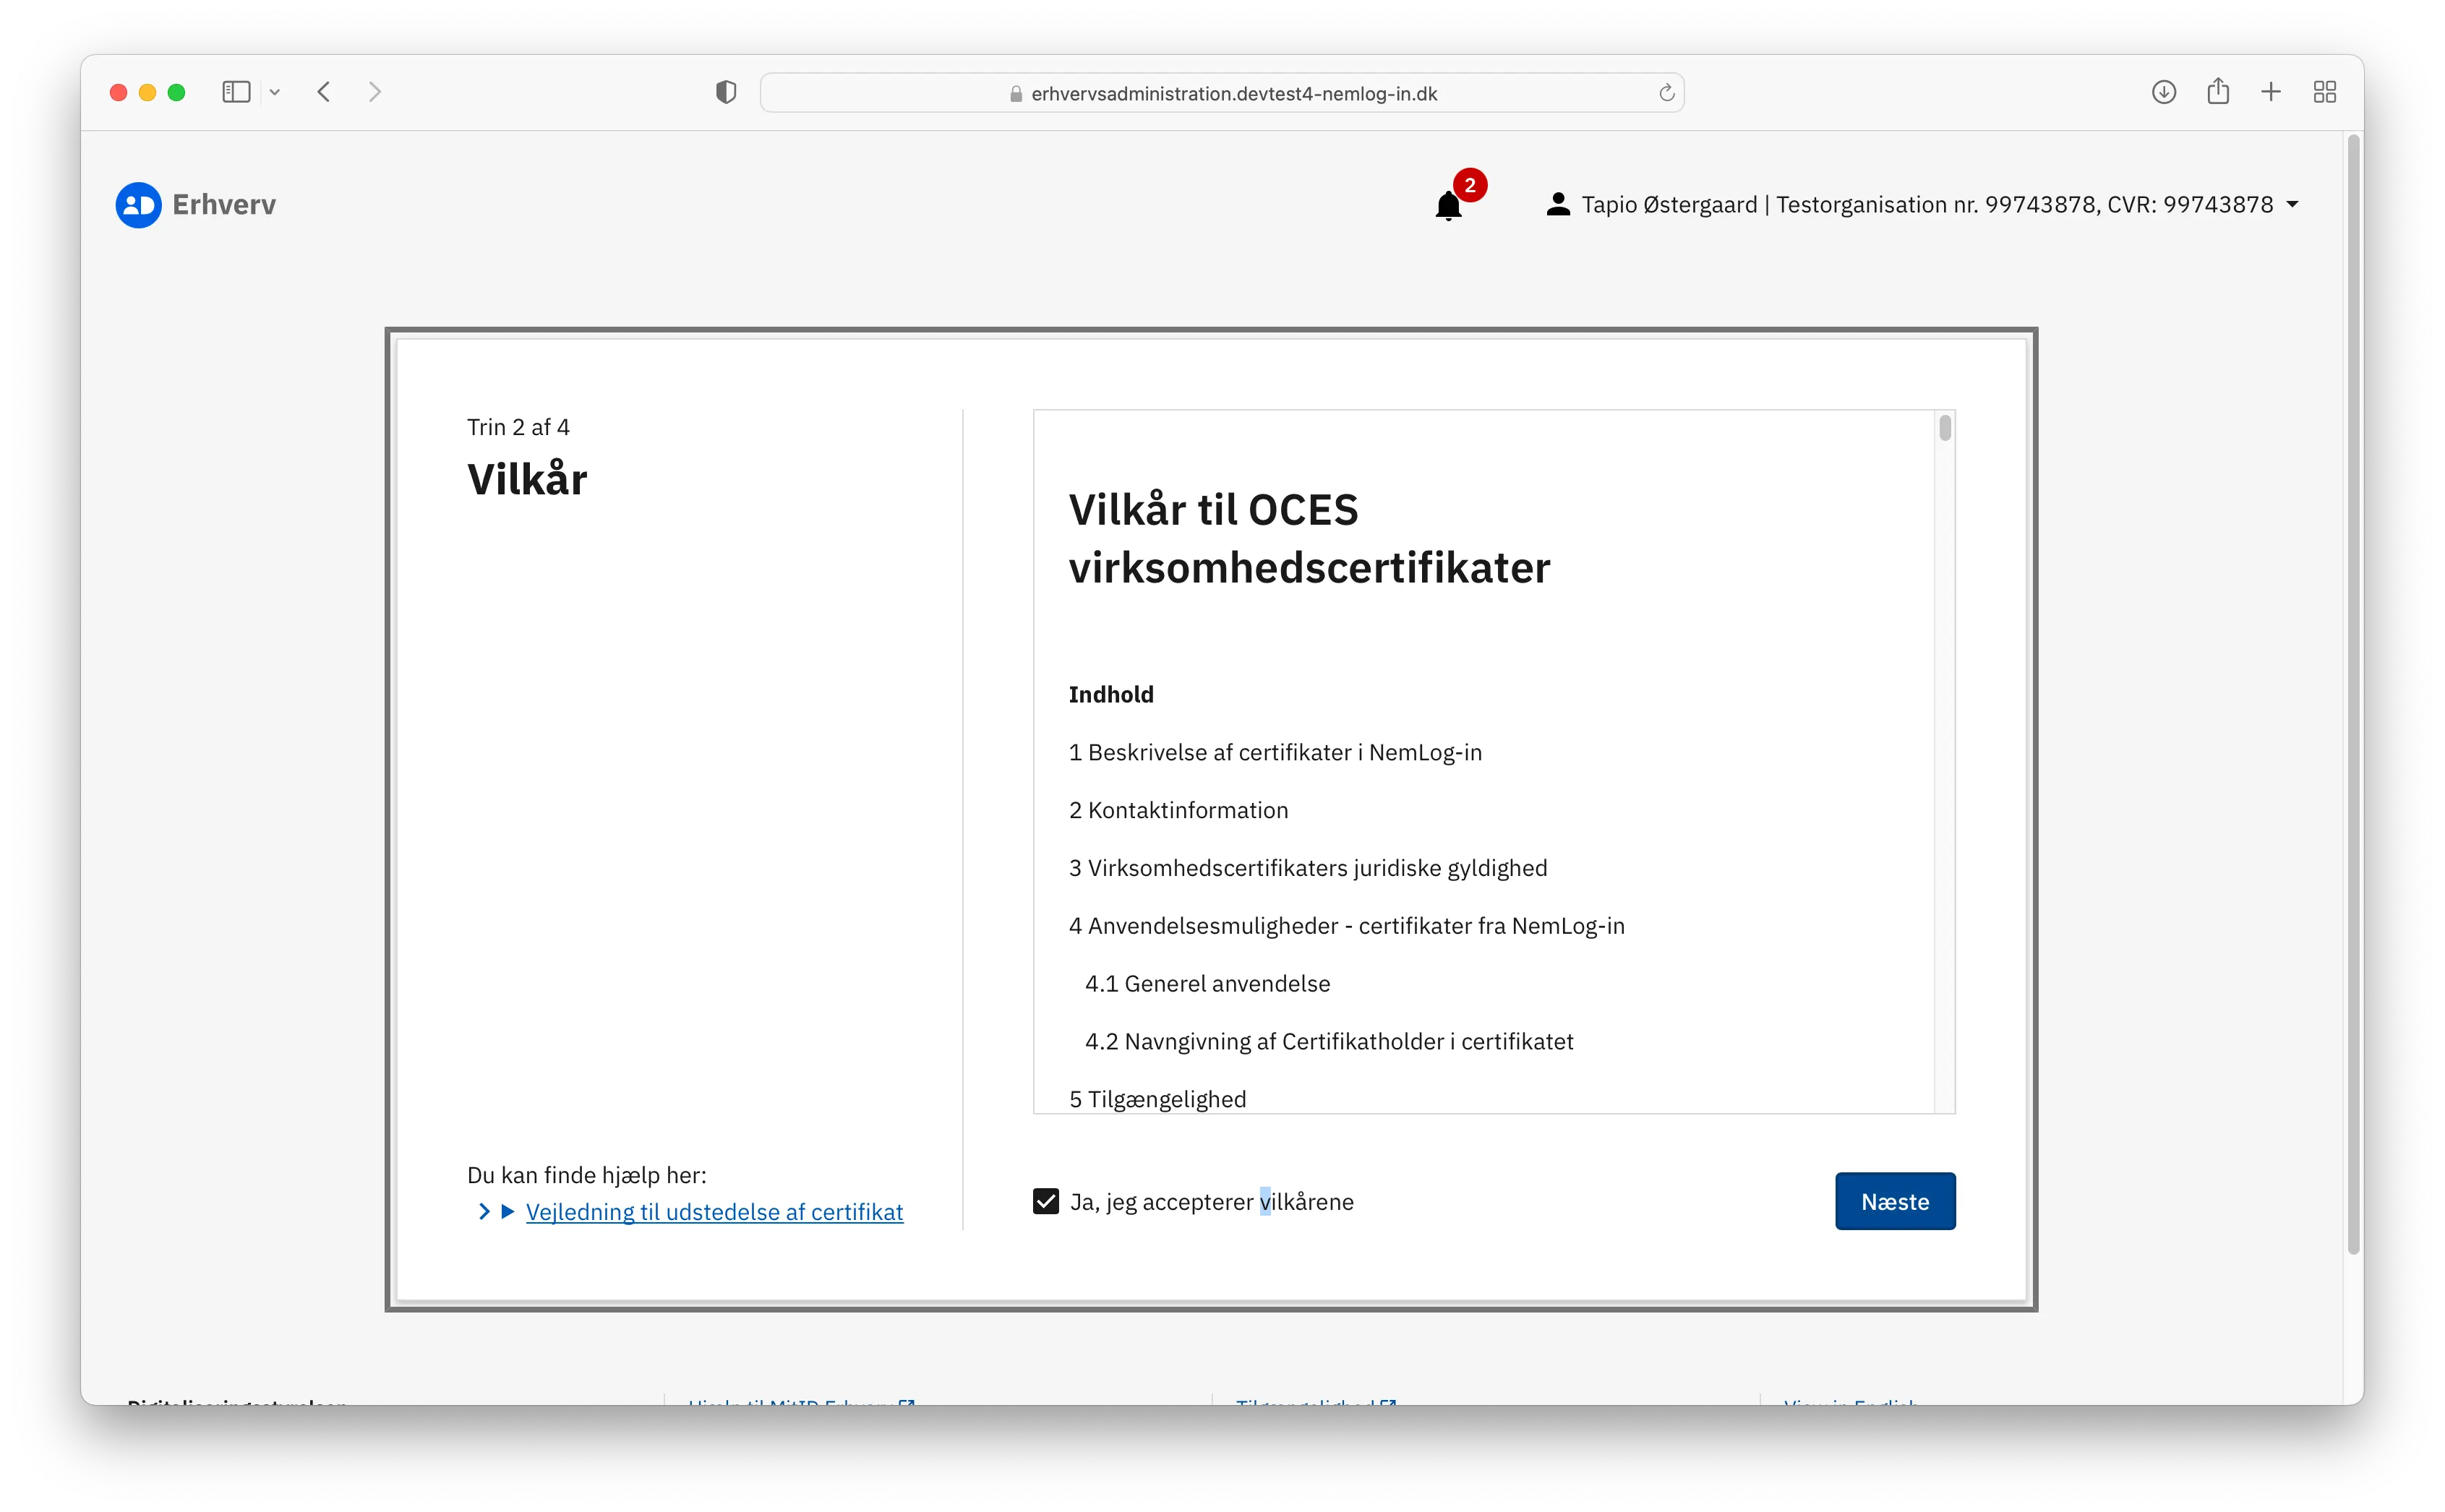
Read and accept the terms of use, then click Næste.
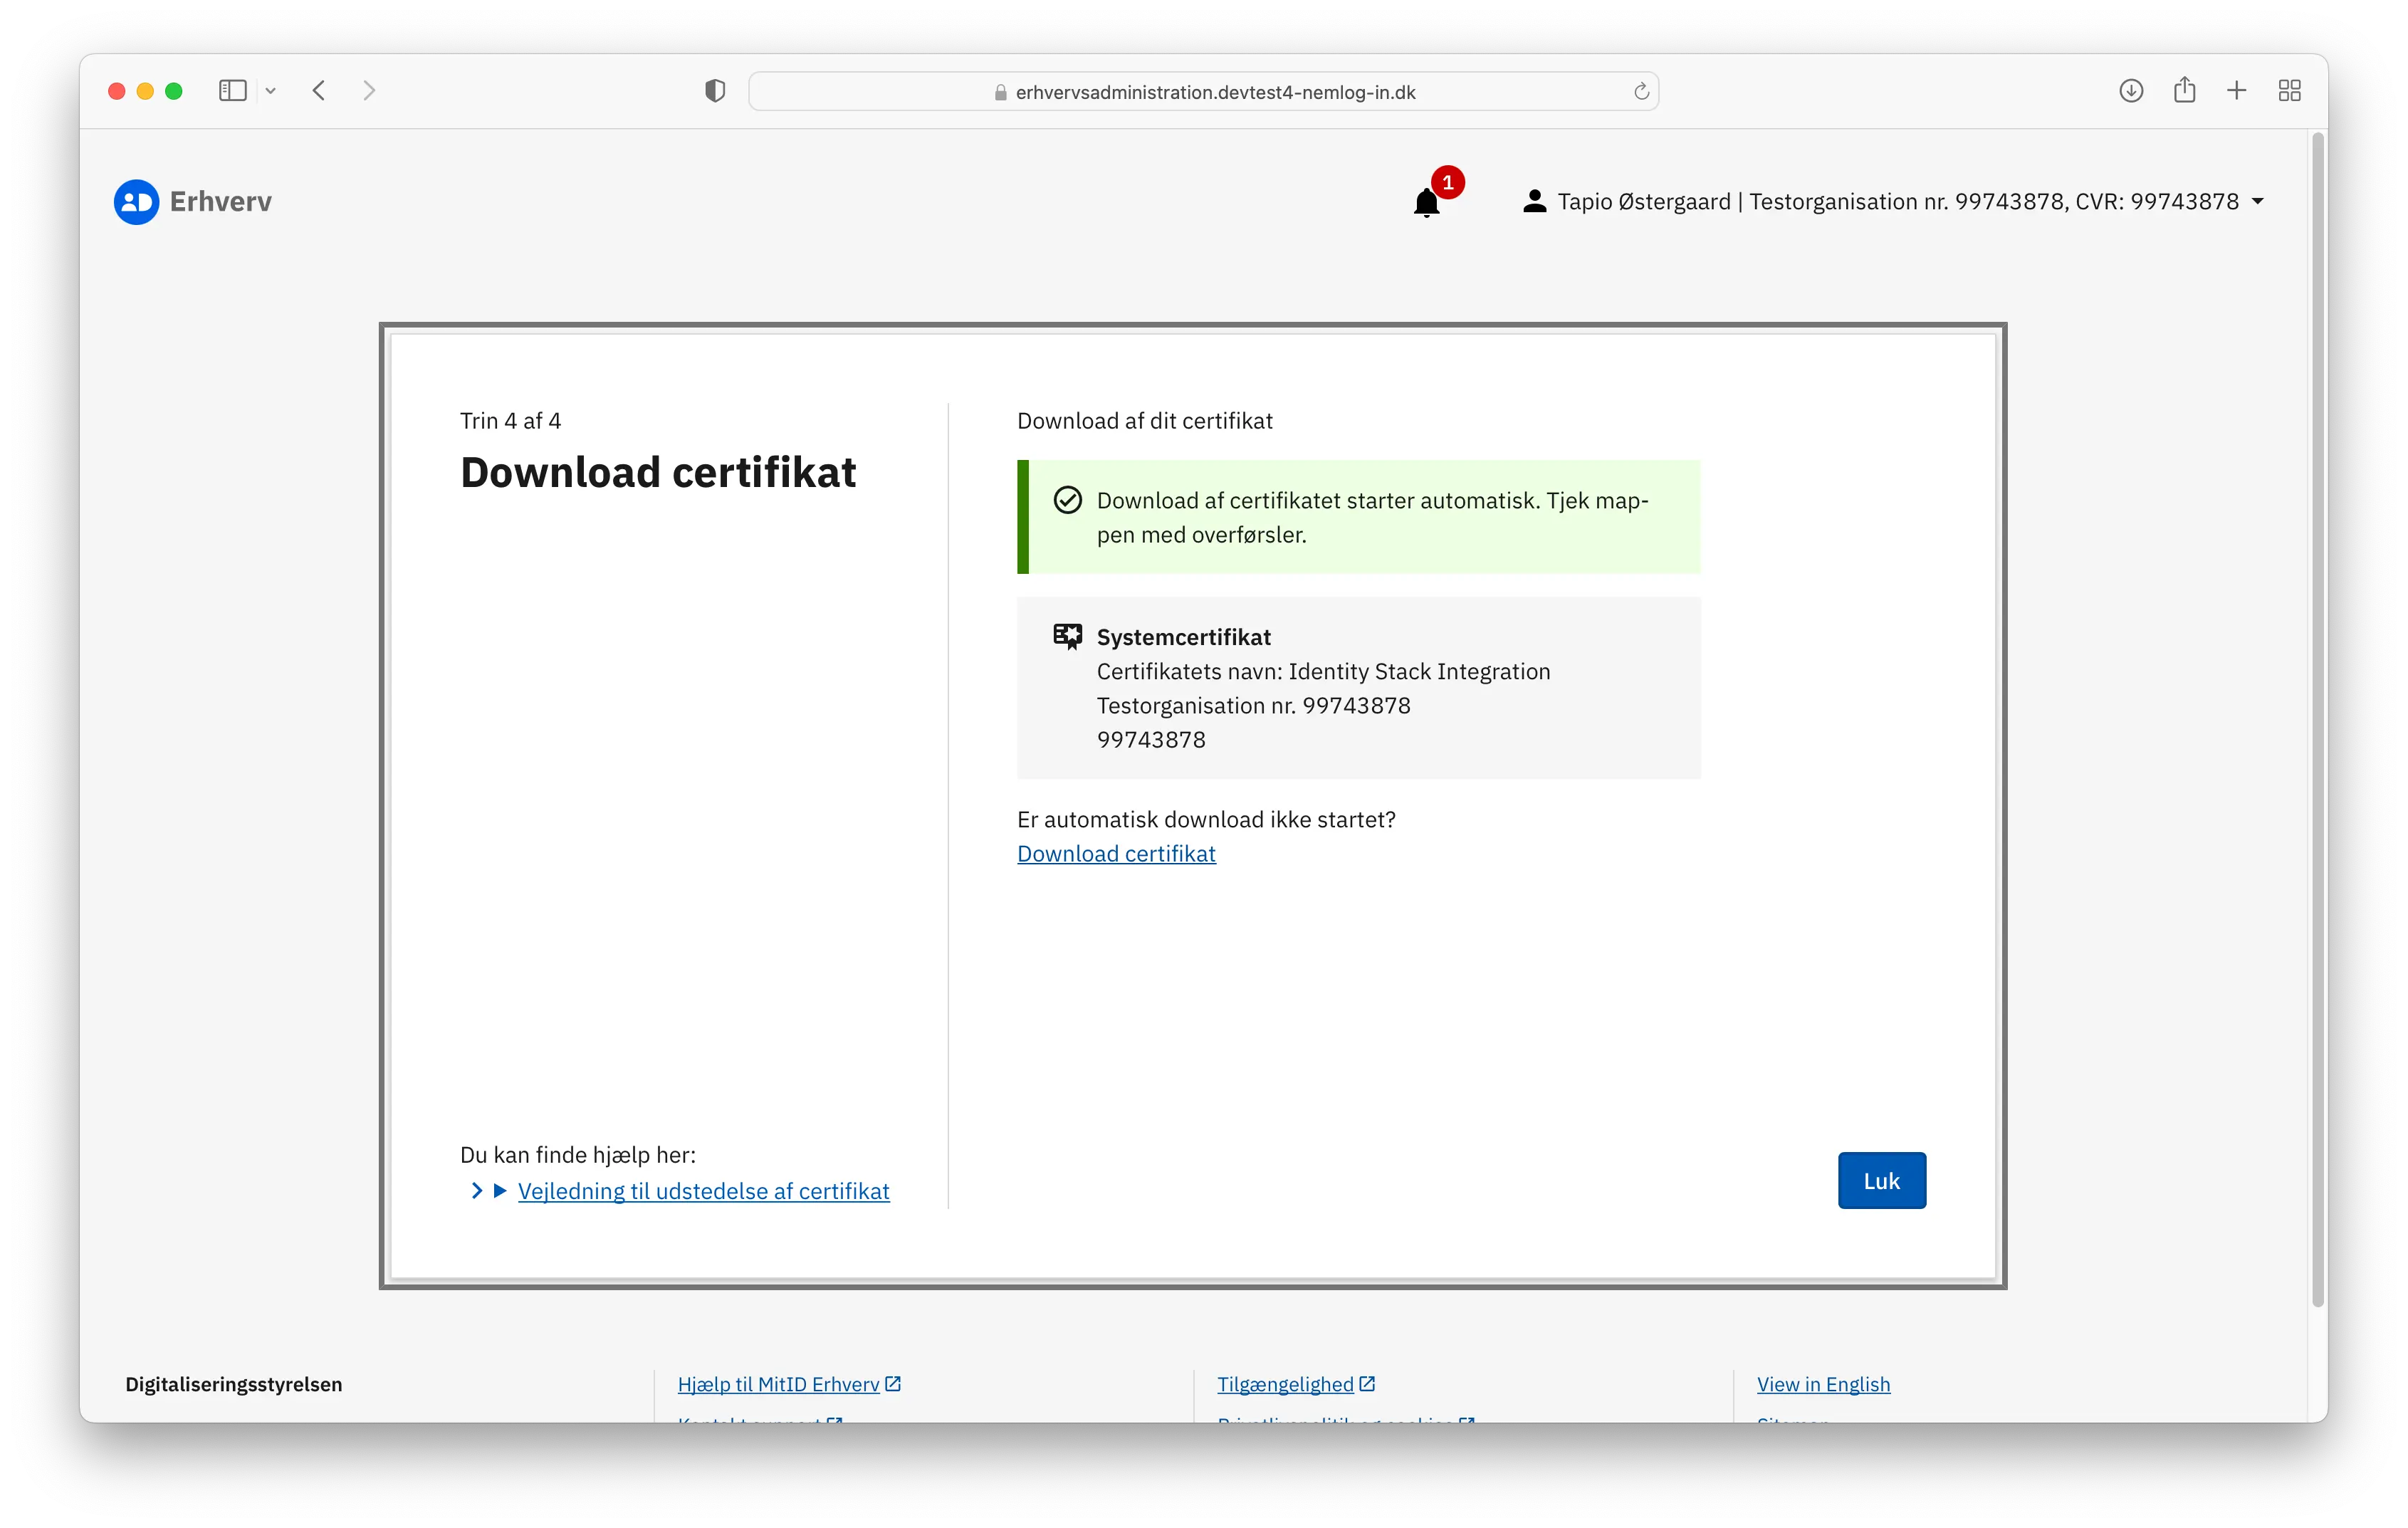
Your certificate has now been issued. Remember to save the password for future use.
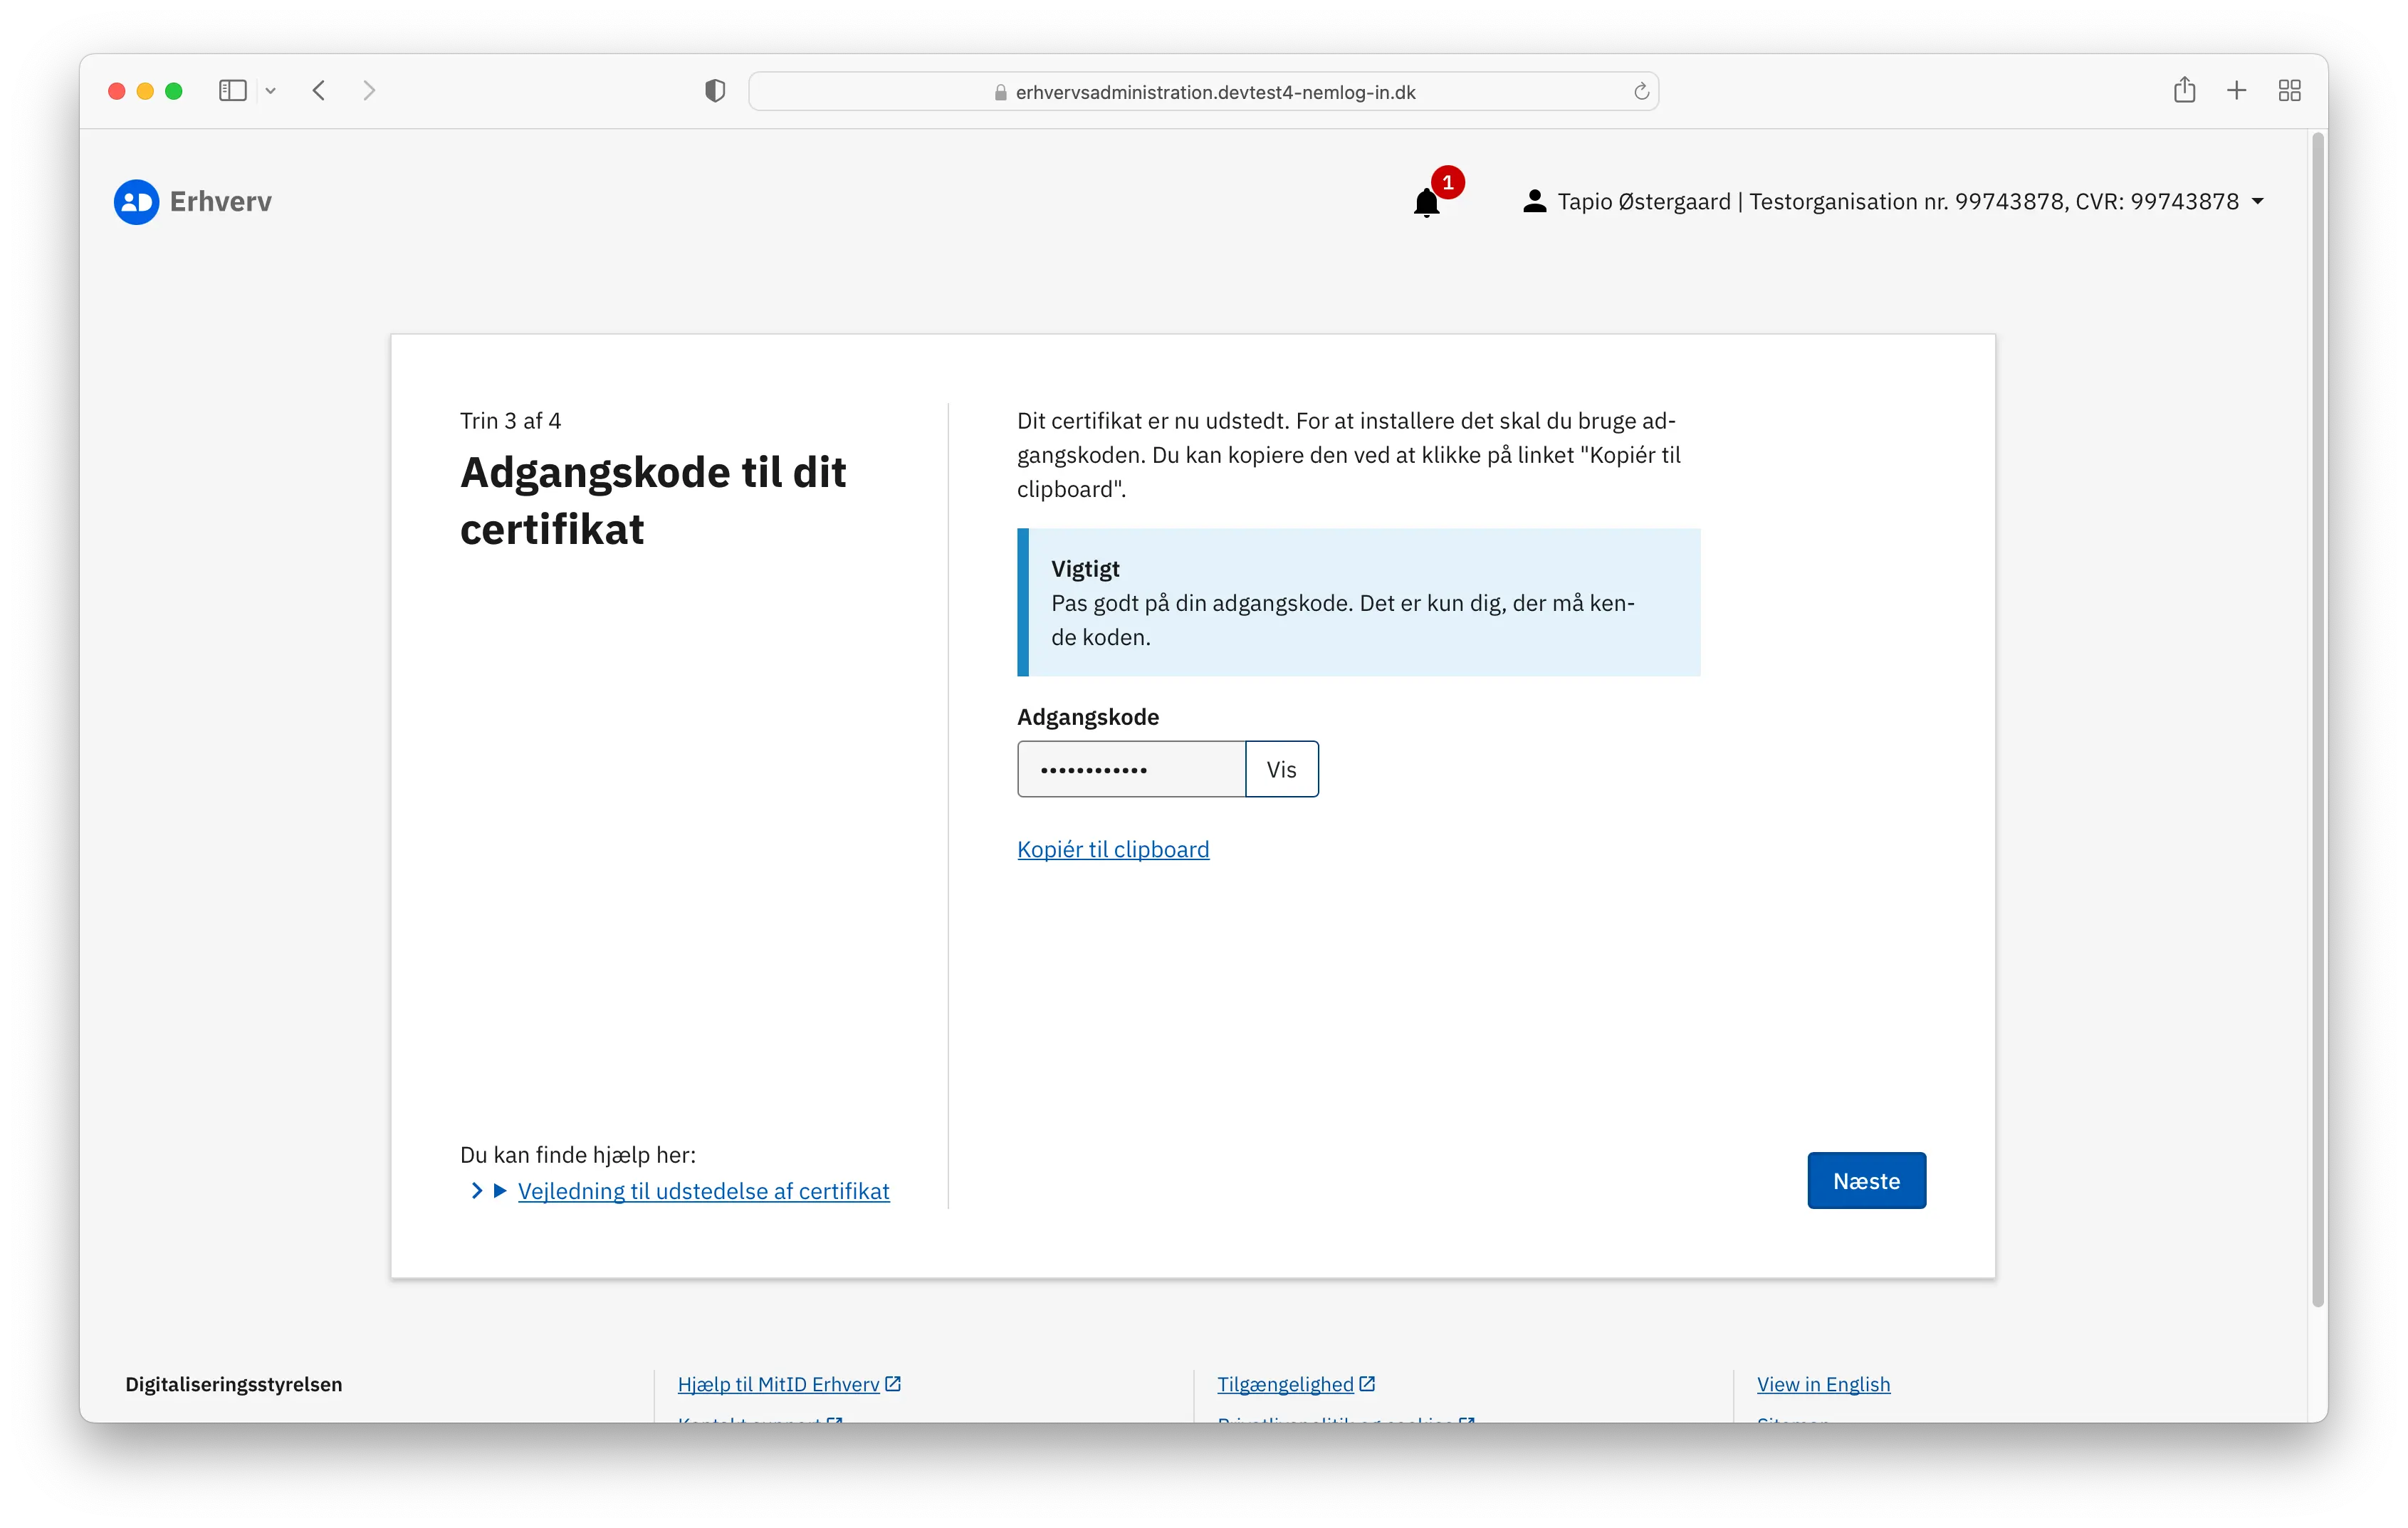
Click Download certifikat to save it on your device for later use.
Navigate to the Identity Stack Administration Portal and sign in with your Azure credentials.
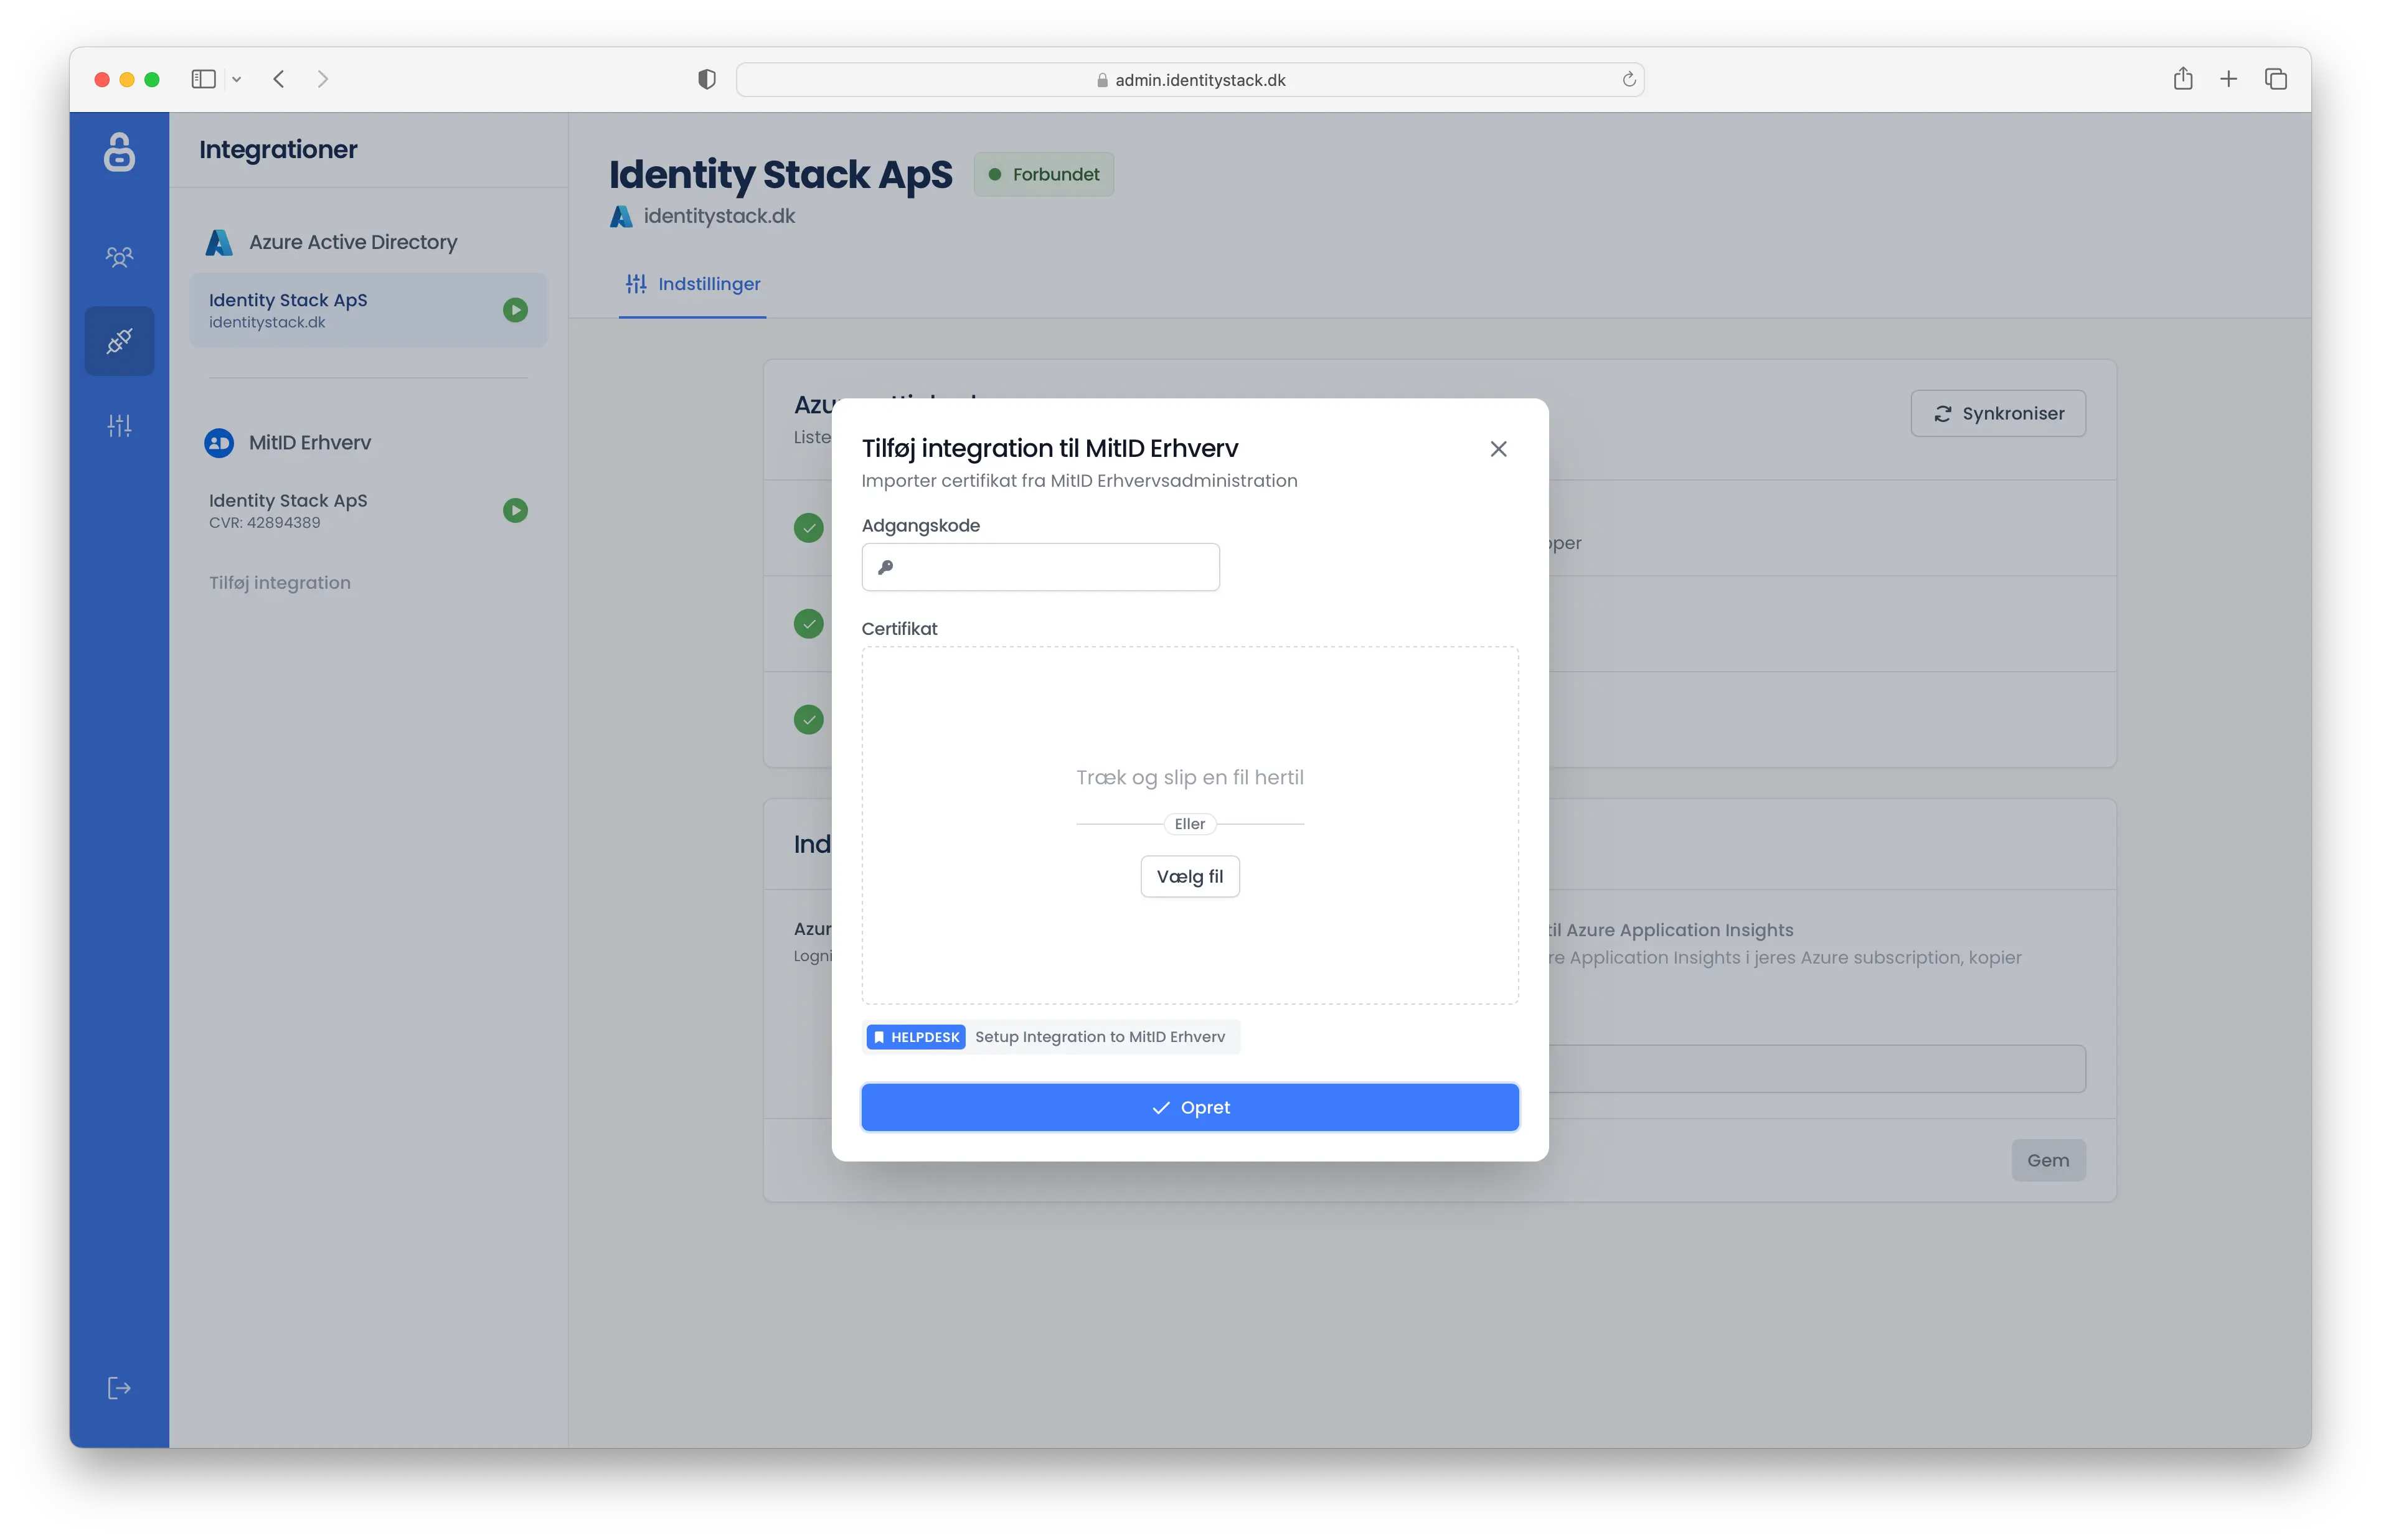
Click on Integrationer on the left-side menu and afterwards Tilføj Integration.

A modal window will appear, prompting you to enter the previously saved password and upload the certificate. You'll then need to confirm, on your organization's behalf, that Identity Stack can manage your MitID Erhverv.
When Identity Stack has been successfully connected to your MitID Erhverv, a similar screen as depicted below will be shown. Here you can see a connection has been successfully established.
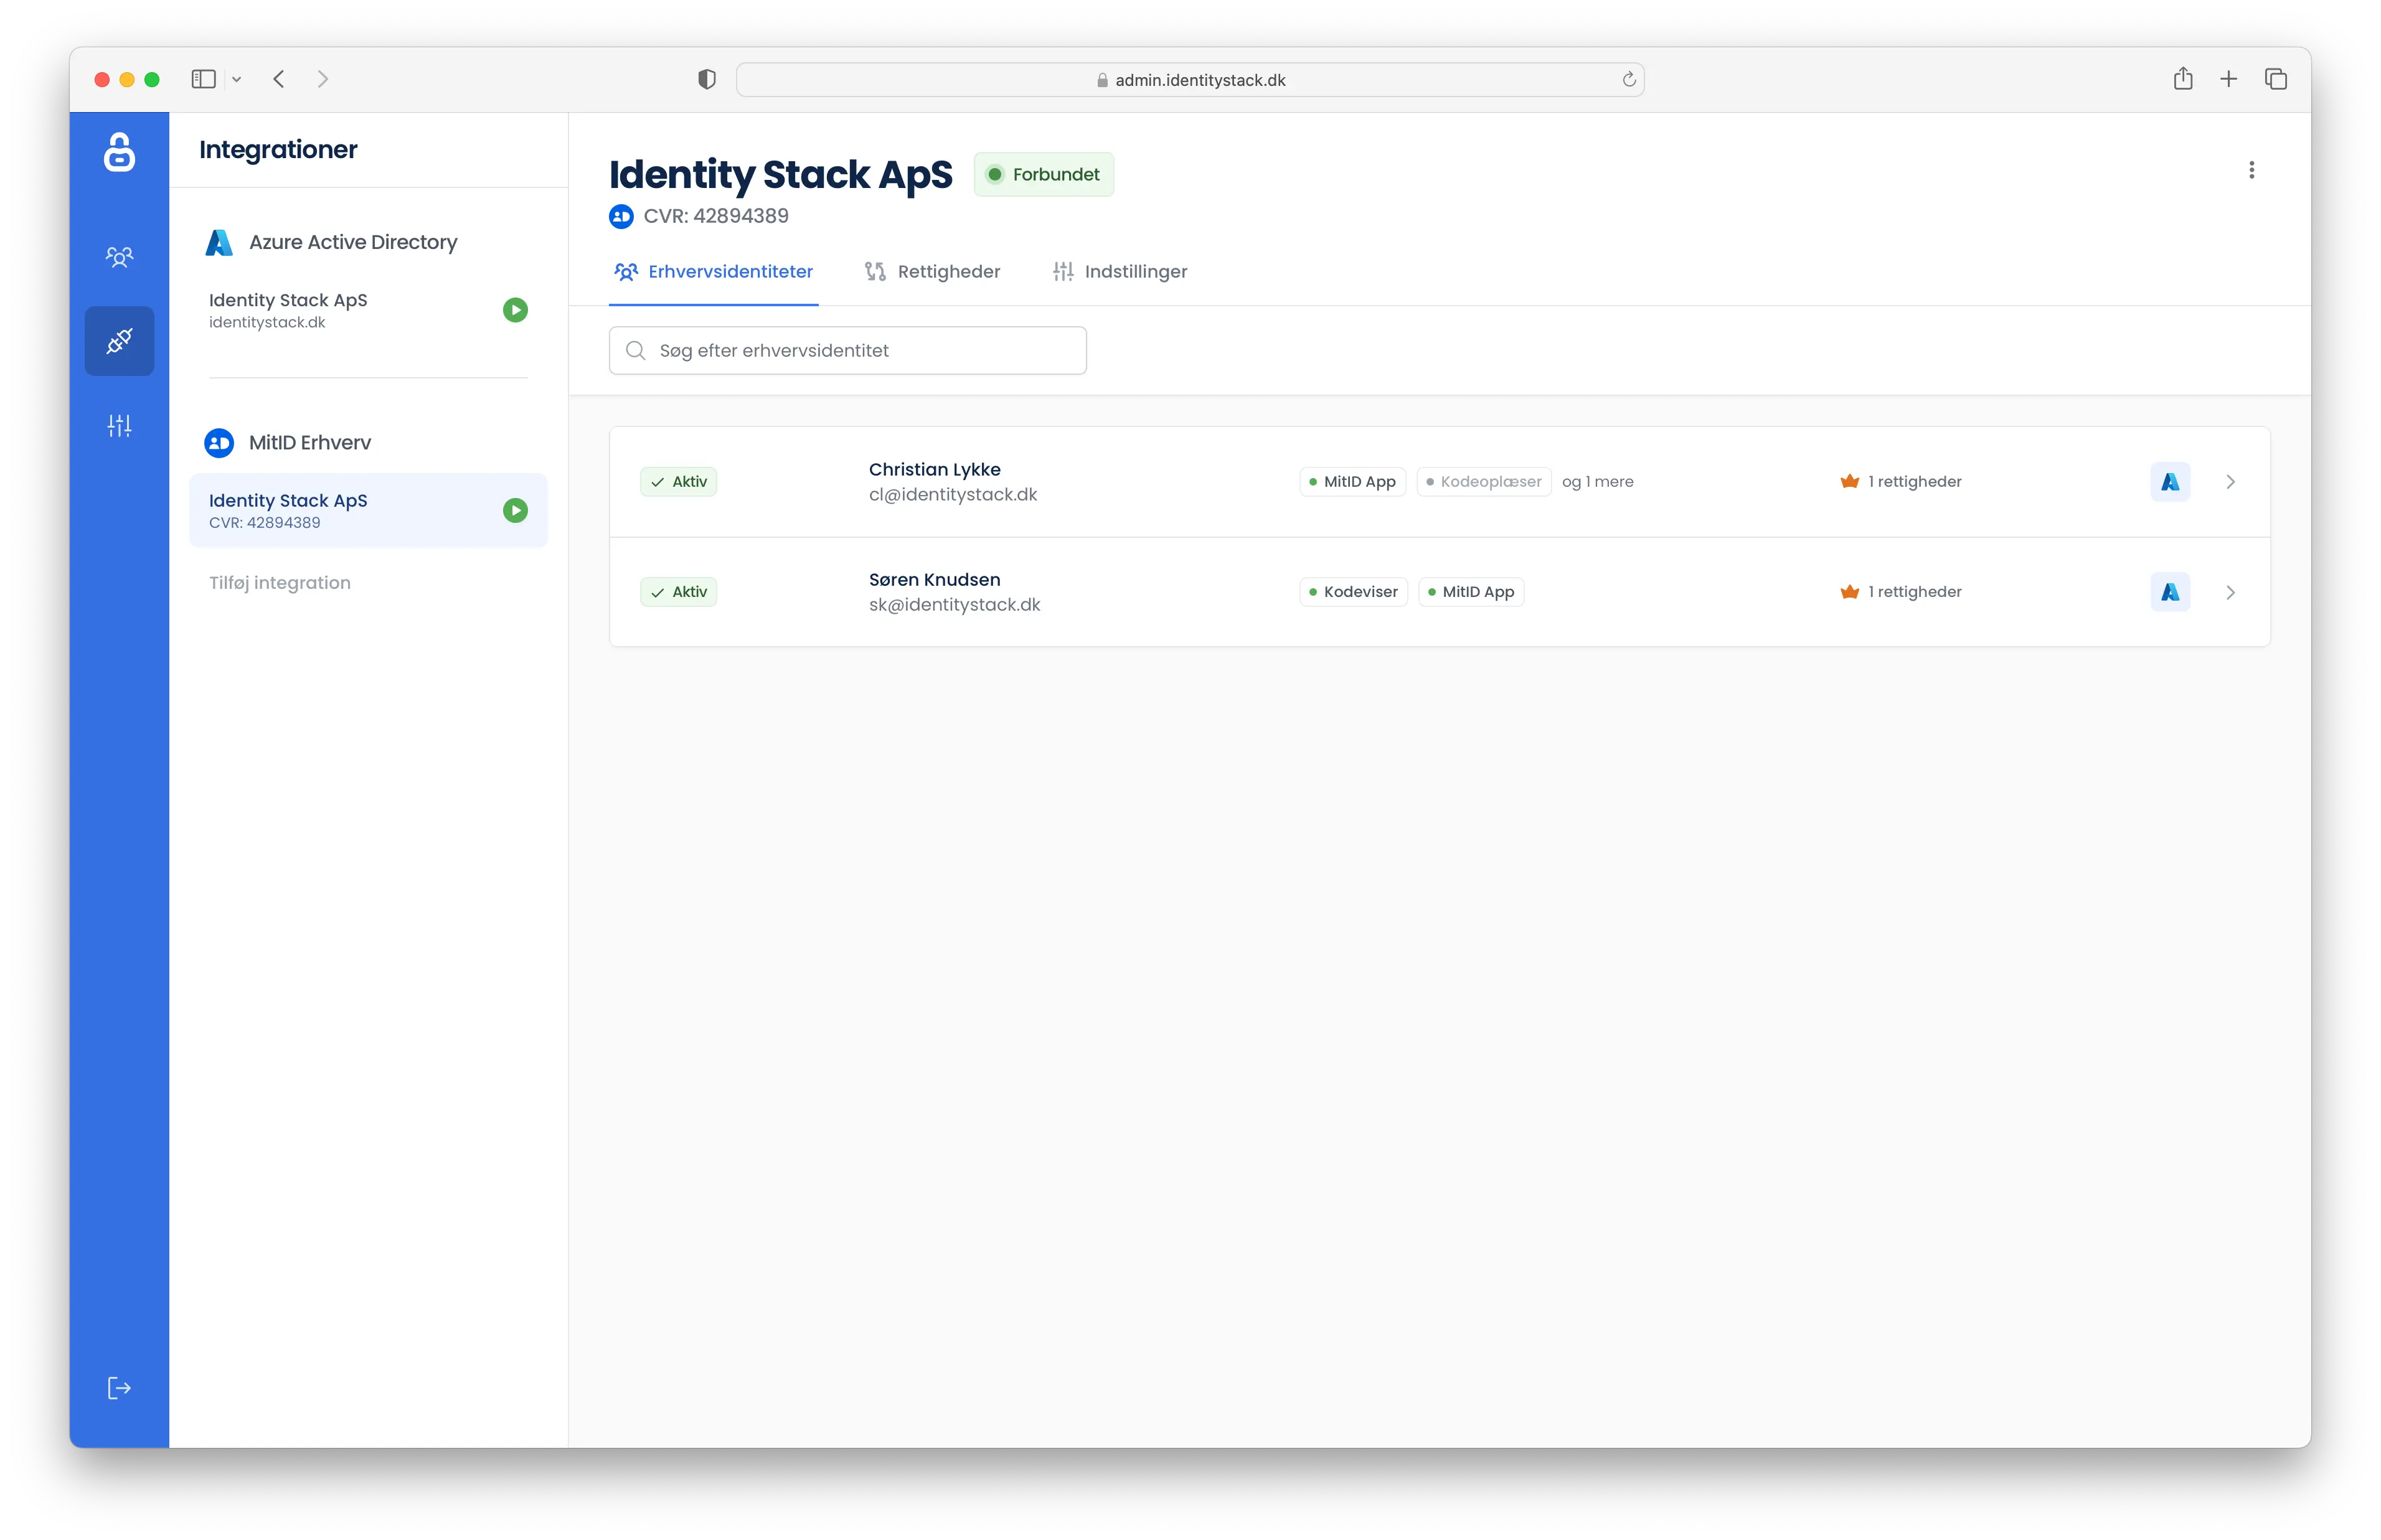
If you have more than one legal entity, you can repeat the steps.