Activation with MitID
Background
Once a user has been assigned to an access-granting Azure Group, making them eligible for a MitID Erhverv business identity, they can navigate to the company's MitID Erhverv self-service portal, e.g., mitid.company.com where they can activate their business identity.
Email Notification
In addition to this, administrators can opt in to allow Identity Stack to send out email notifications, for example, when a user has been granted a business identity and it is ready to be activated.
Step-by-step
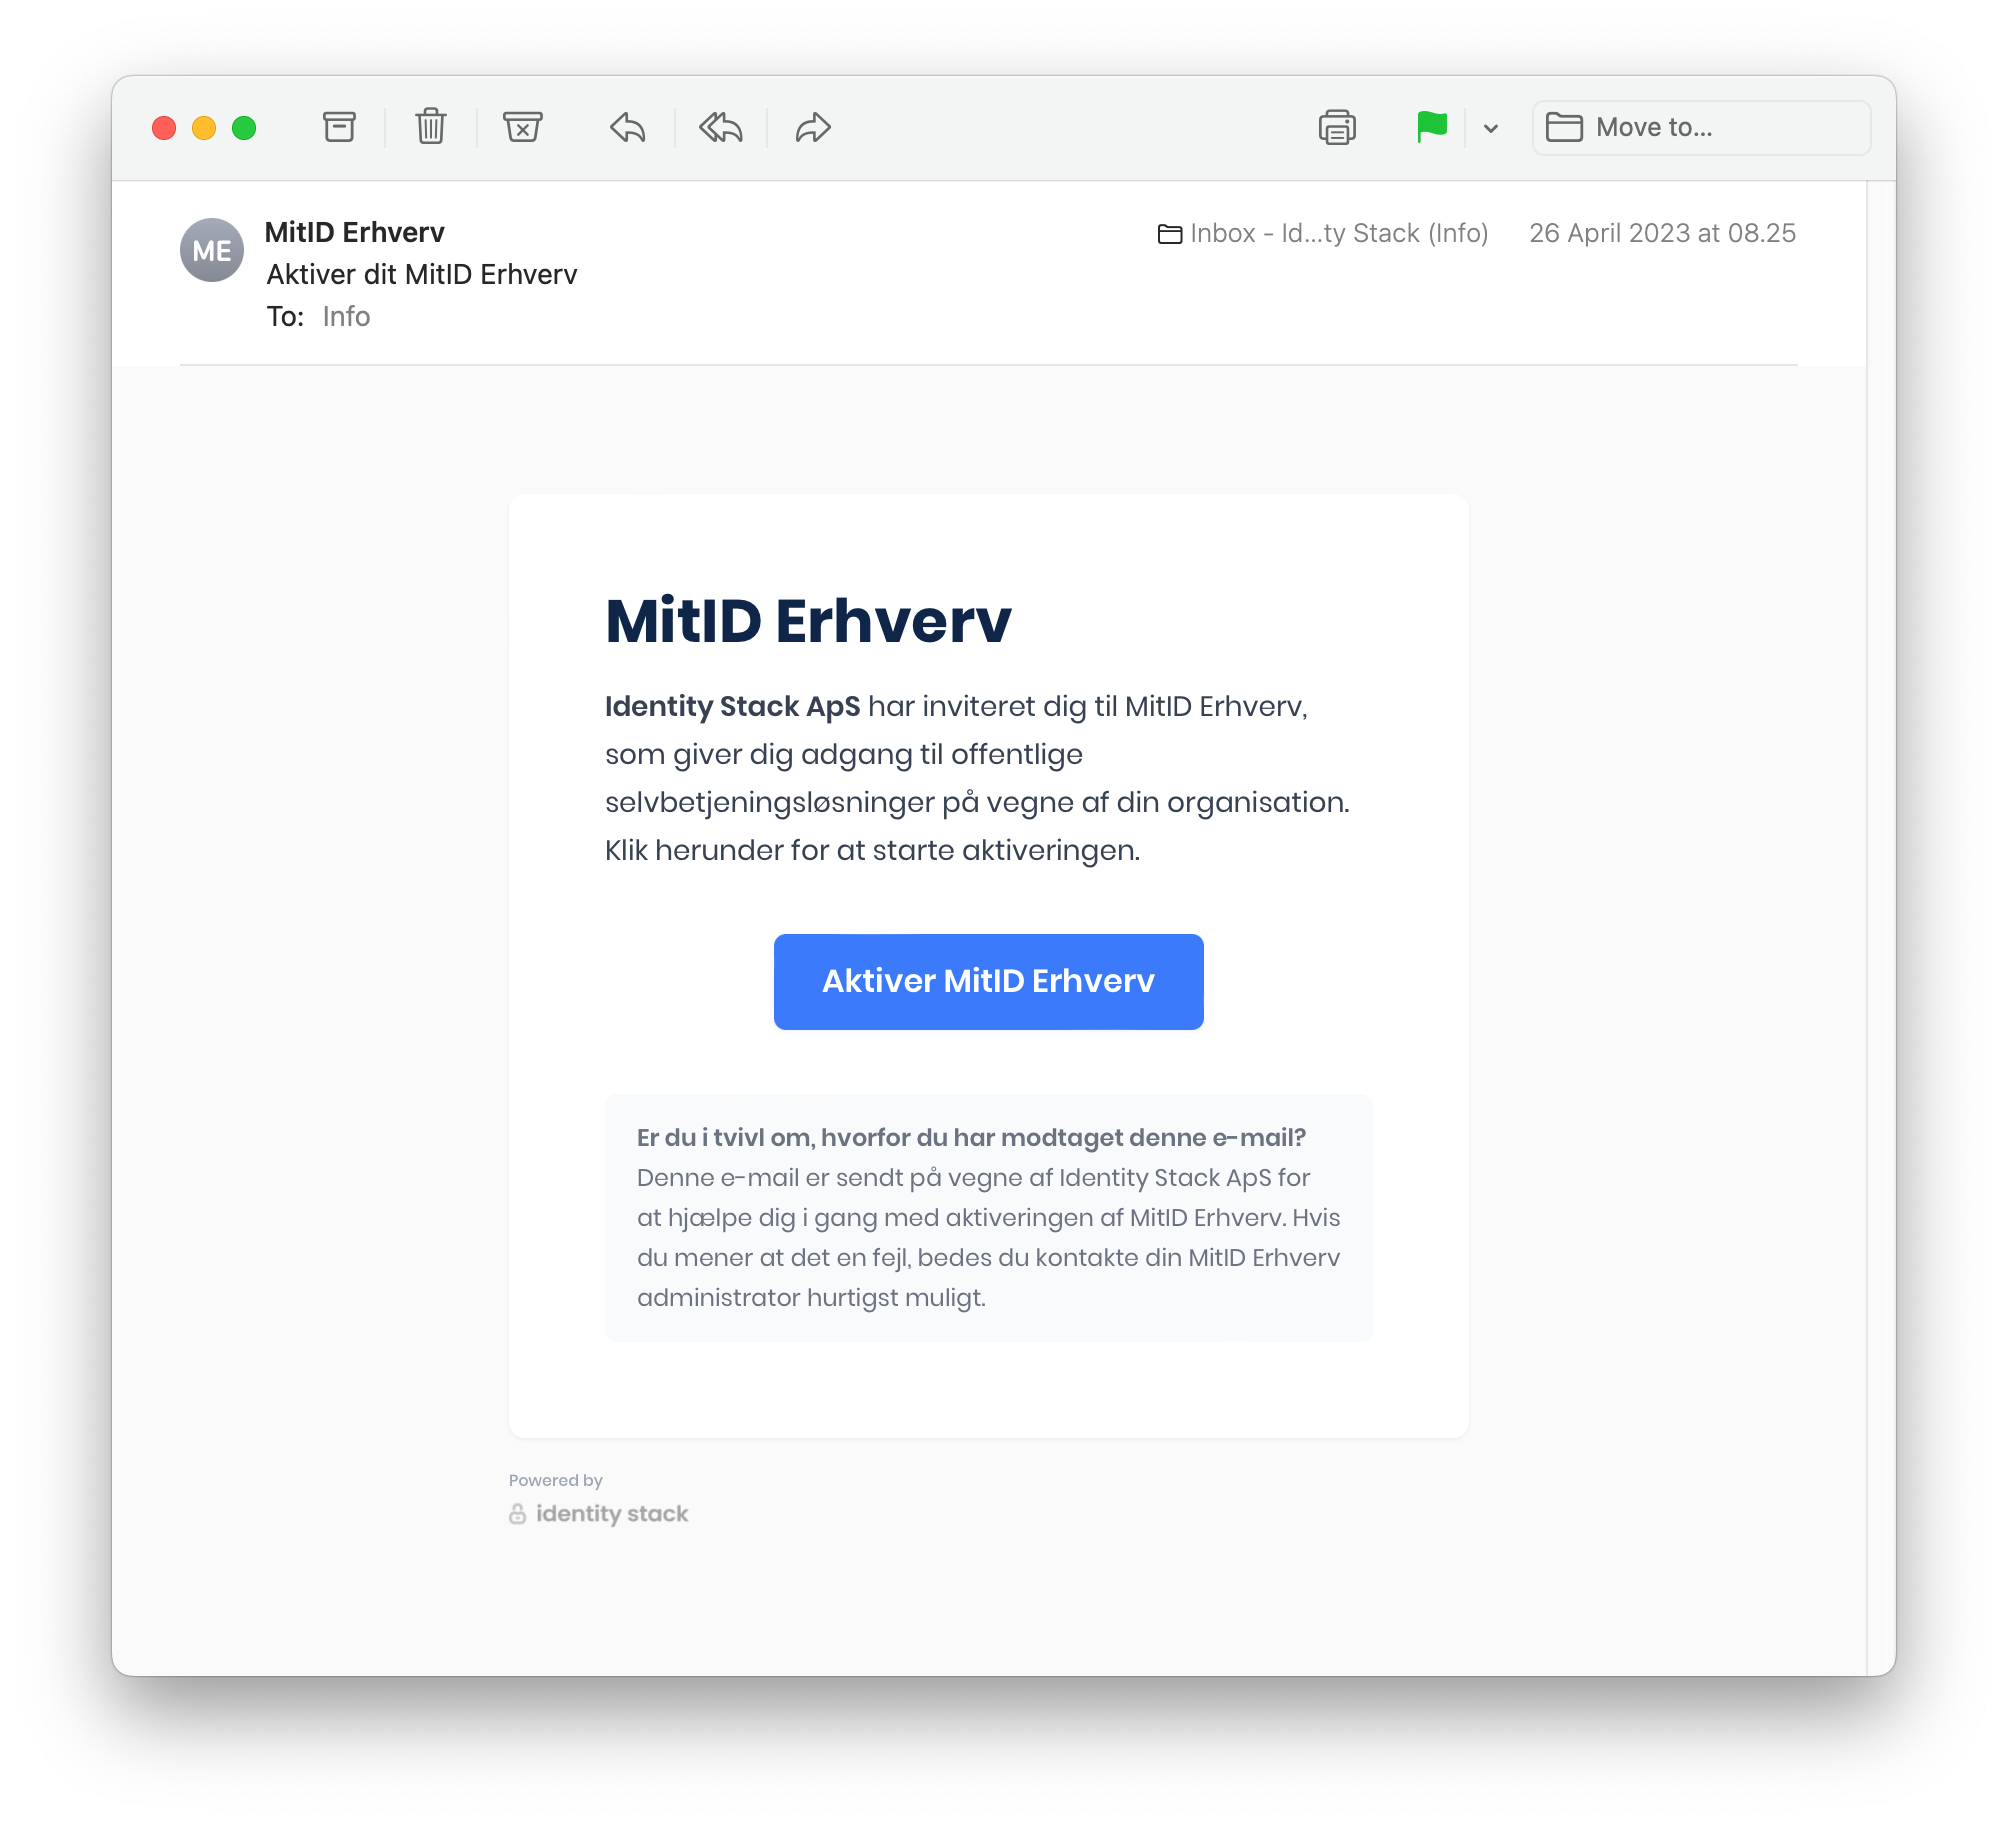
- The user will receive an email notifying them of their eligibility for a MitID Erhverv business identity. Upon clicking on Aktiver MitID Erhverv, they will be redirected to the company's MitID Erhverv self-service portal.
Company-Branded
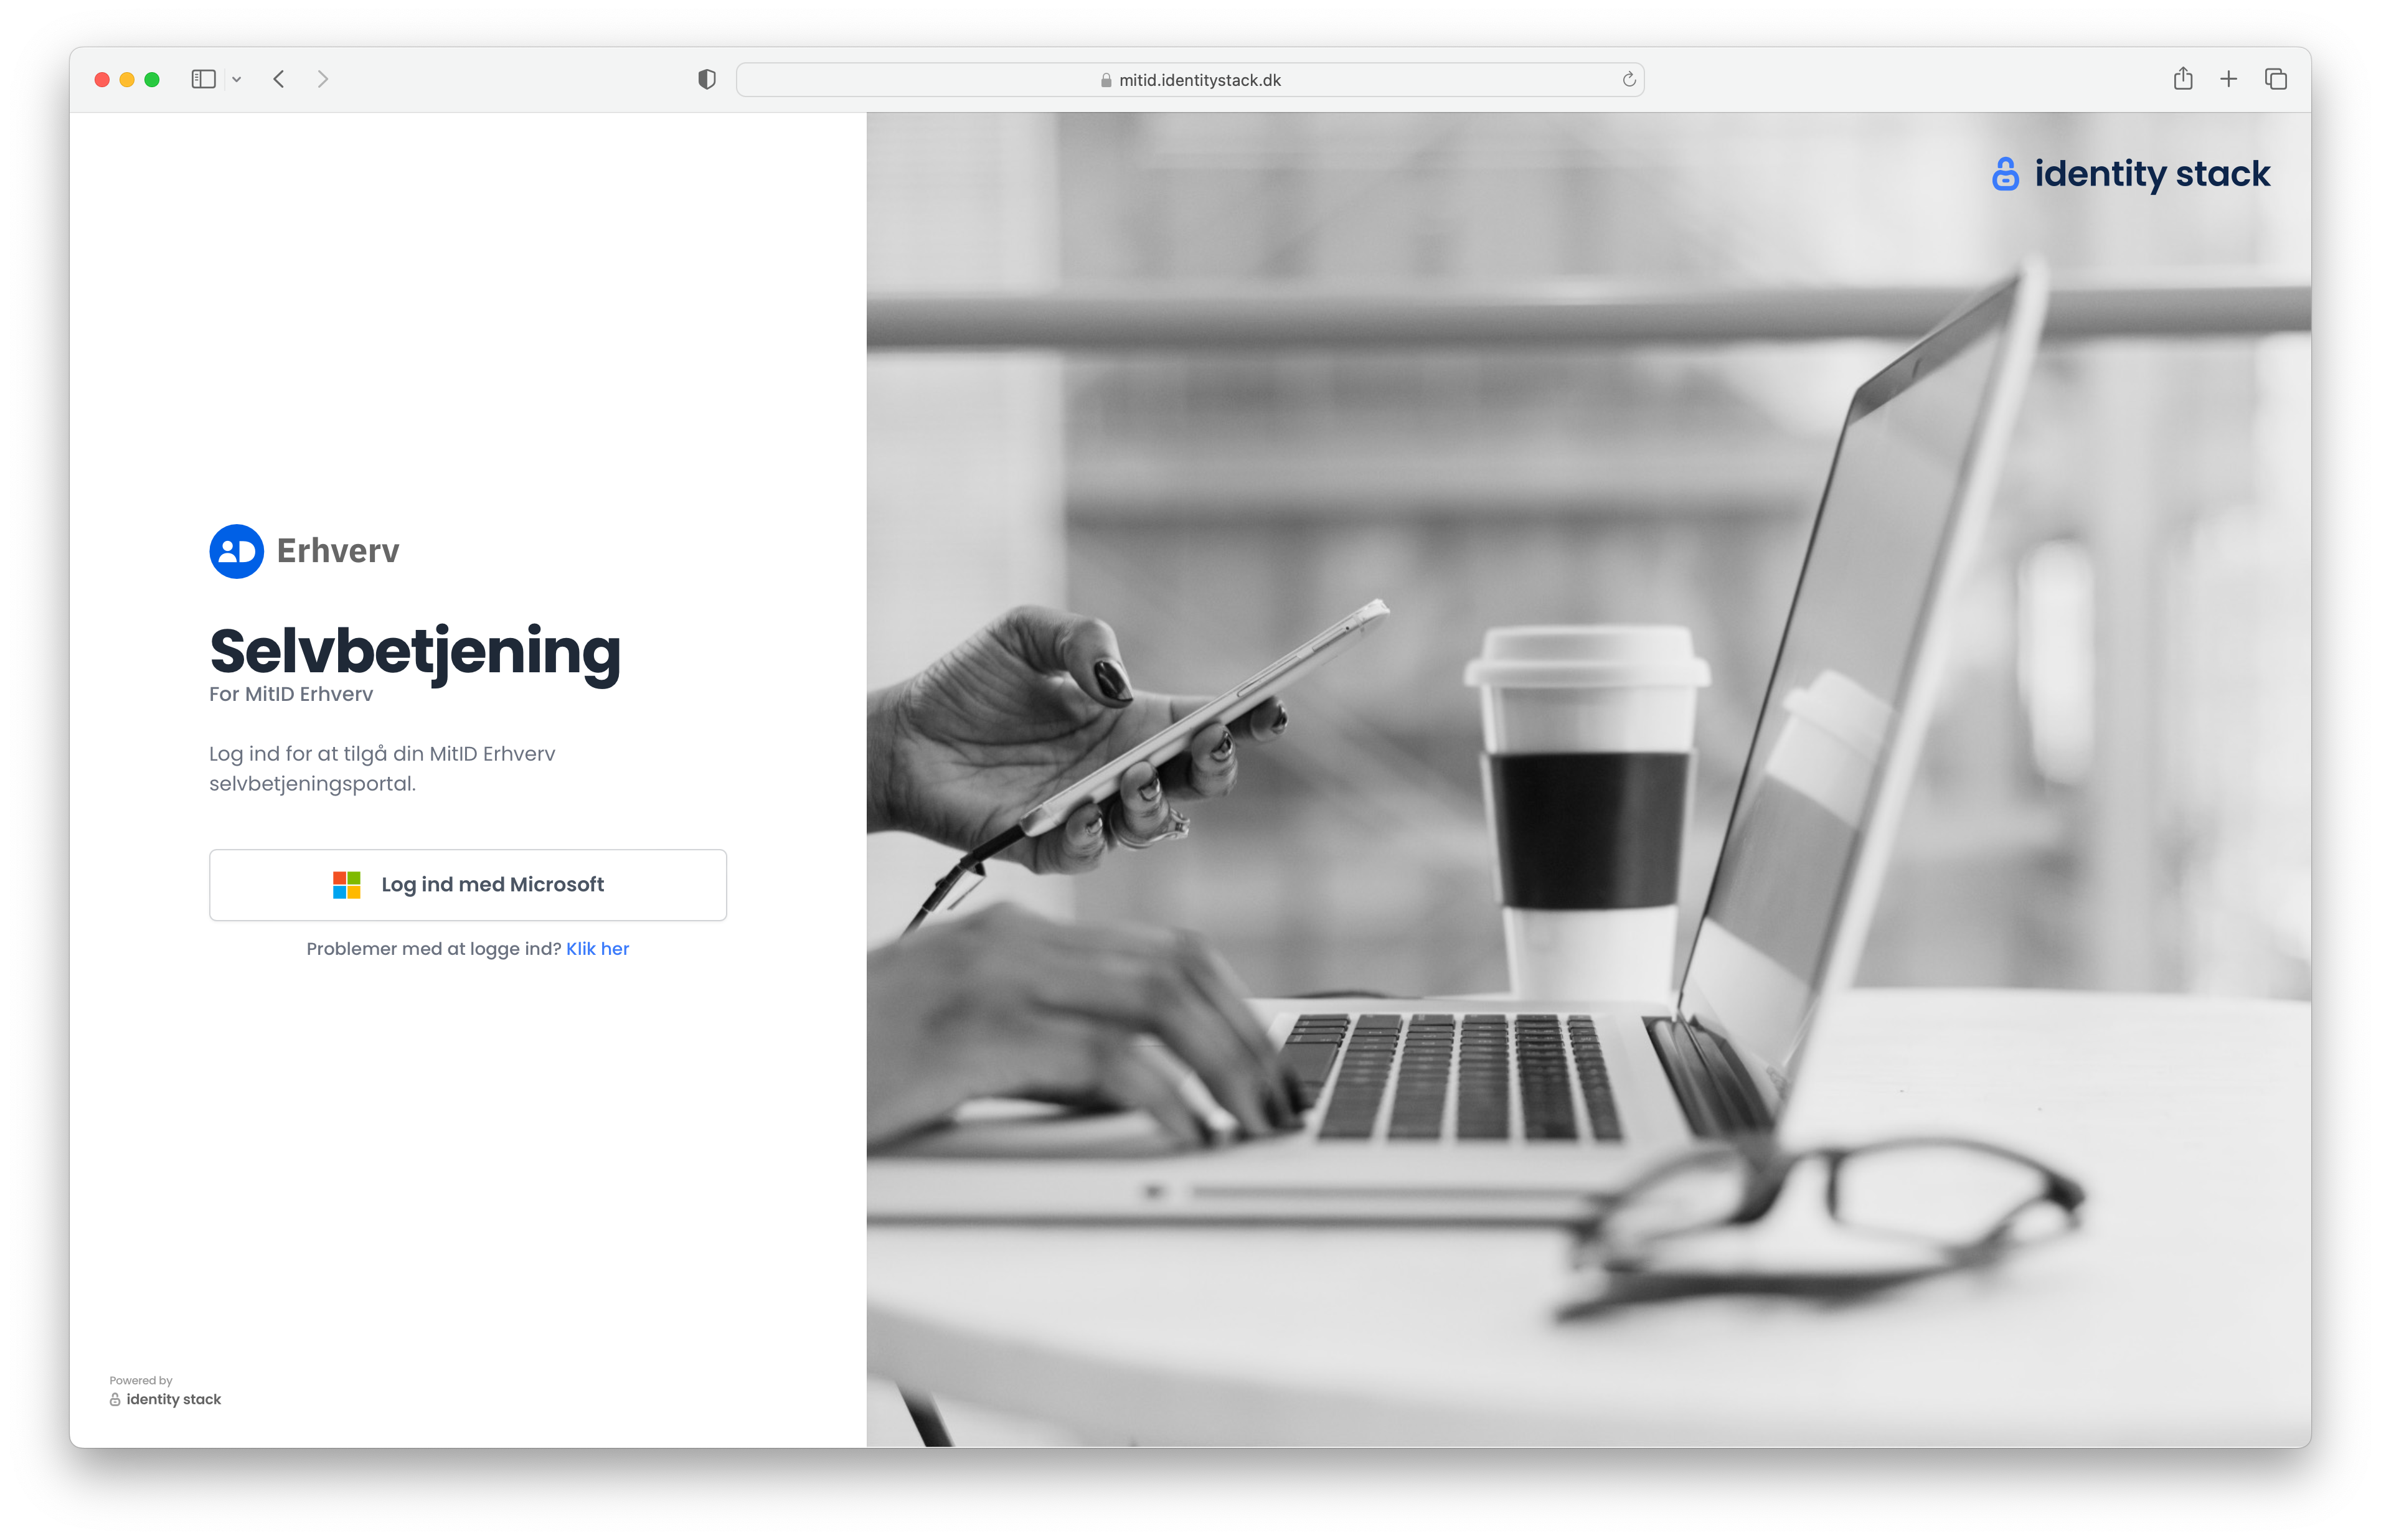
Everything the user interacts with is branded to match the organization, for example, emails sent out or the self-service portal featuring the company logo and wallpaper.
The user then navigates to the company's self-service portal where they can sign in using their Microsoft credentials.
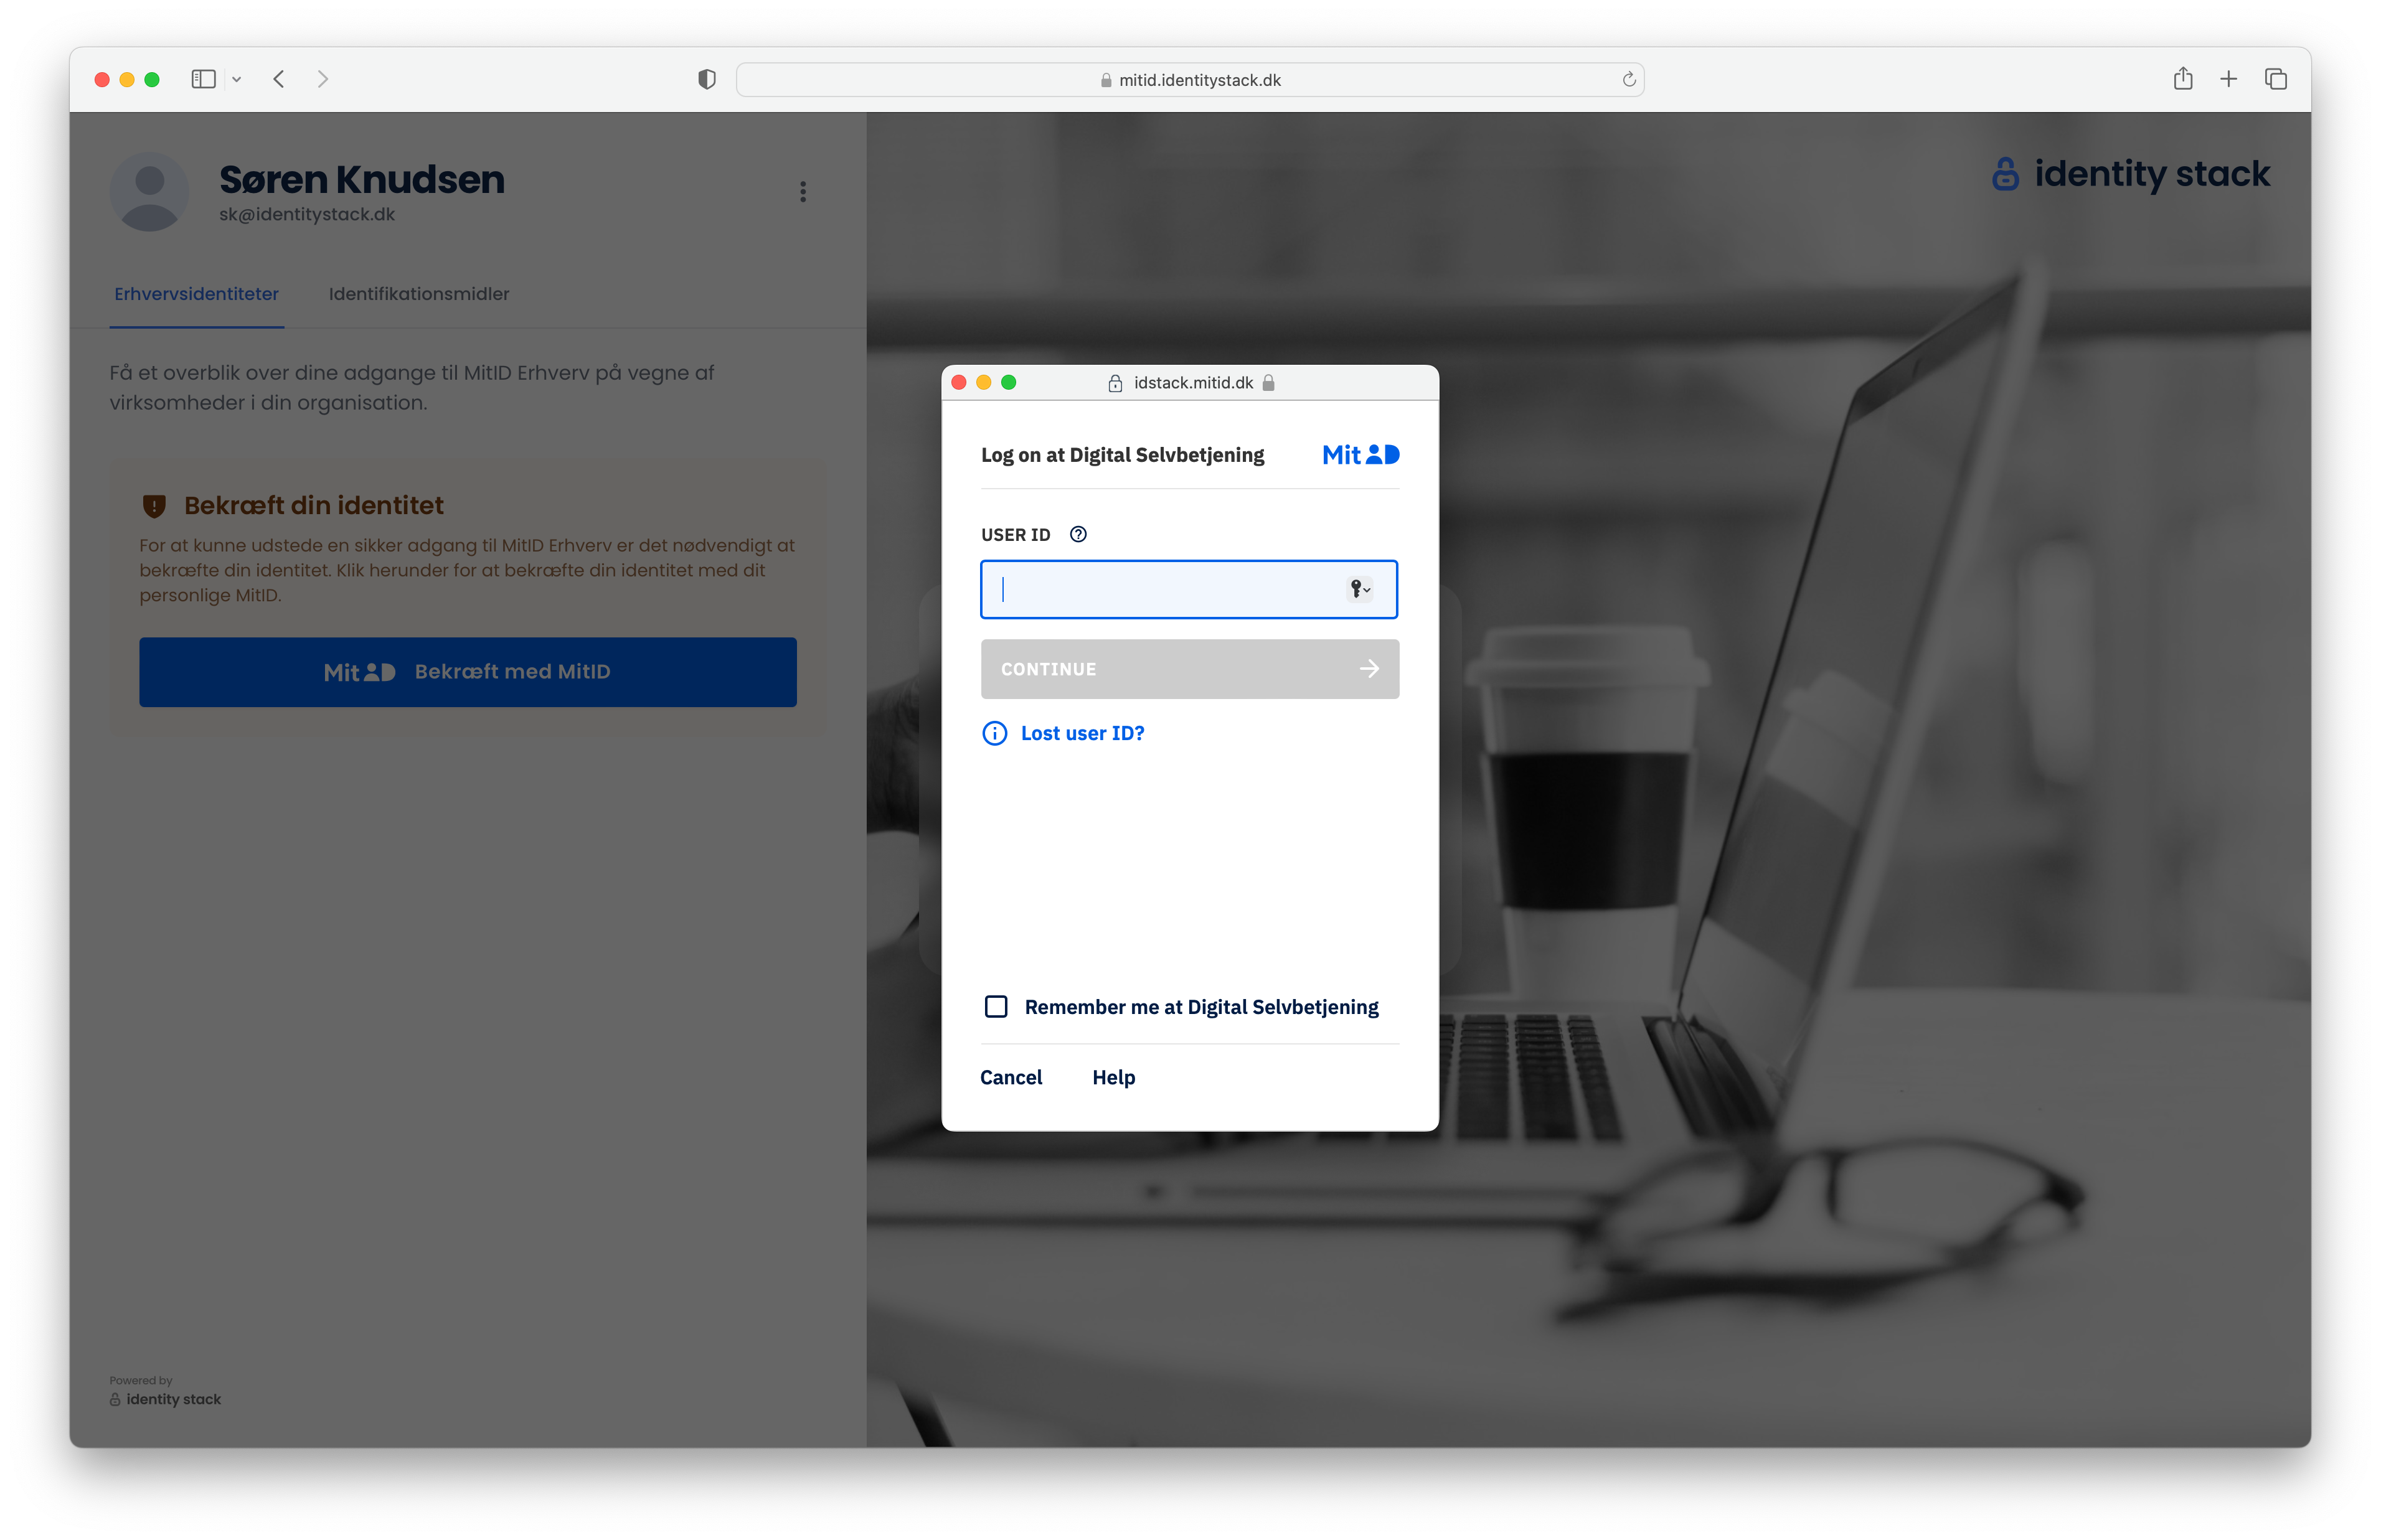
After signing in, an overview will be displayed on the left side. Here, the user can view all of their MitID Erhverv business identities. Before proceeding, they must first verify their identity using MitID. Please note that this identity verification step is only required the first time the user enters the self-service portal.
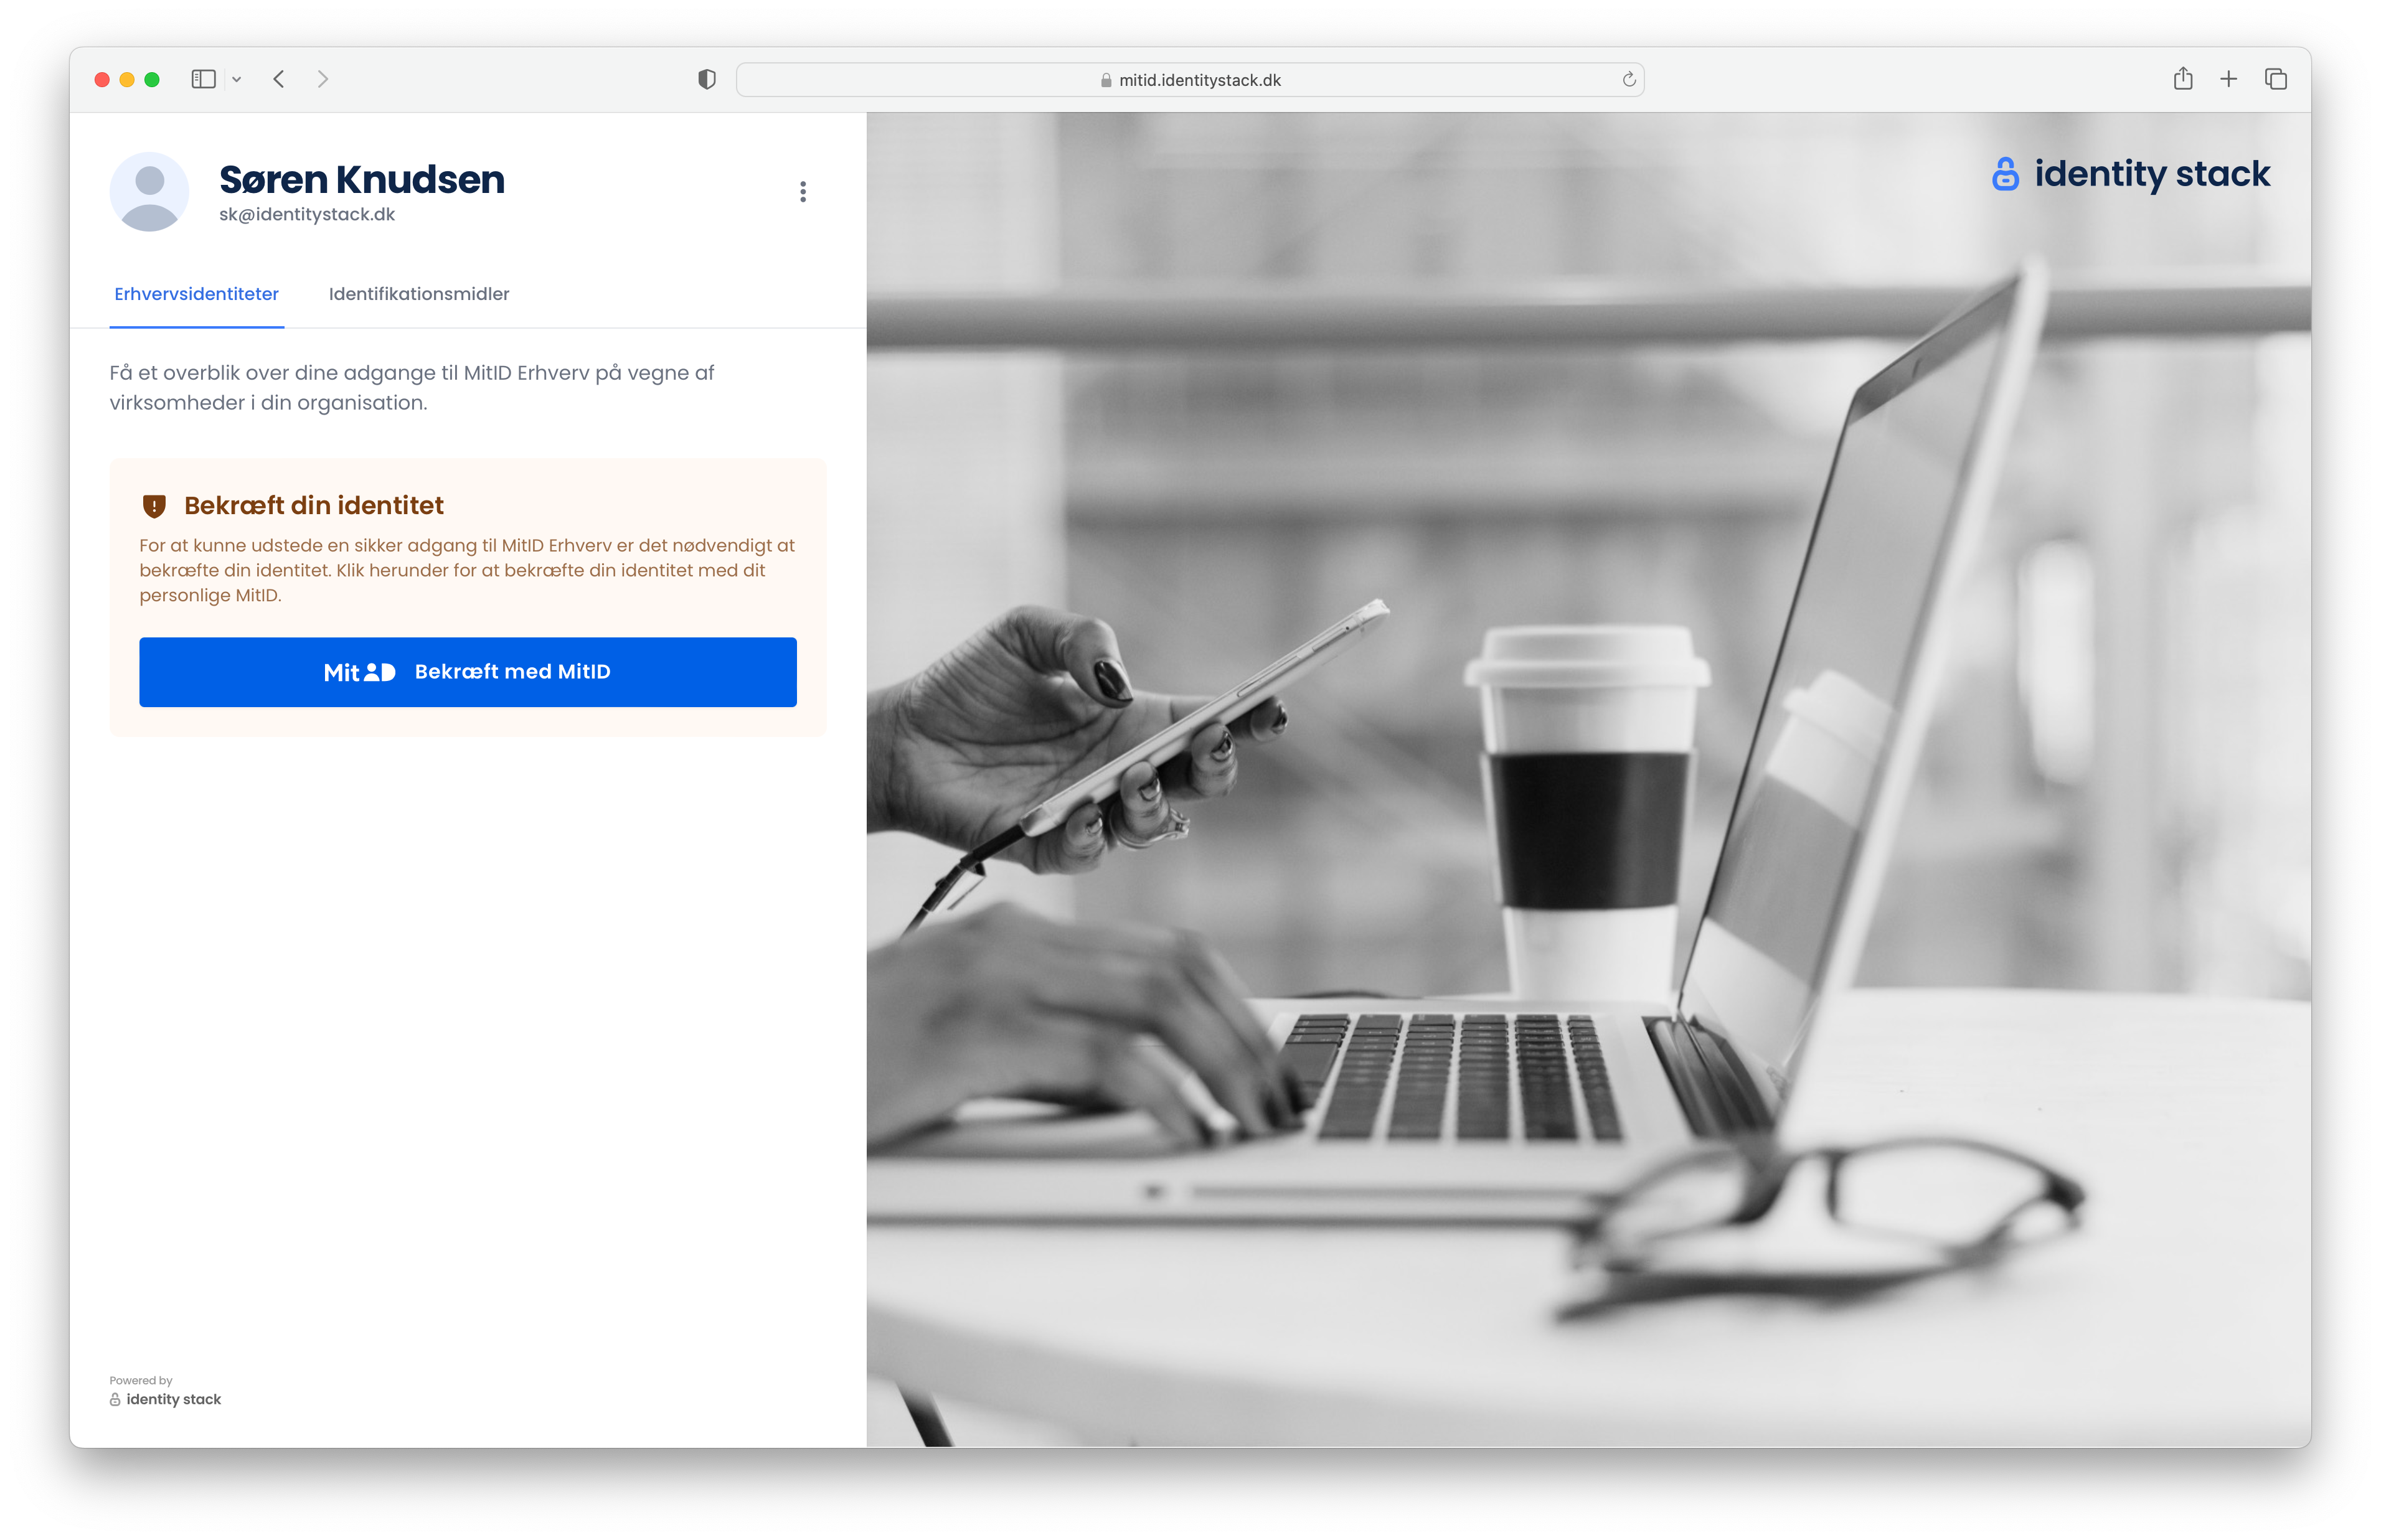
When the user clicks on Bekræft med MitID, a window will appear. The user will then need to sign in with their MitID to verify their identity.
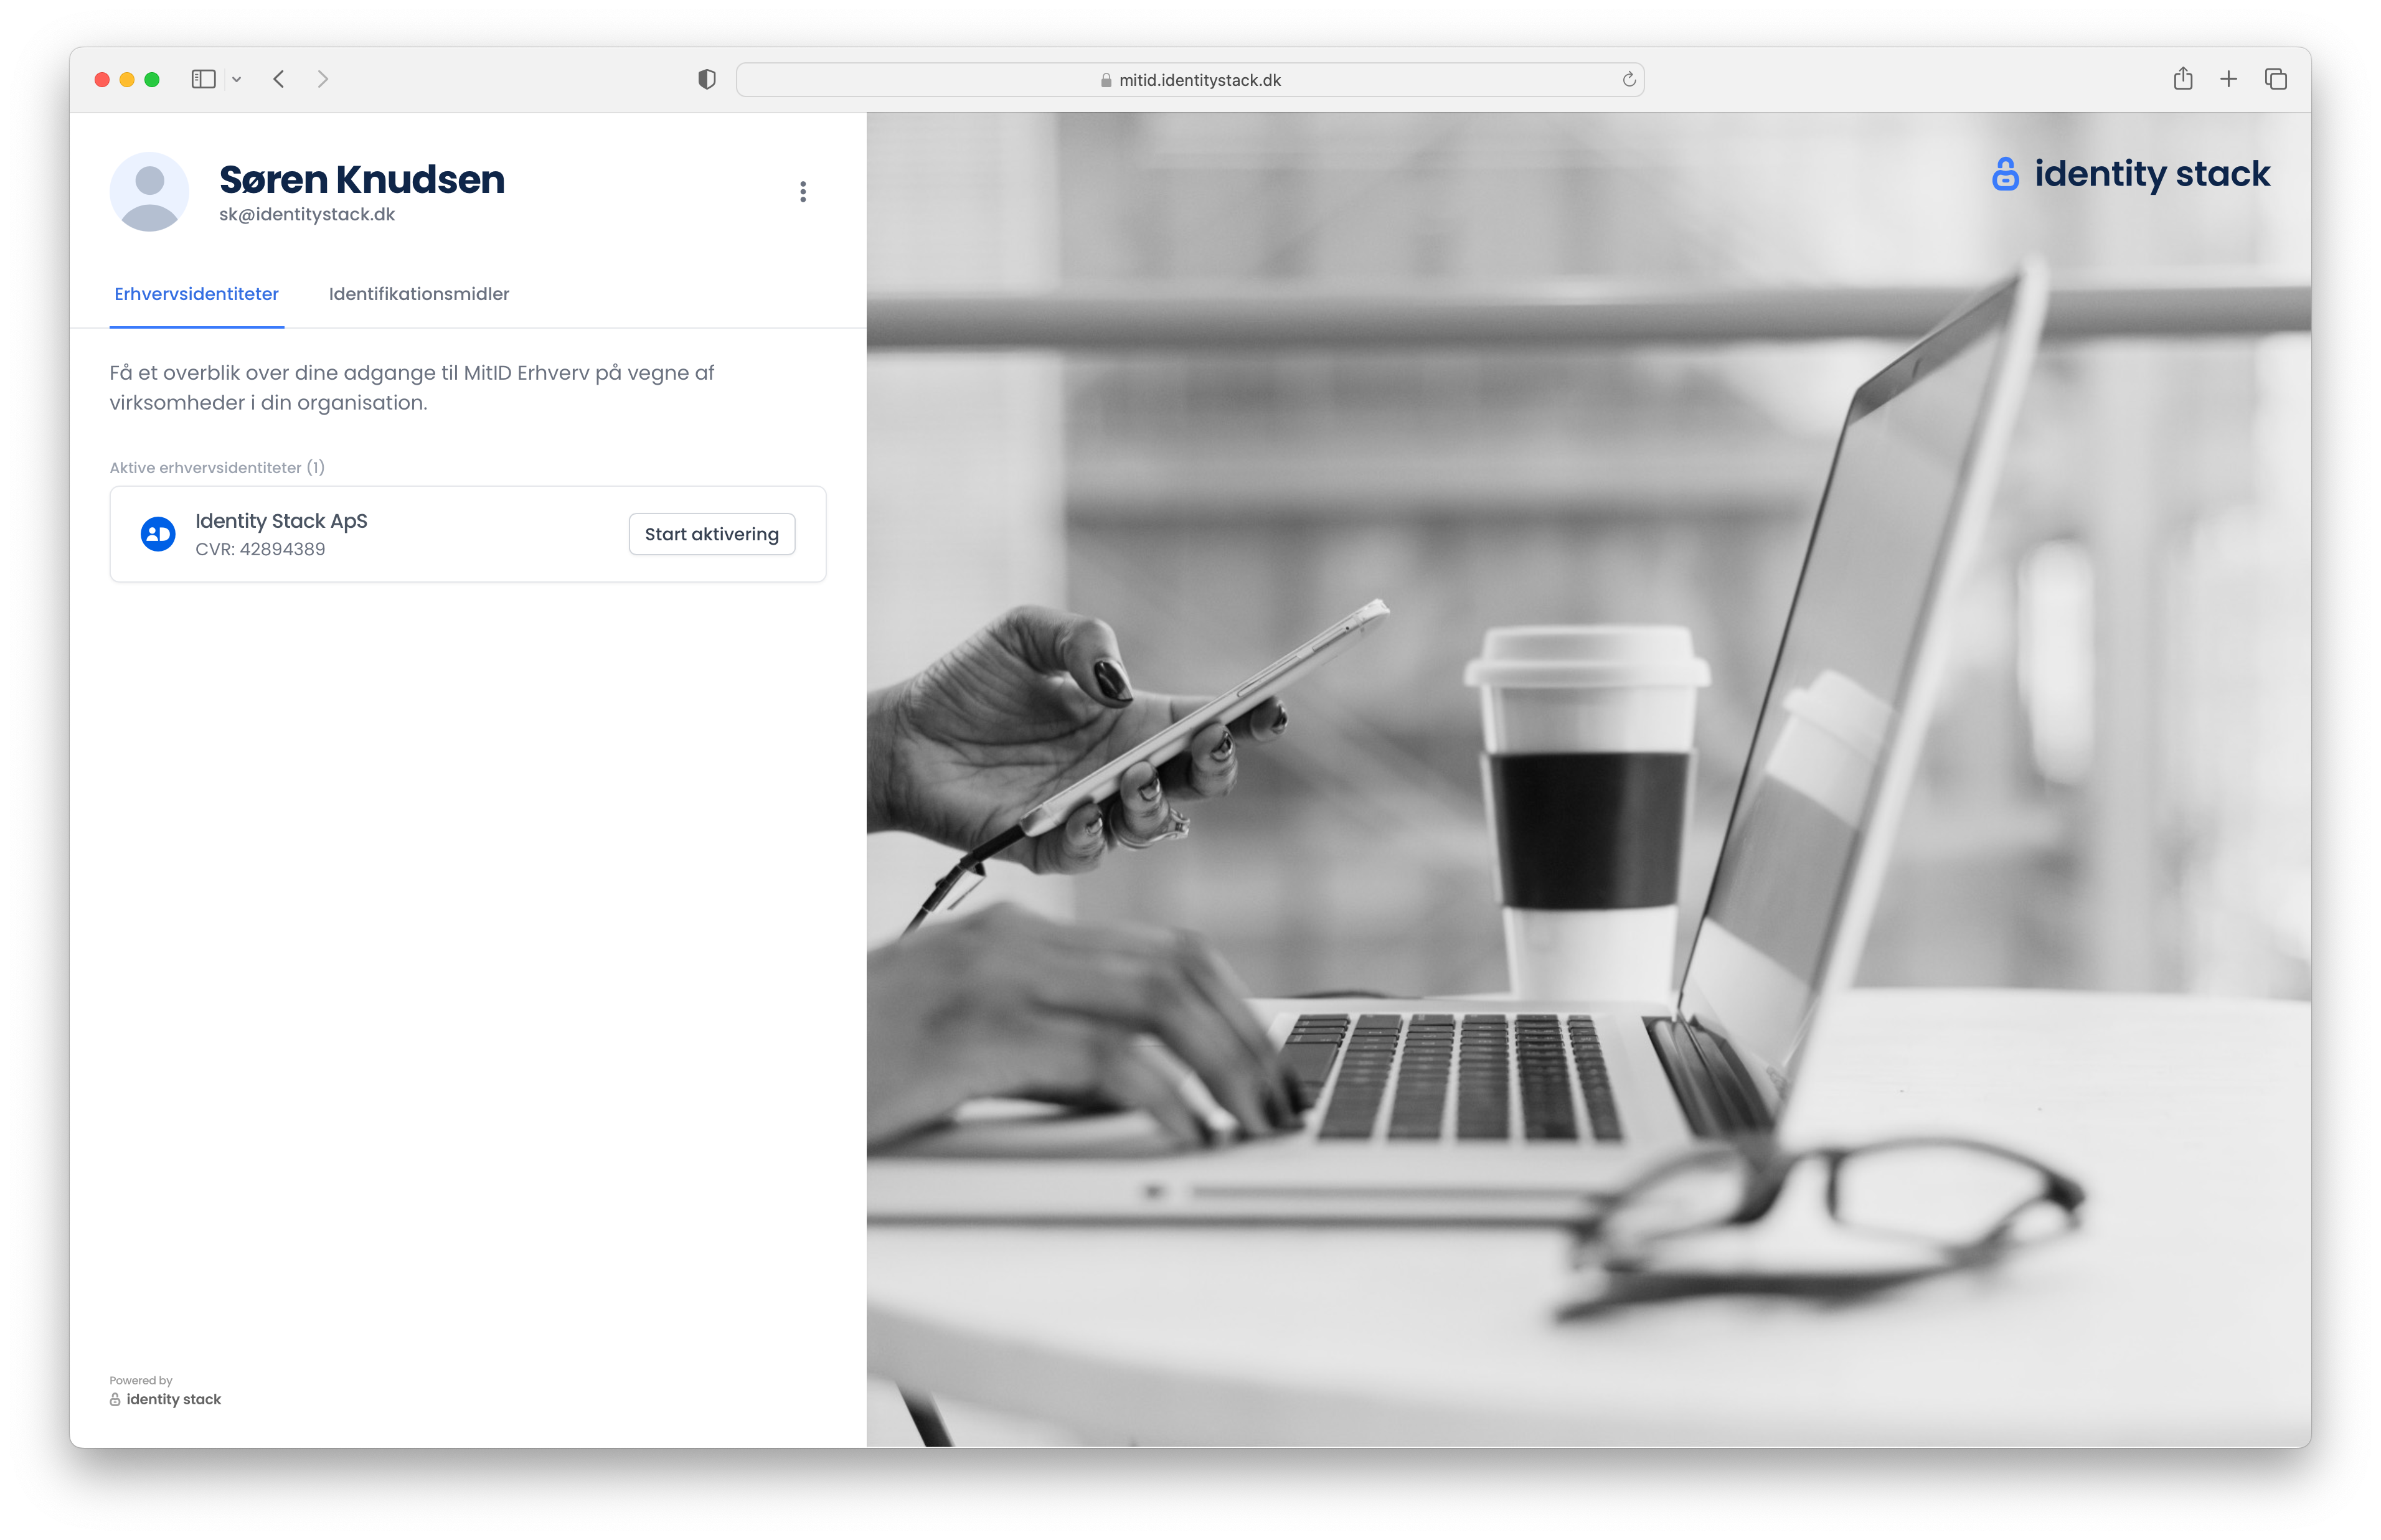
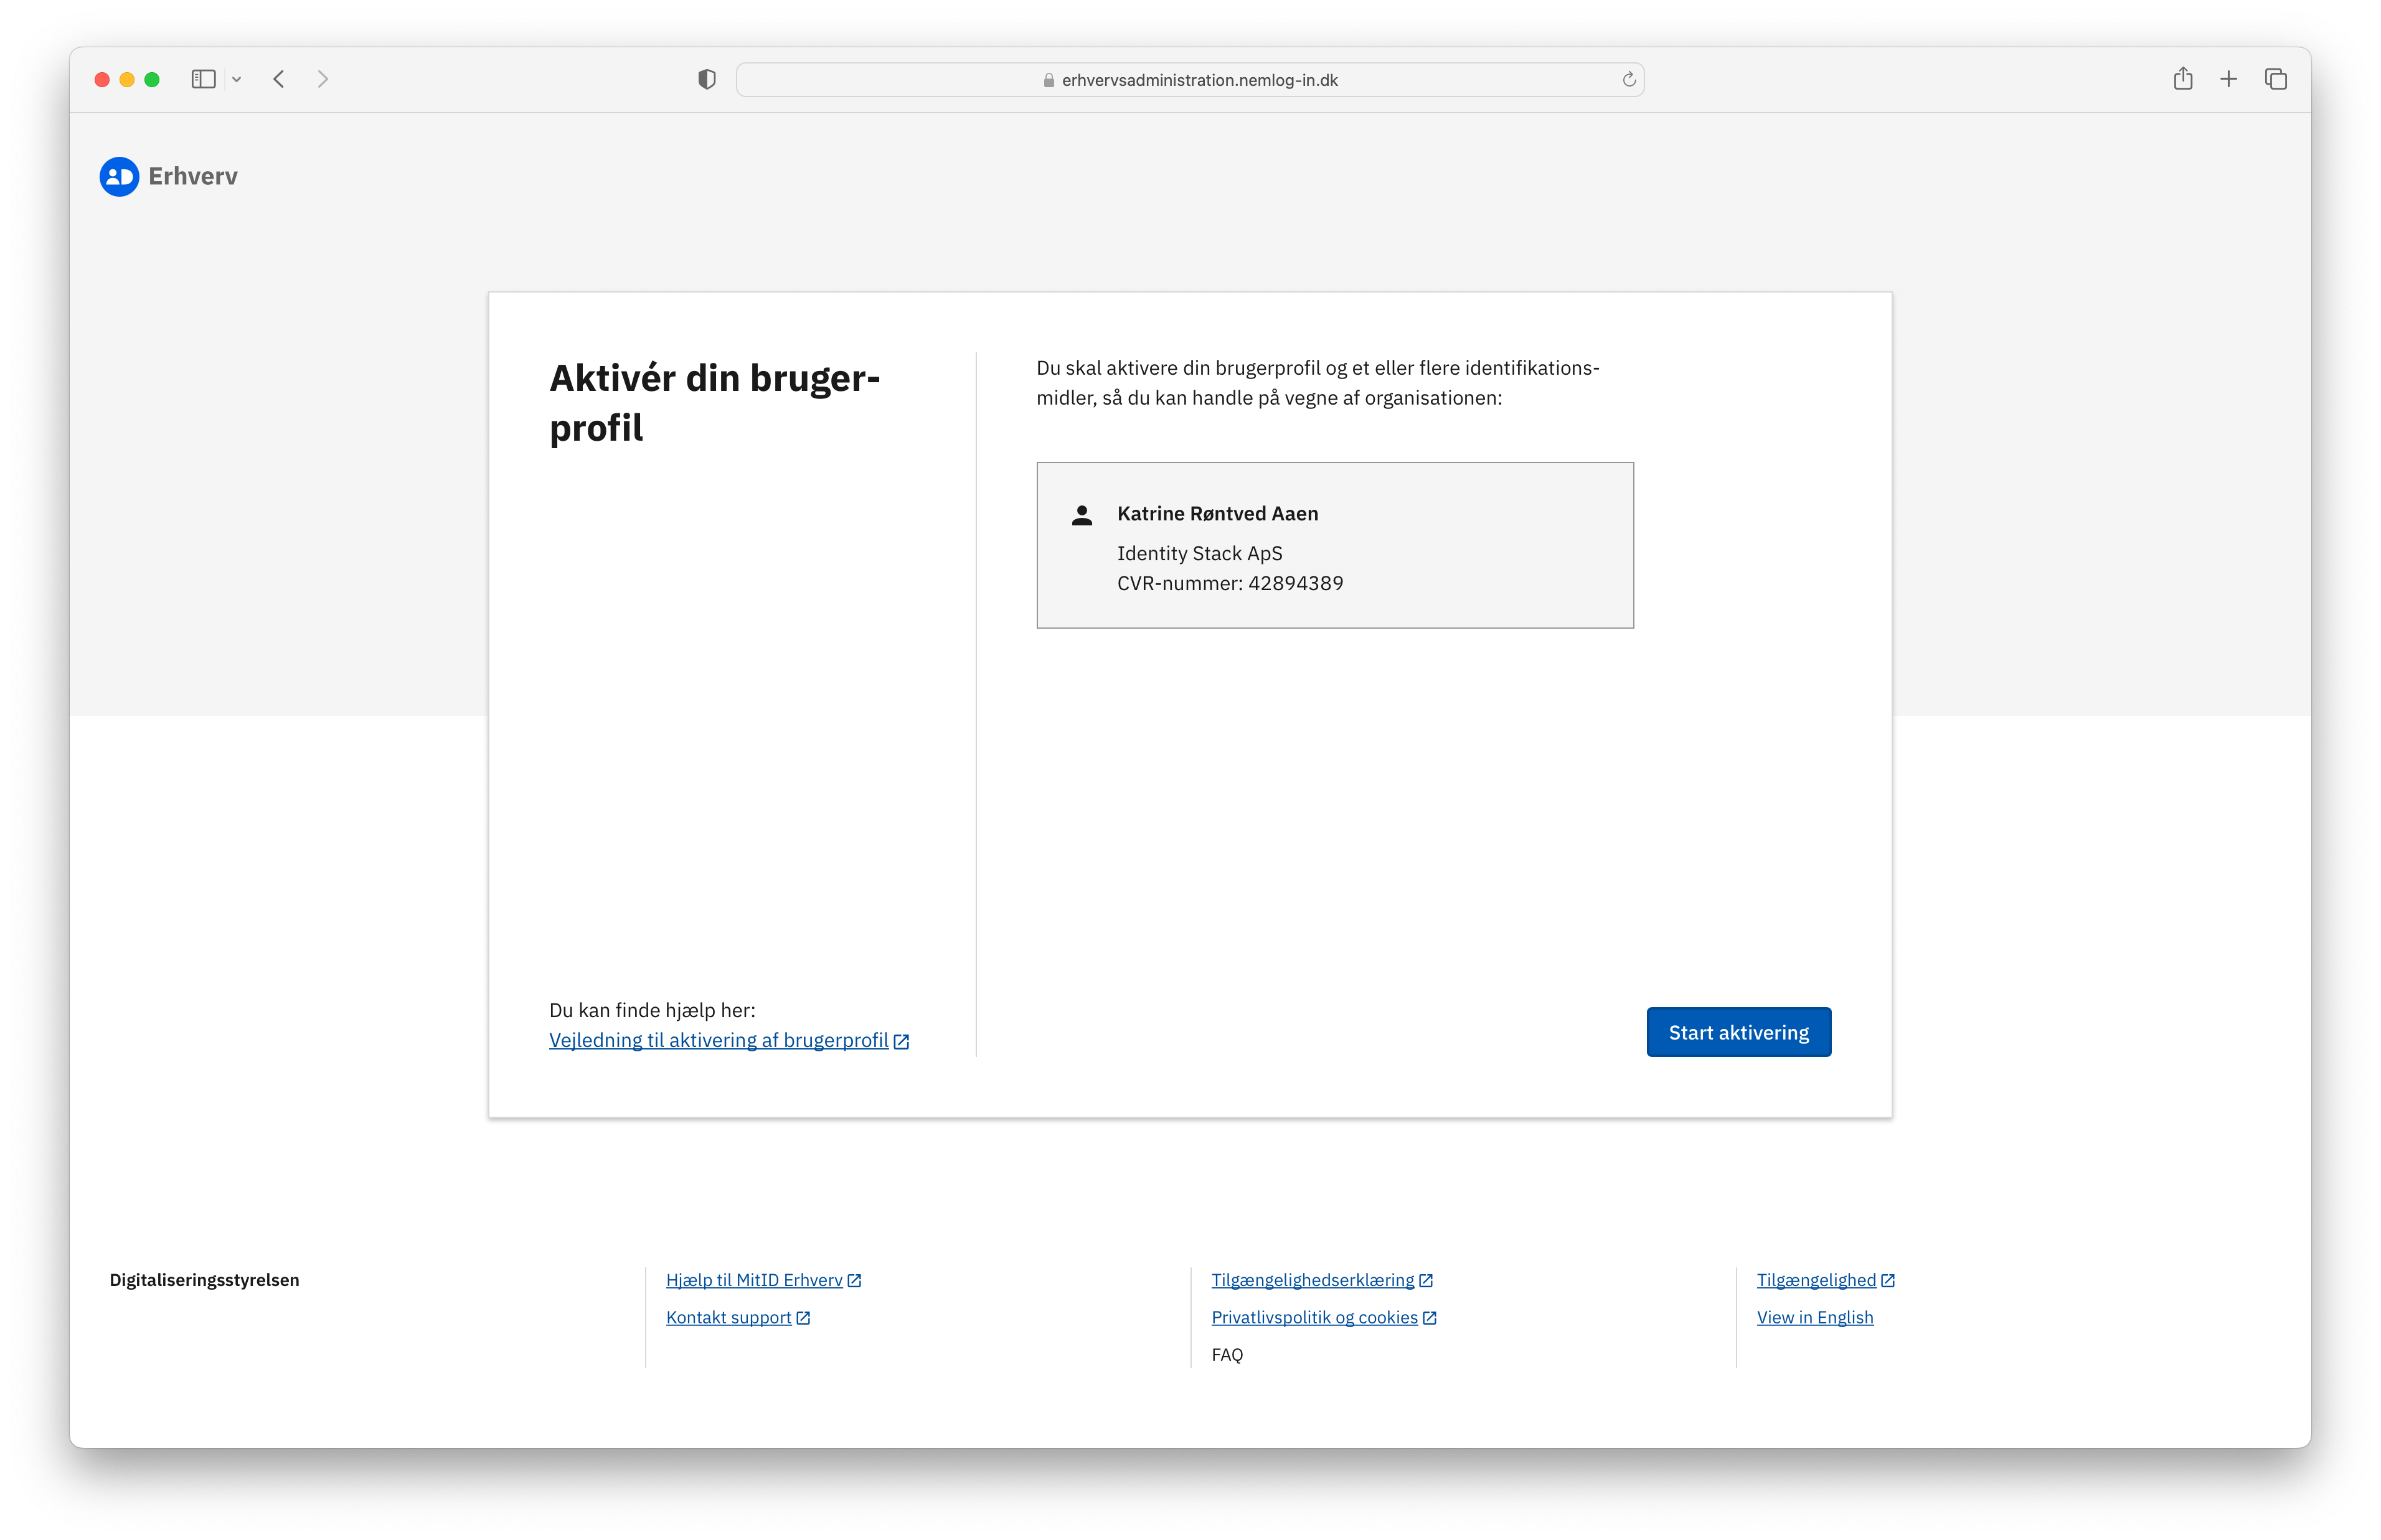
Upon successful identity verification, all of their MitID Erhverv business identities, both active and eligible, will be displayed. In this example, the user has one eligible business identity for Identity Stack ApS. To activate the business identity, the user clicks on Start aktivering.
After the user has clicked on Start aktivering, a popup will appear confirming the action and providing further instructions for activating their business identity.
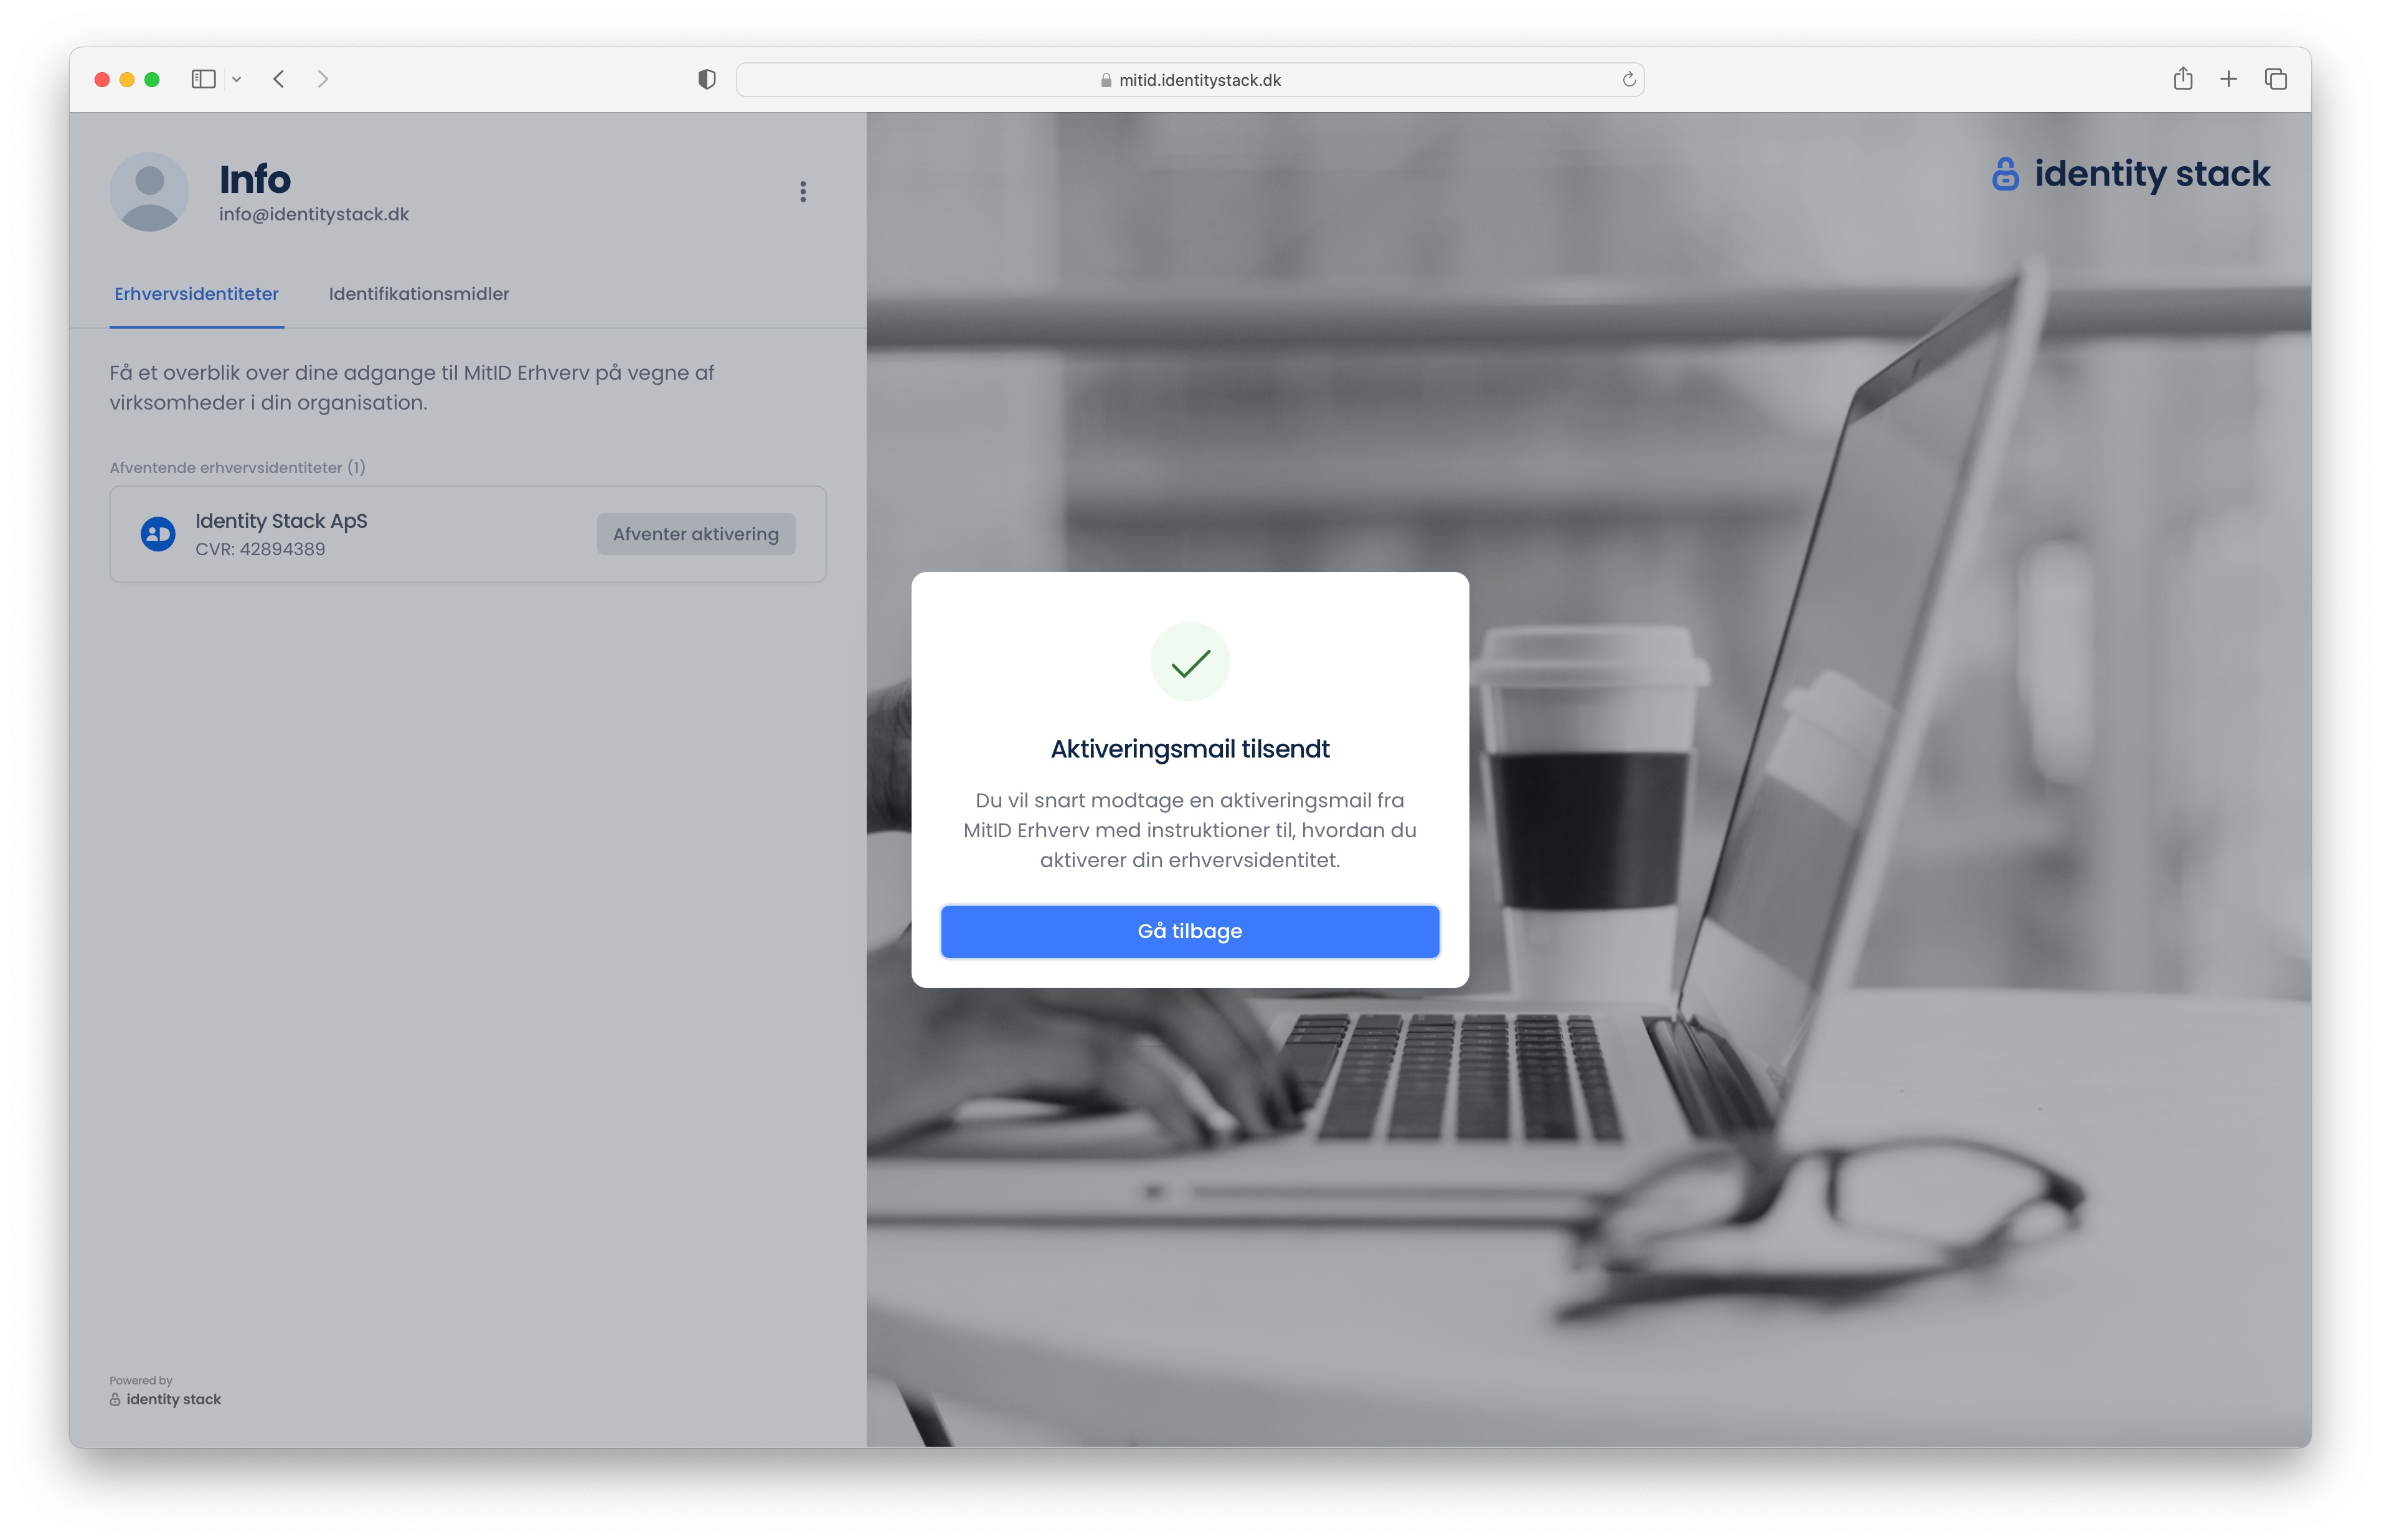
The user will receive an email from MitID Erhverv with a link for activation.
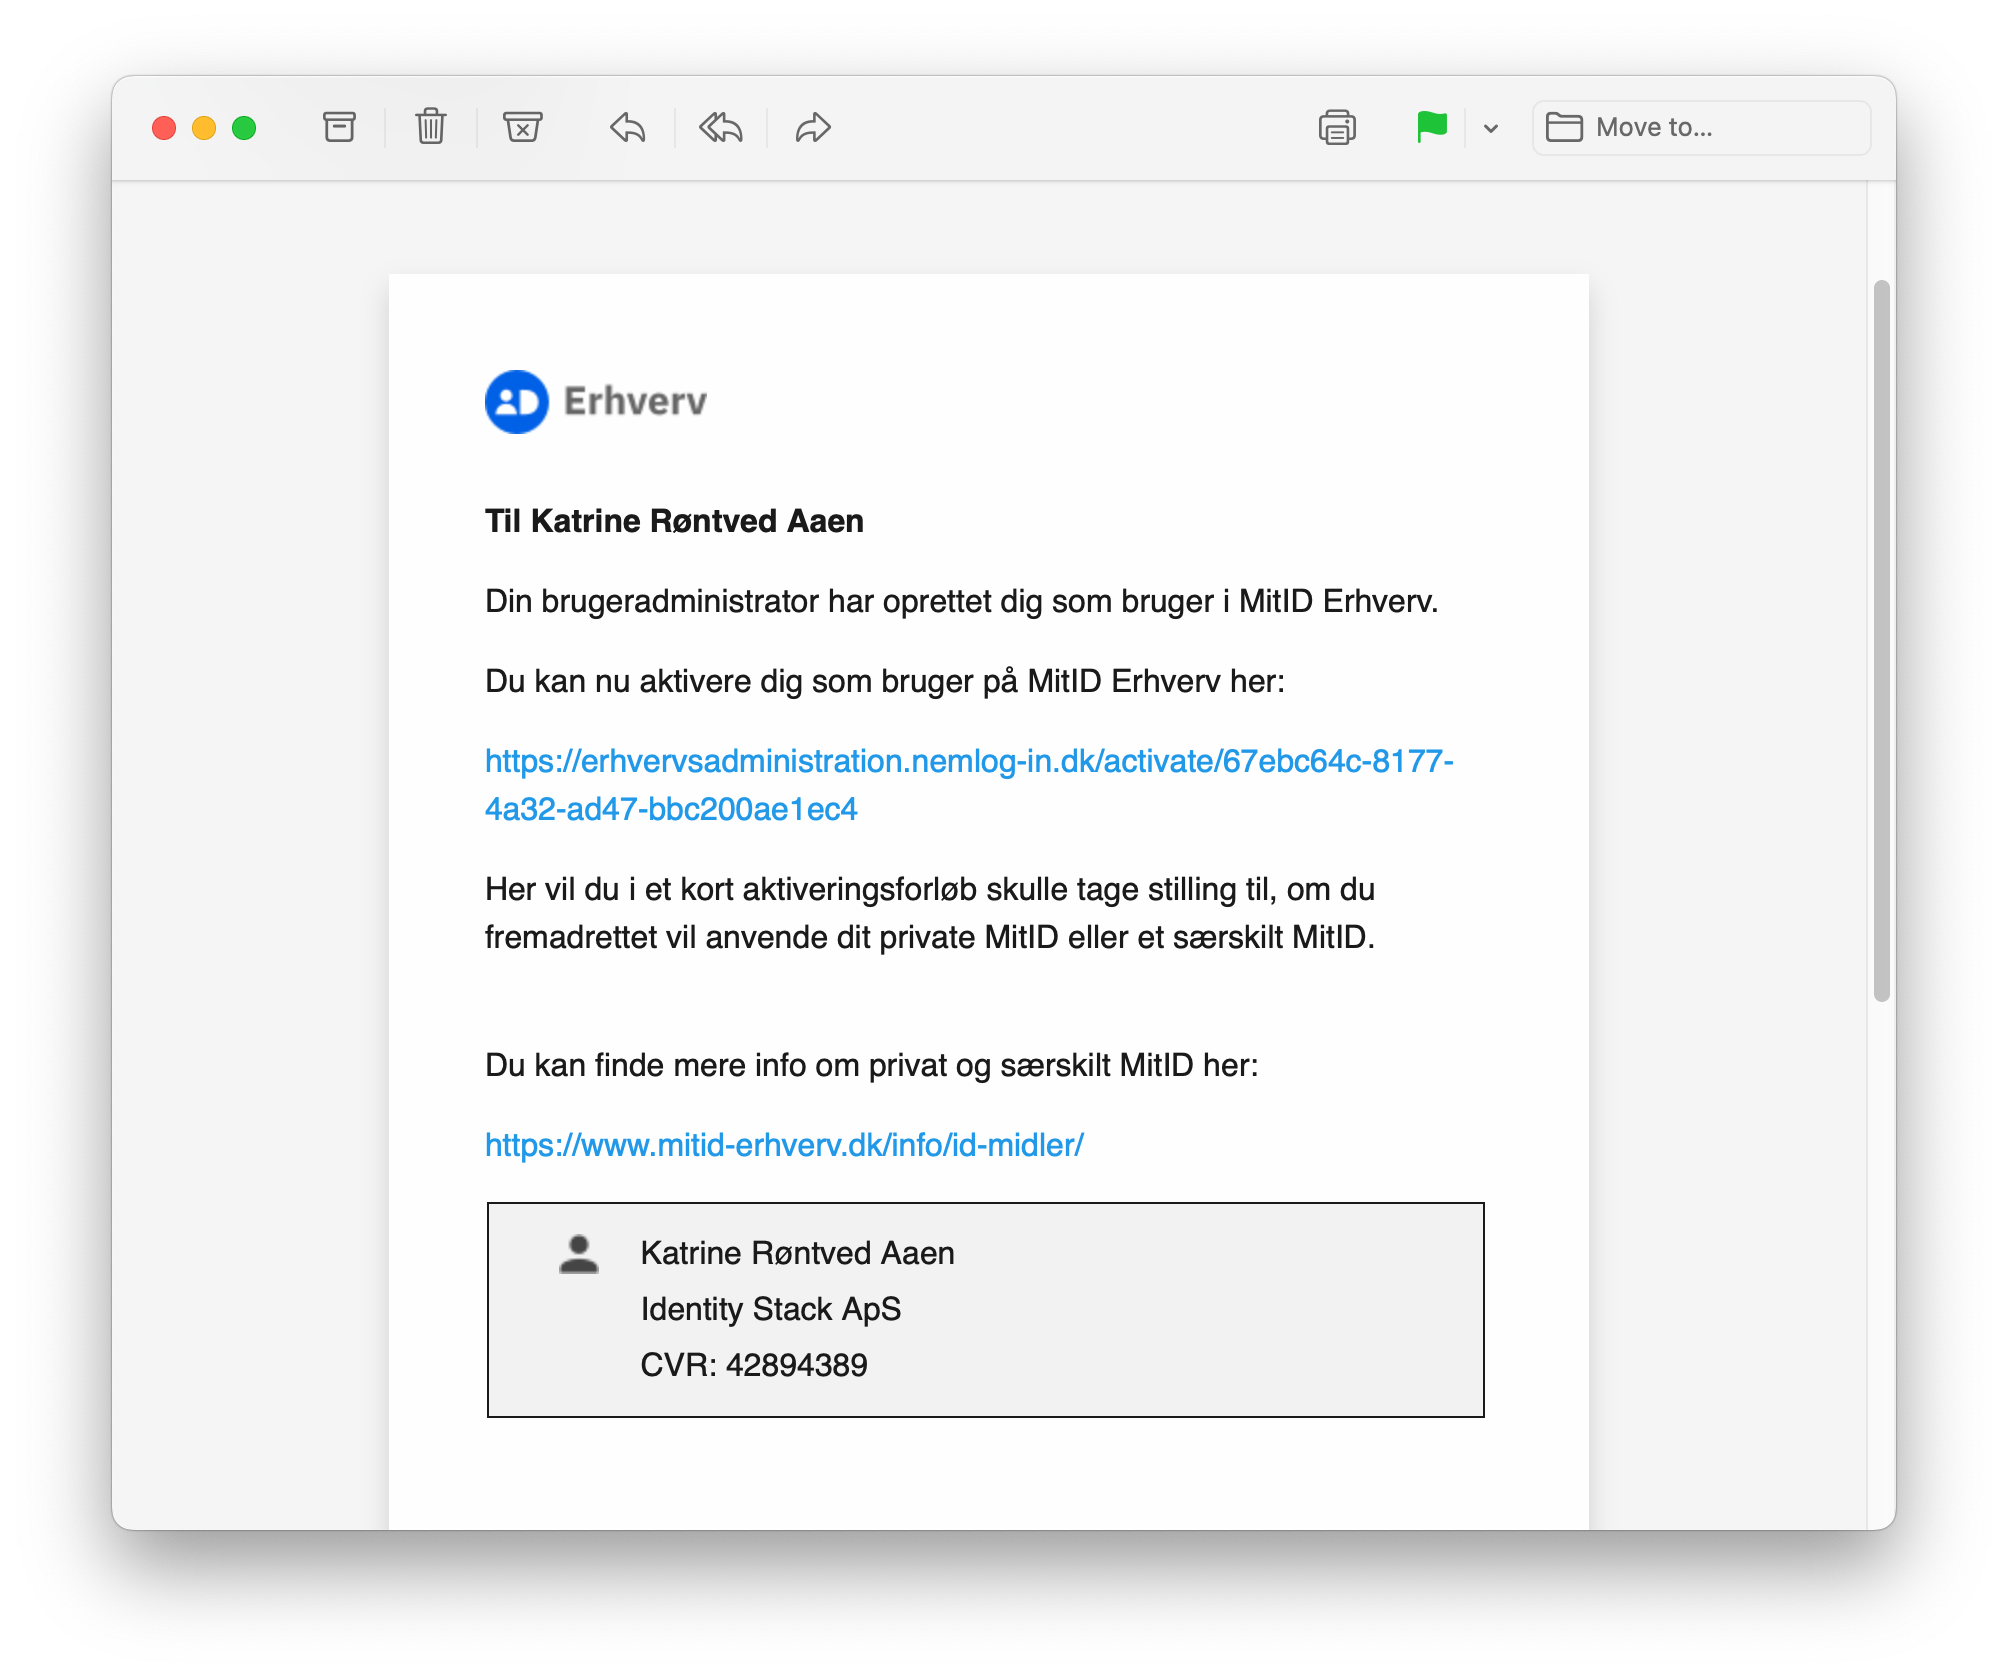
Clicking on this link will start the MitID Erhverv activation flow. Click on Start aktivering to proceed.
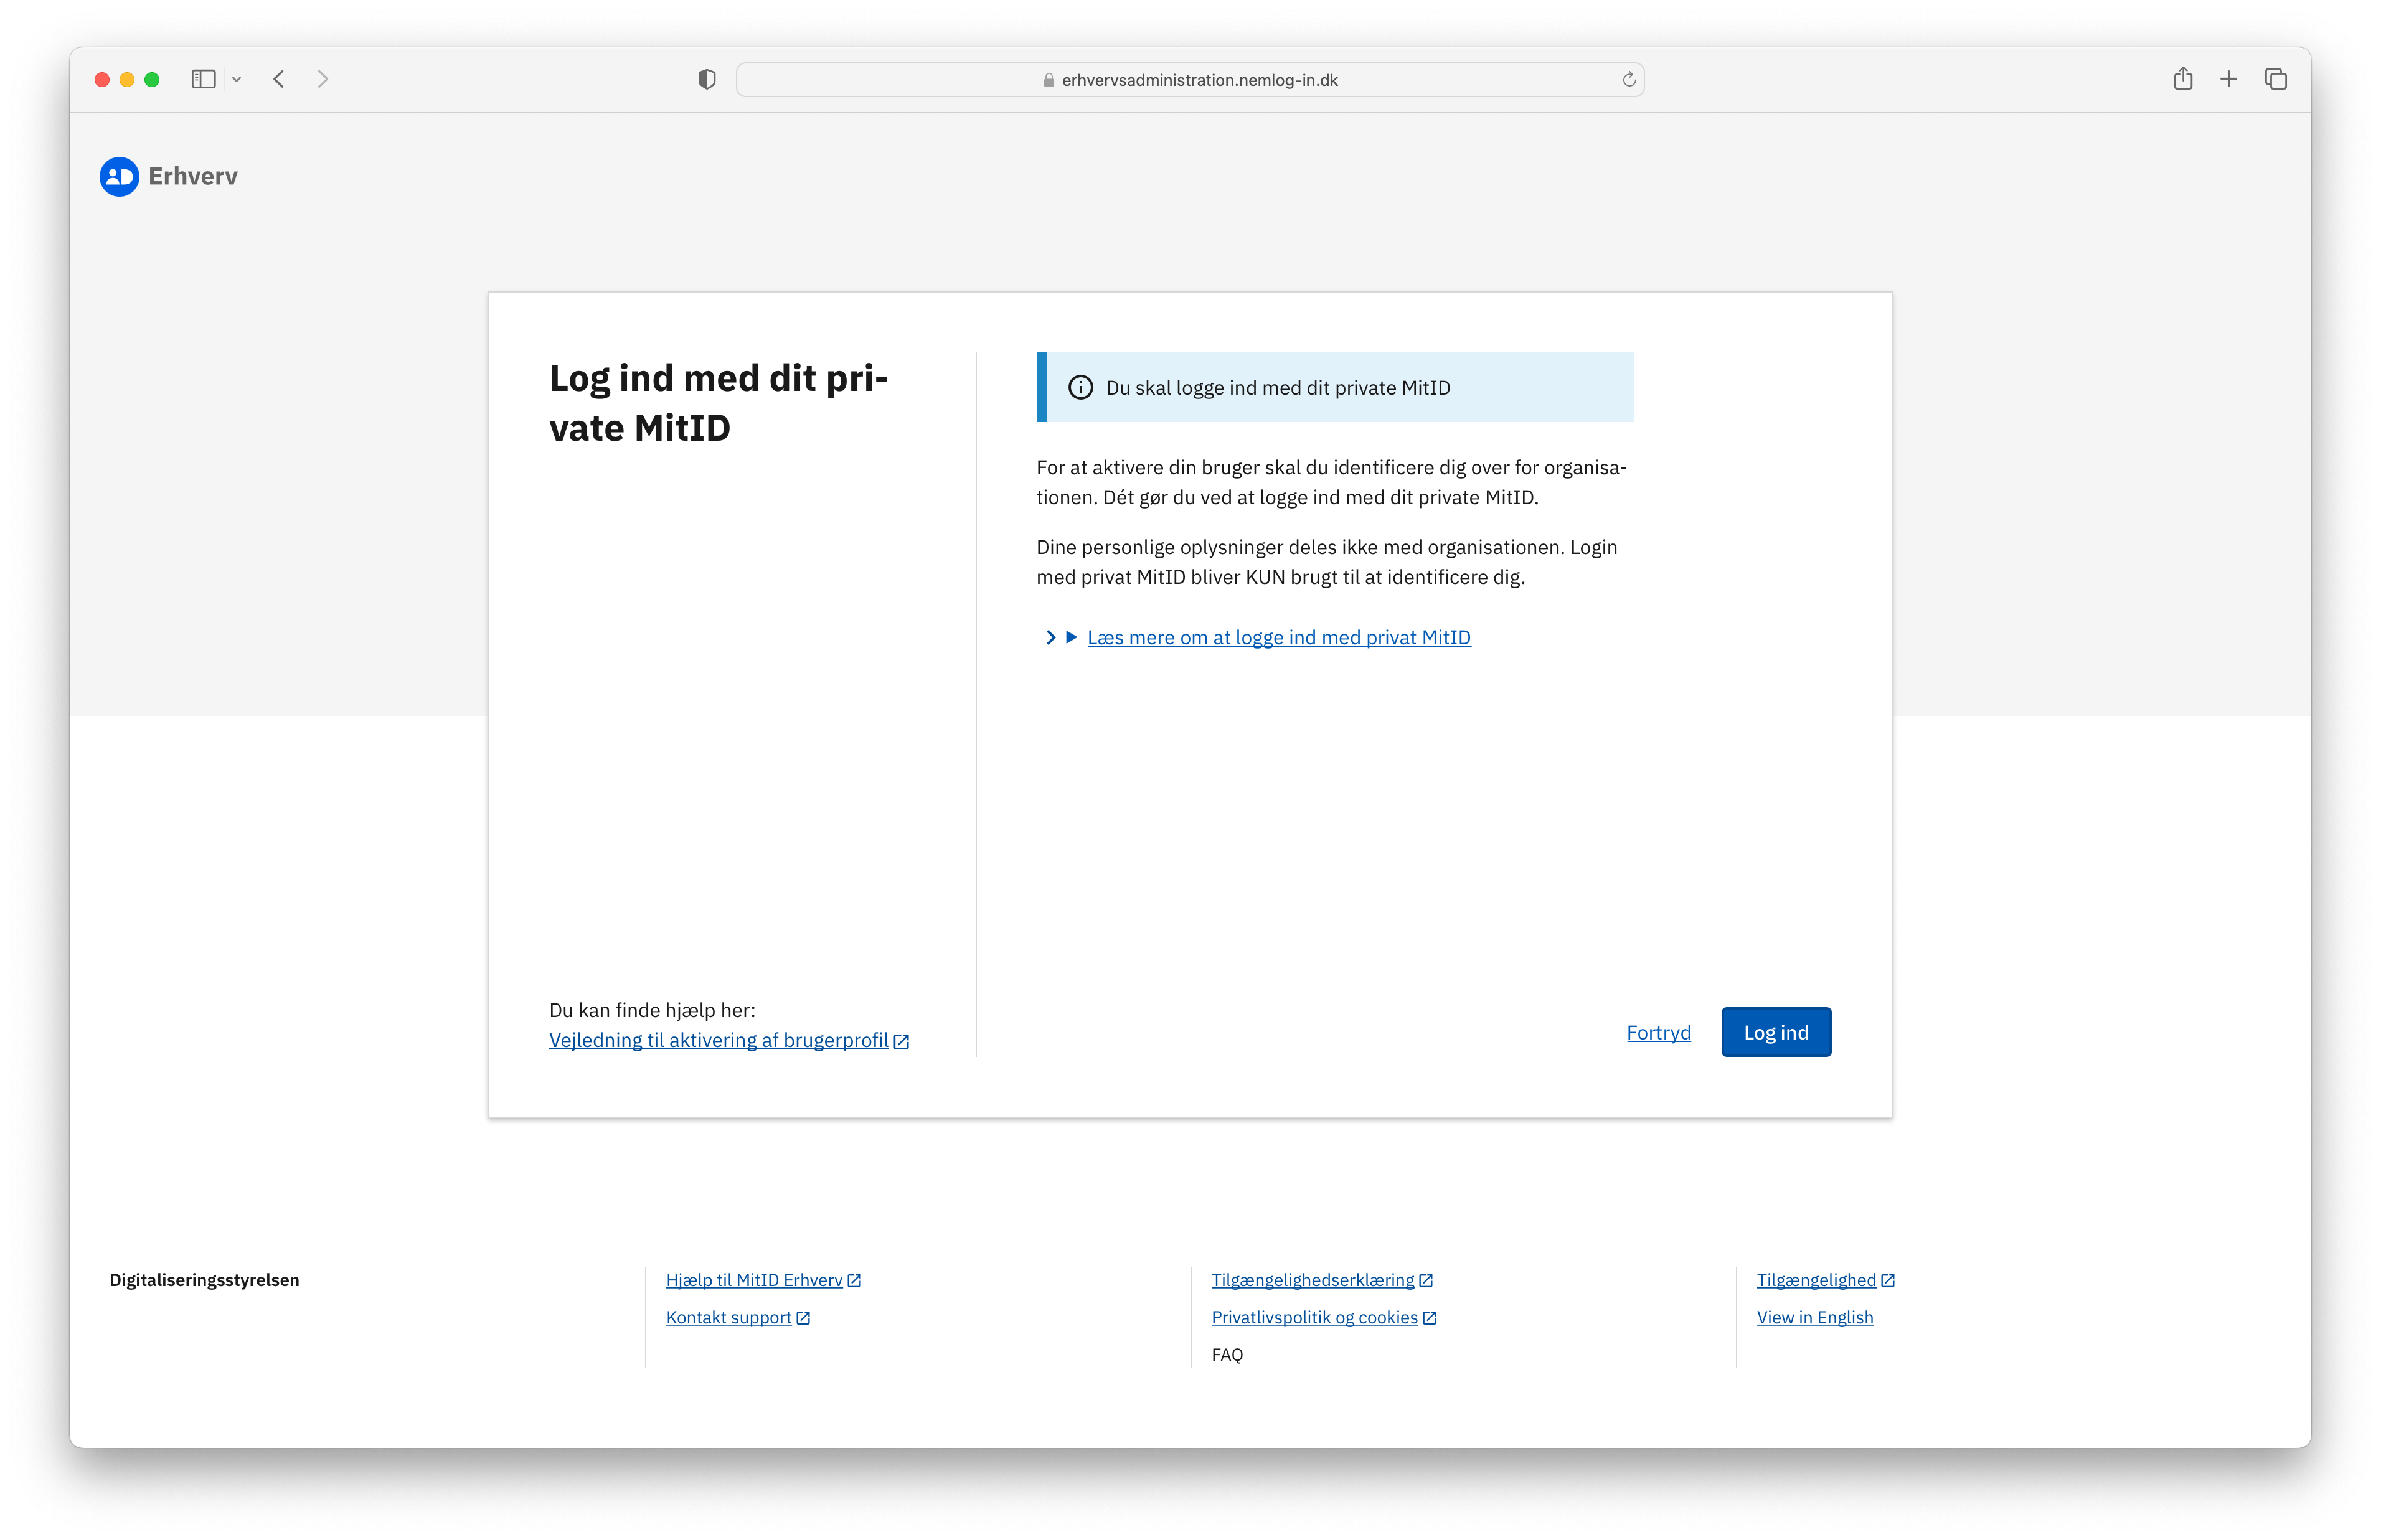
Next, the user will need to verify their identity using their MitID Erhverv. Click on Log ind to proceed.
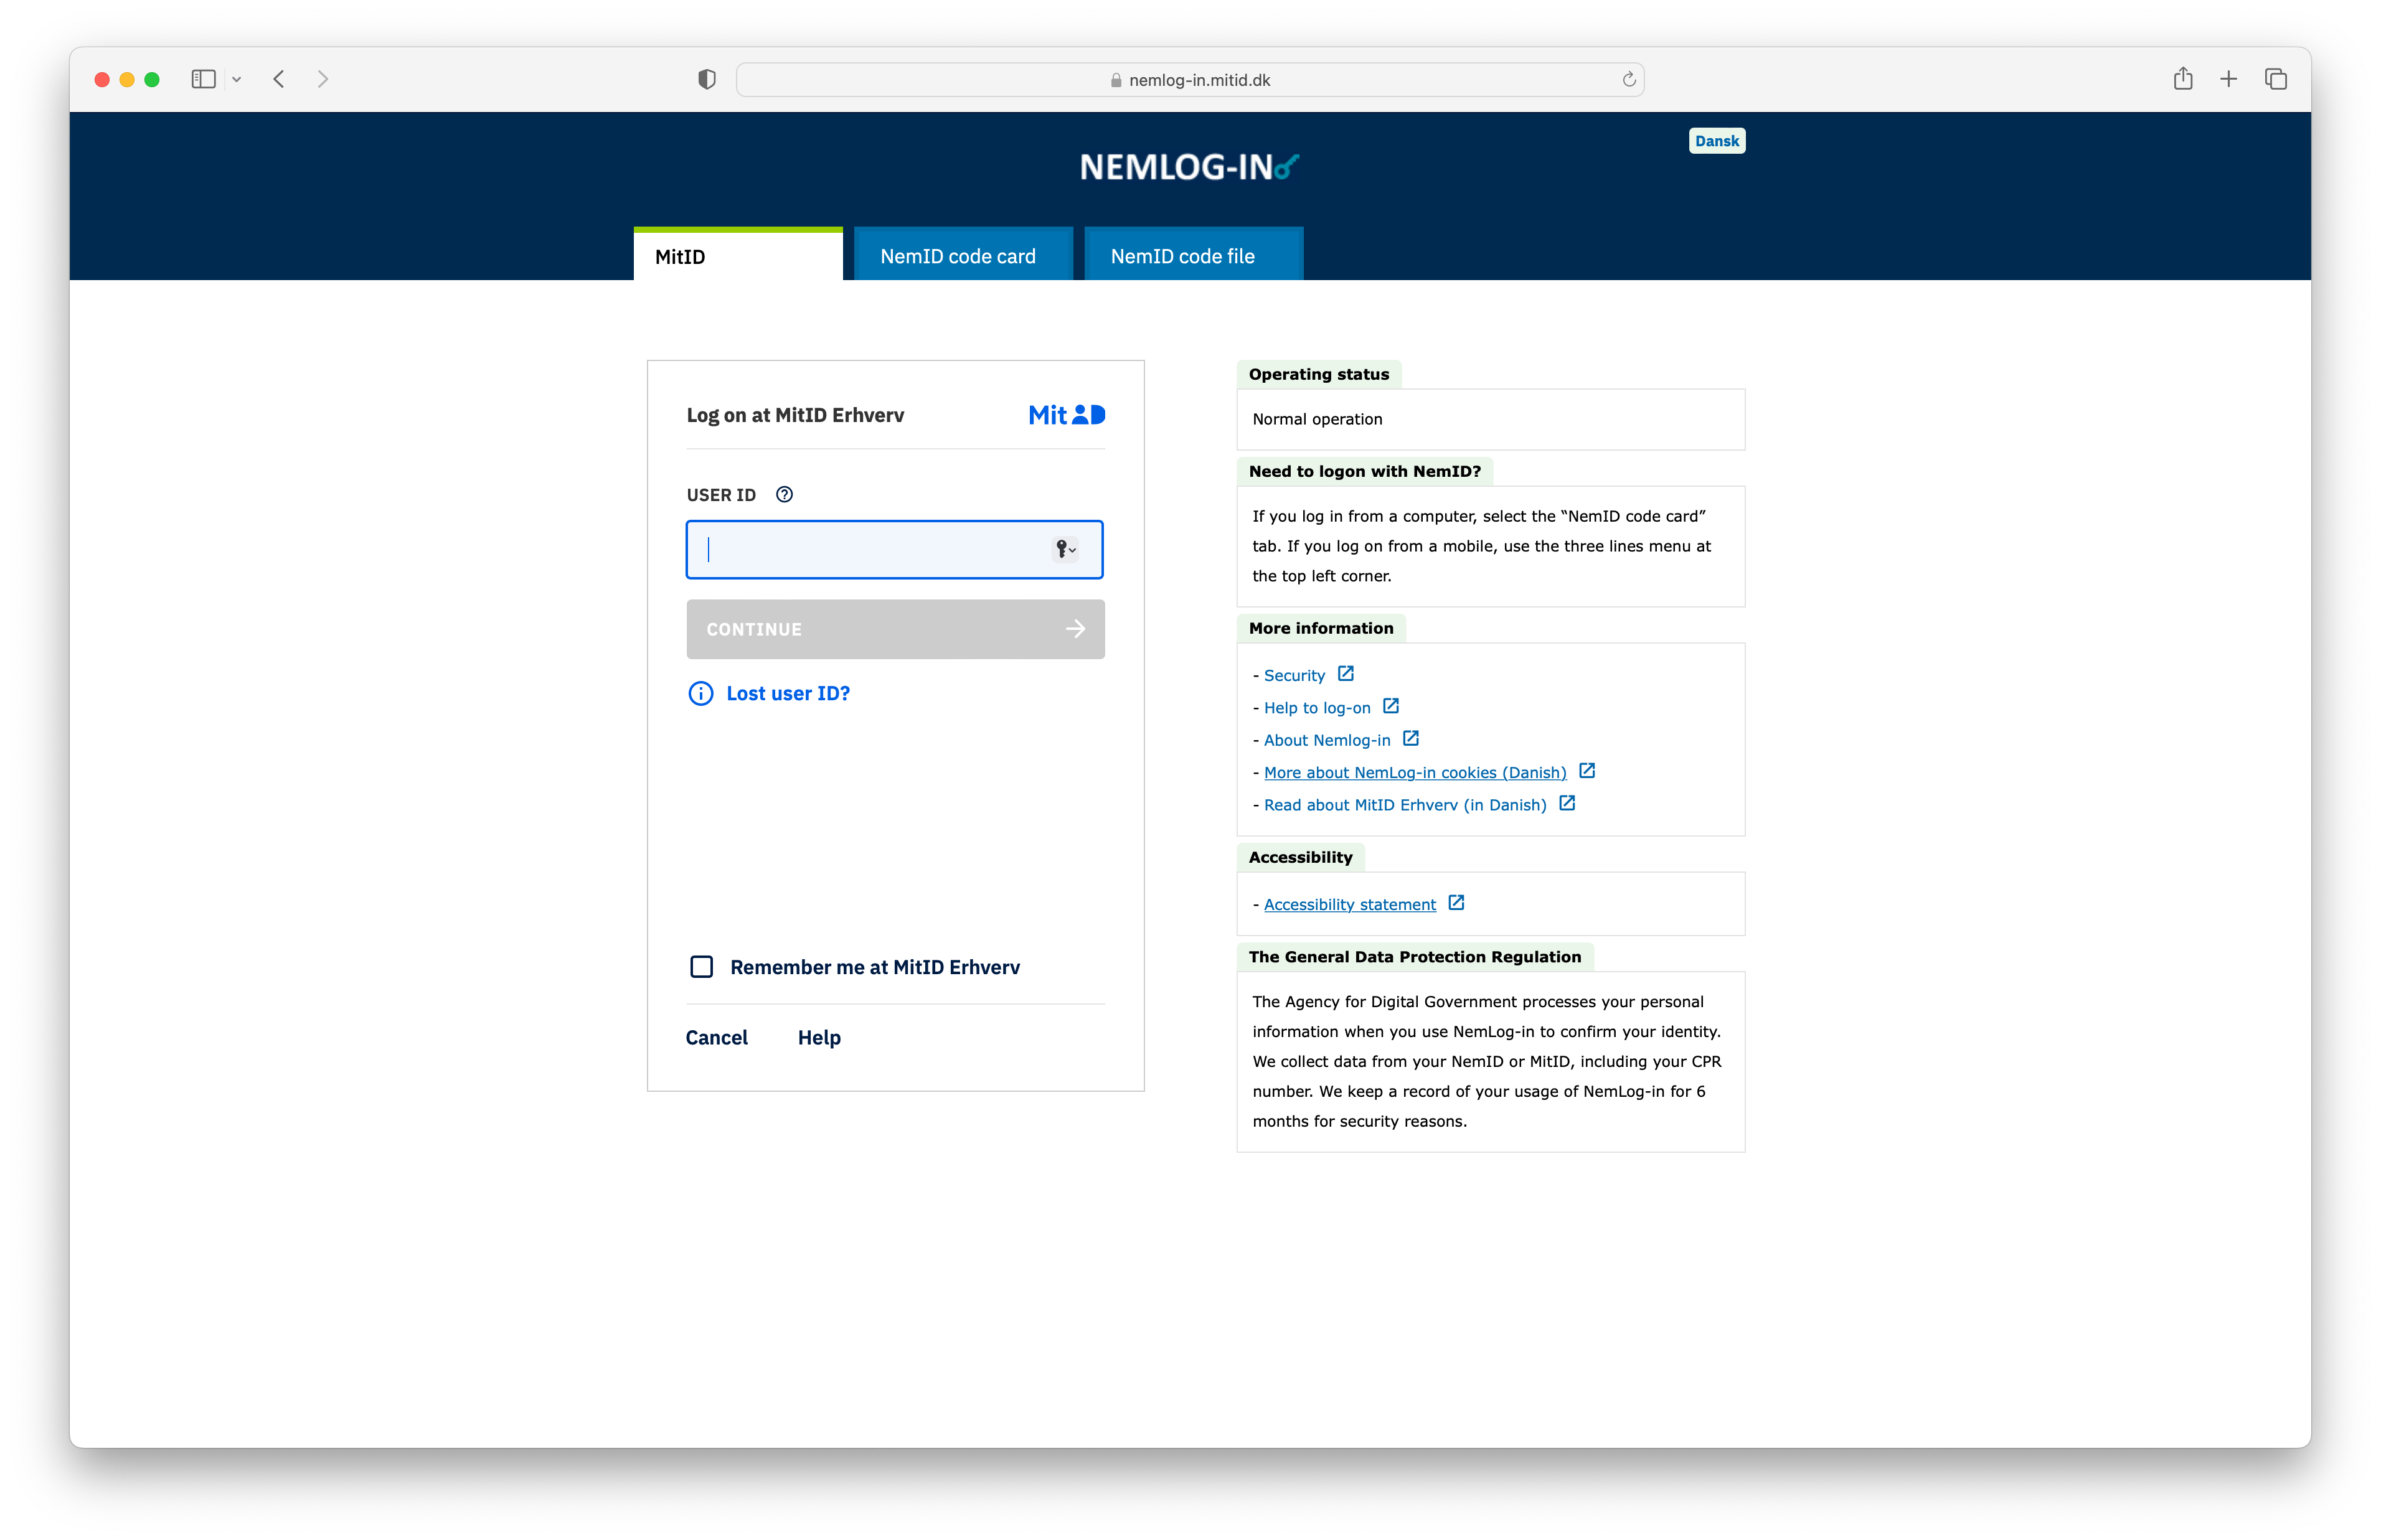
They will then sign in with MitID.
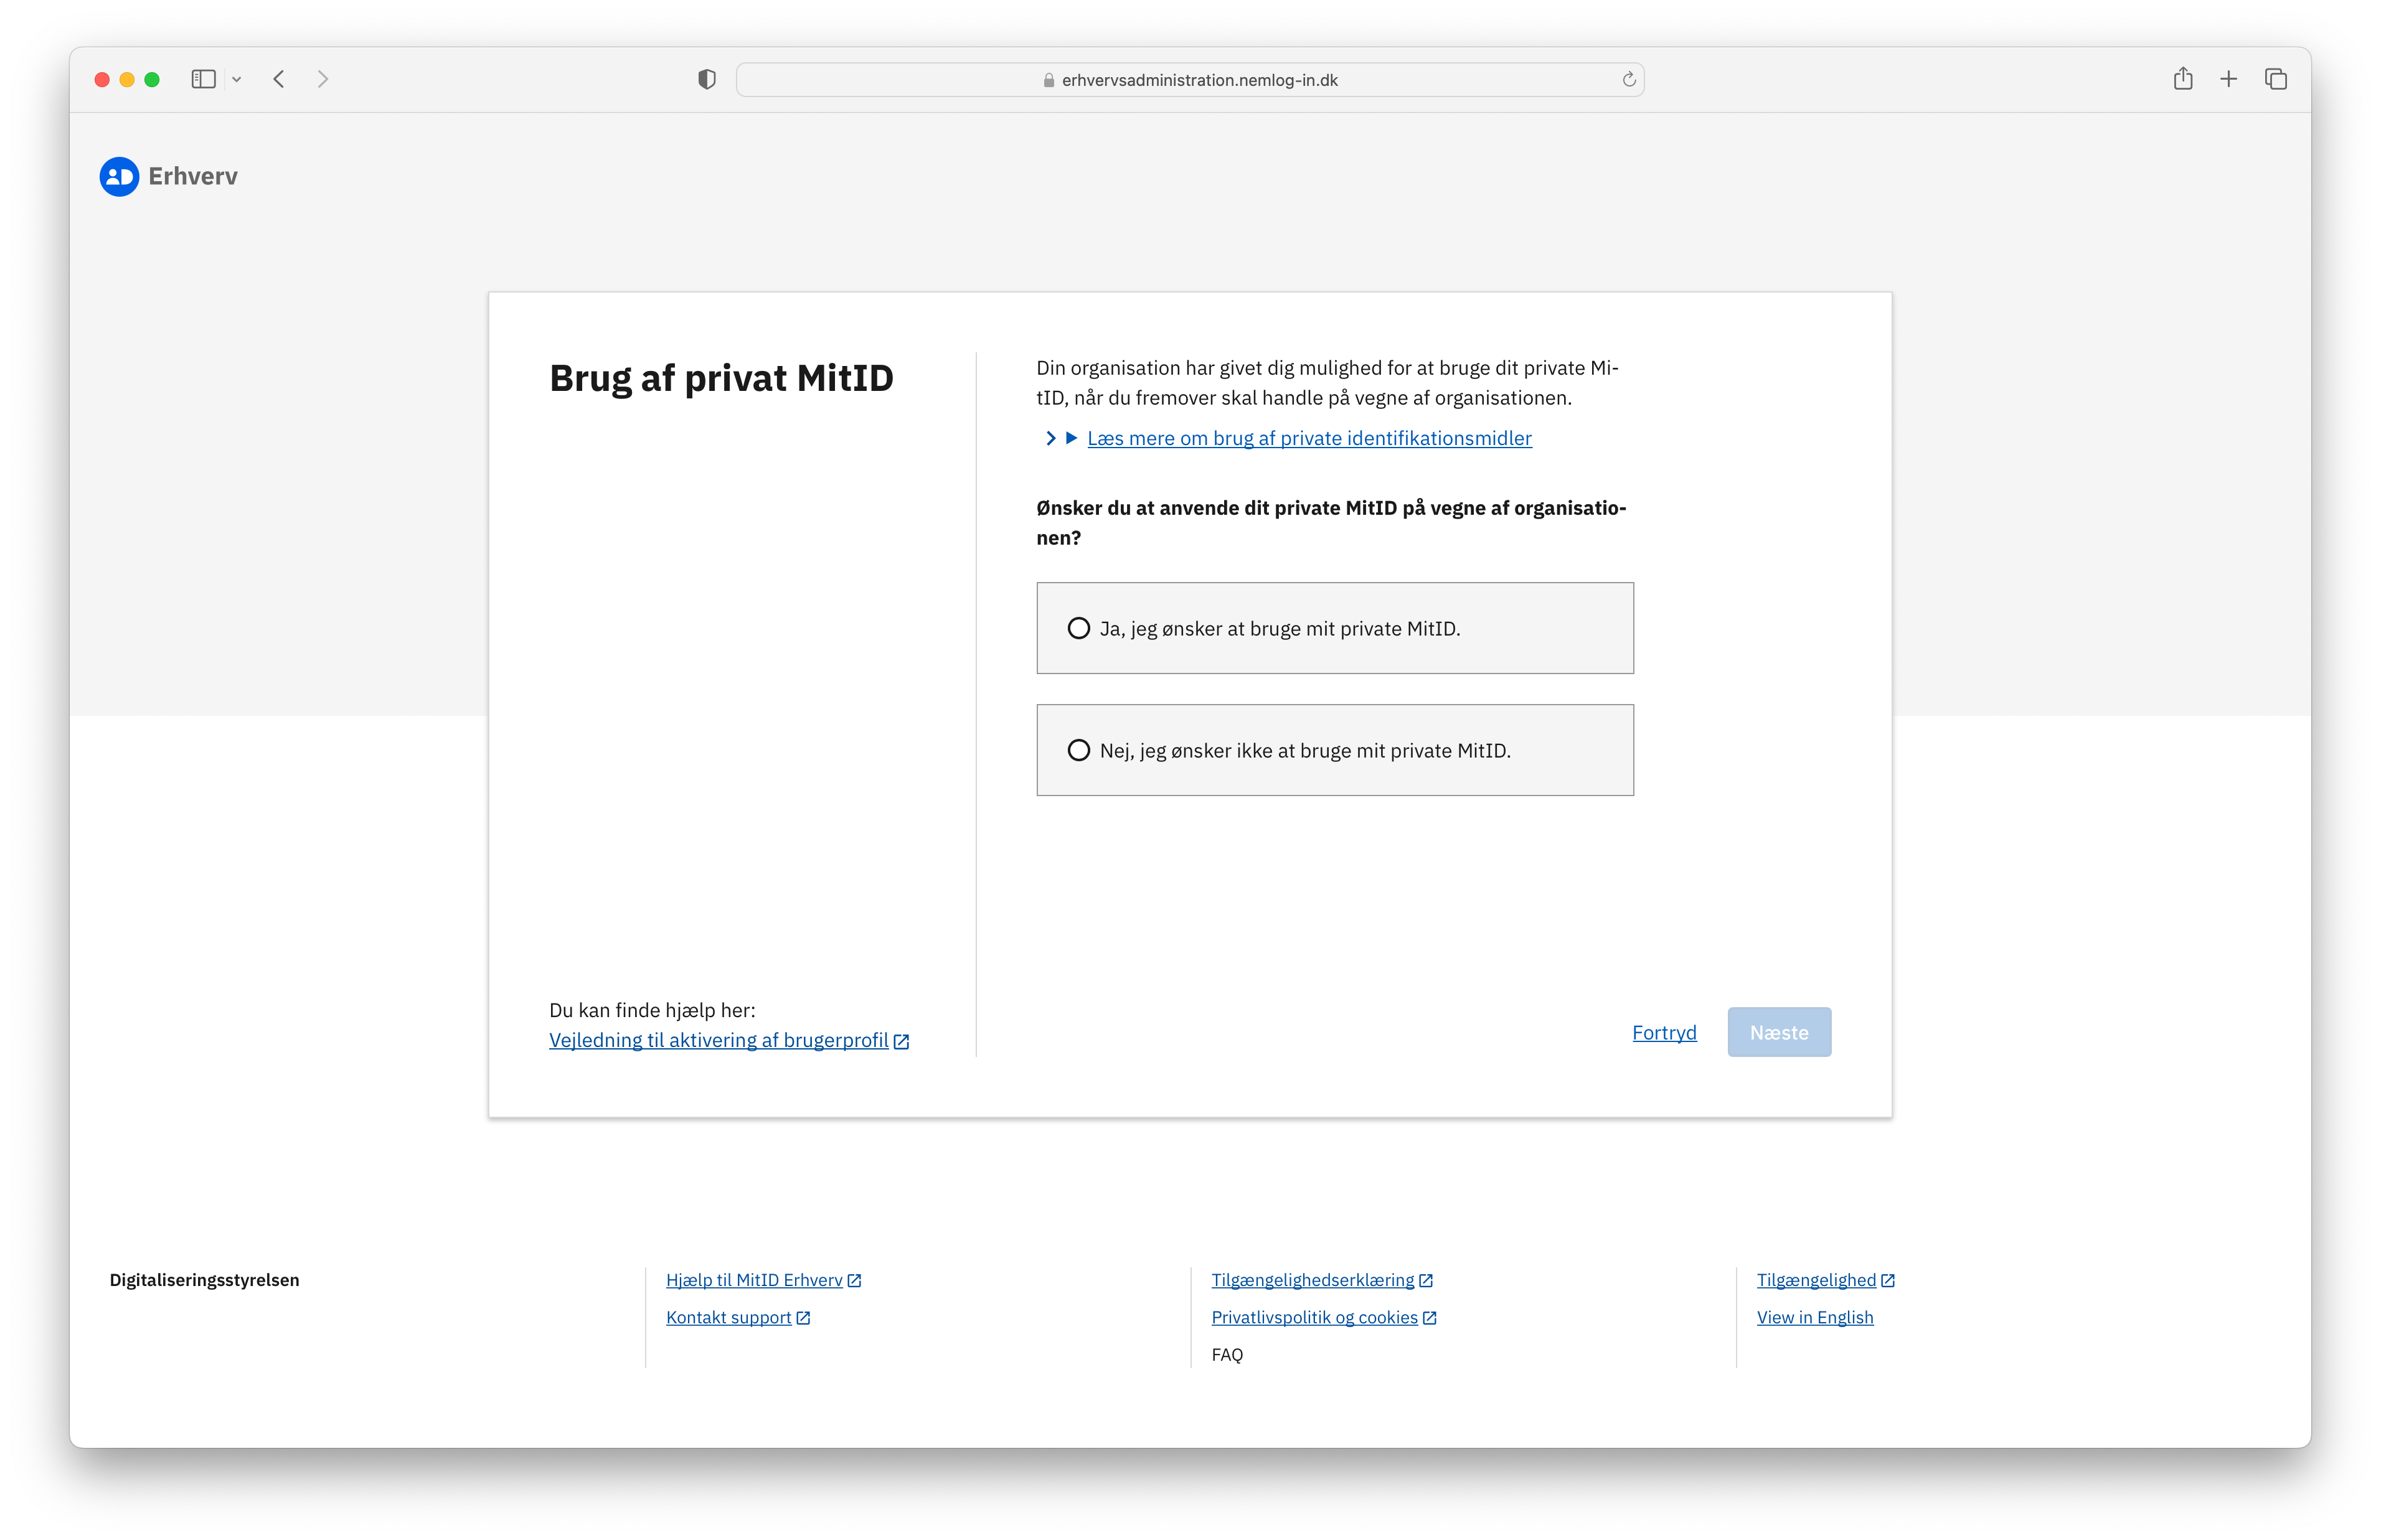
After signing in, the user has the option of either using their private MitID or a dedicated MitID. In this example, we will proceed using a private MitID by selecting it and clicking Næste.
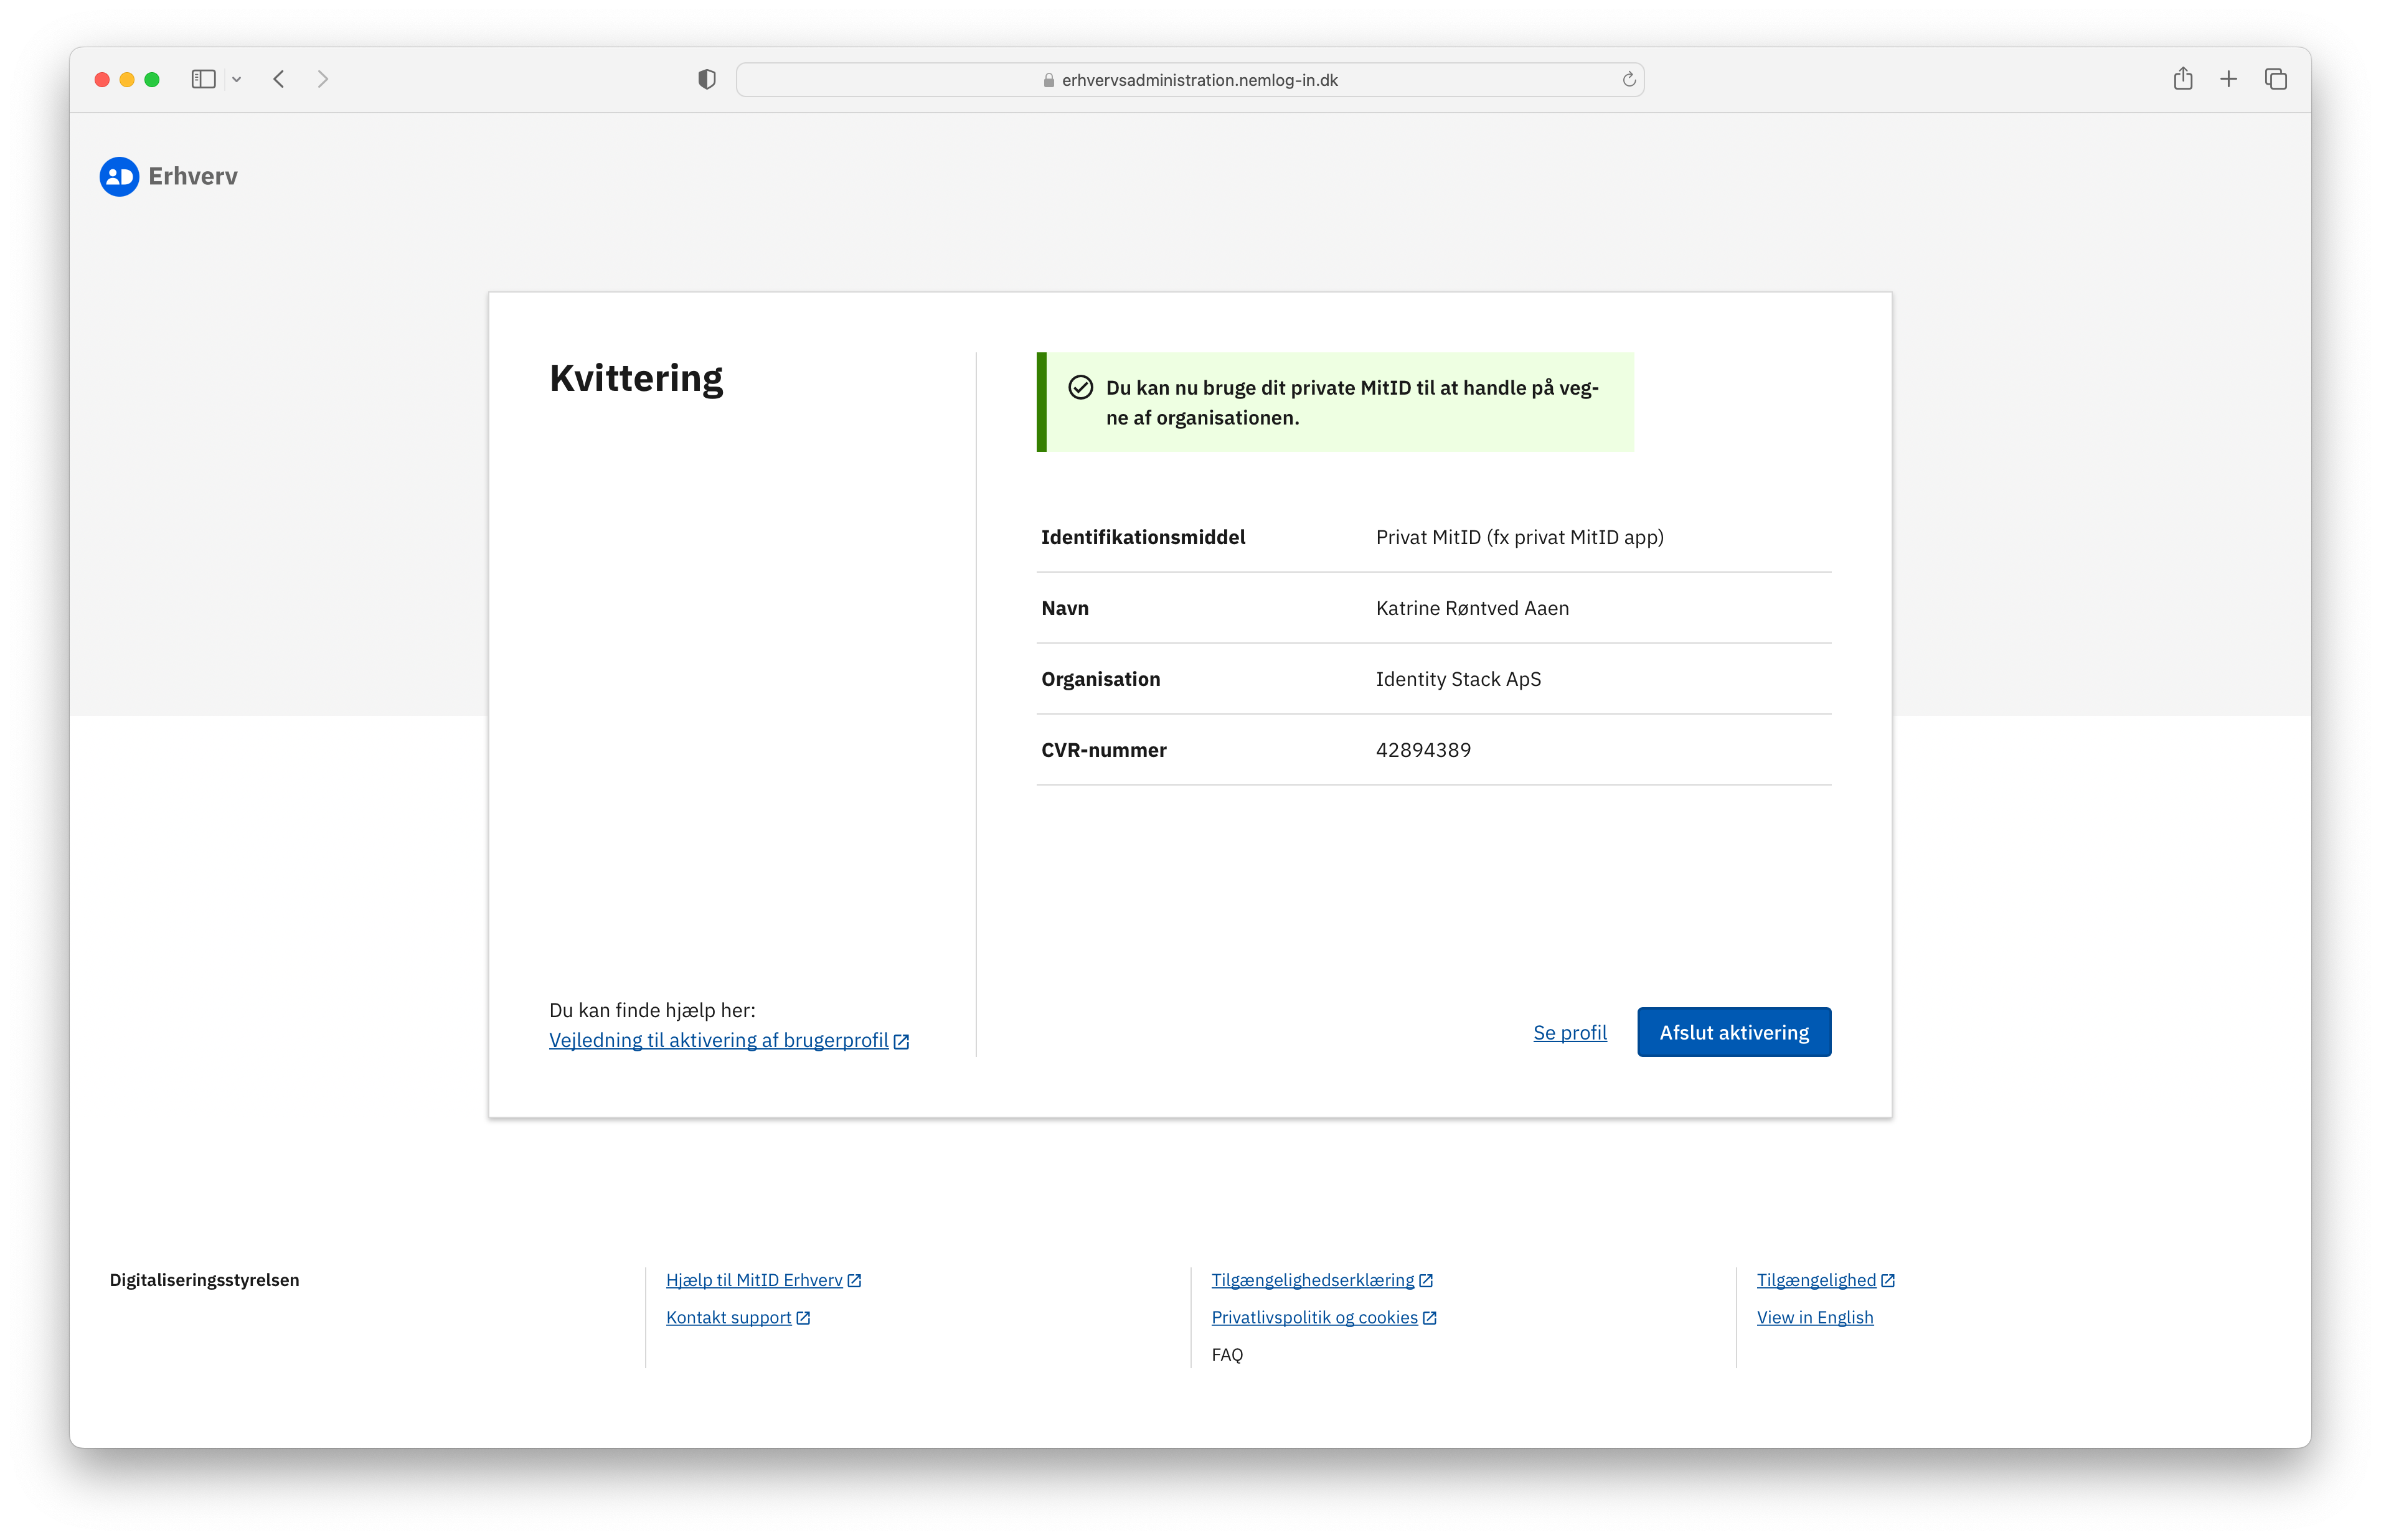
A final confirmation will appear