Identity Governance with Azure AD Entitlement Management
Prerequisites
To implement Azure AD Entitlement Management, you will need the following:
- Azure AD Premium P2 subscription
- Enterprise Mobility + Security (EMS) E5 license
- One of the following roles: Global Administrator, Identity Governance Administrator, User Administrator, Catalog Owner, or Access Package Manager.
Overview
Entitlement management introduces to Azure AD the concept of an access package. An access package is a bundle of all the resources with the access a user needs to work on a project or perform their task. Access packages are used to govern access for your internal employees, and also users outside your organization.
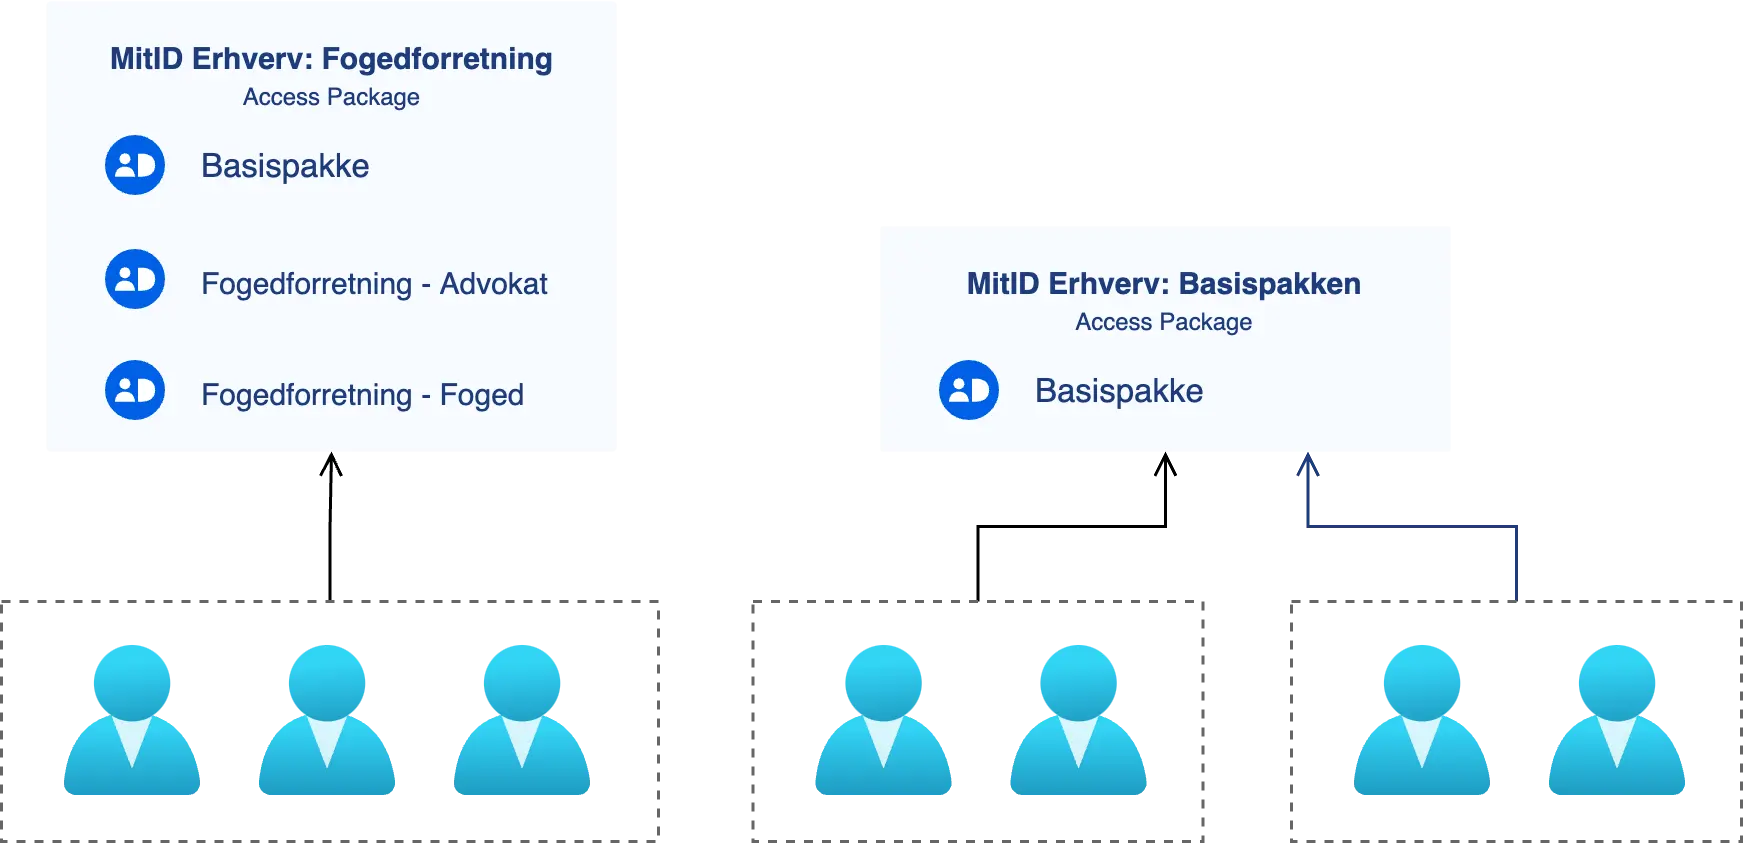
This functionality can be used to bundle different MitID Erhverv permissions as depicted below. The example shows two access packages which each contain a set of MitID Erhverv permissions. A MitID permission correspond to a security group in your Azure AD. You will of cause have to create the access packages so they forfill your specific business needs.
Step by Step
This guide shows you how to set up and configure access packages in Microsoft Azure with MitID Erhverv. The example demonstrates a simple example that hopefully can be mapped to your organization's needs.
Sign in to the Azure portal
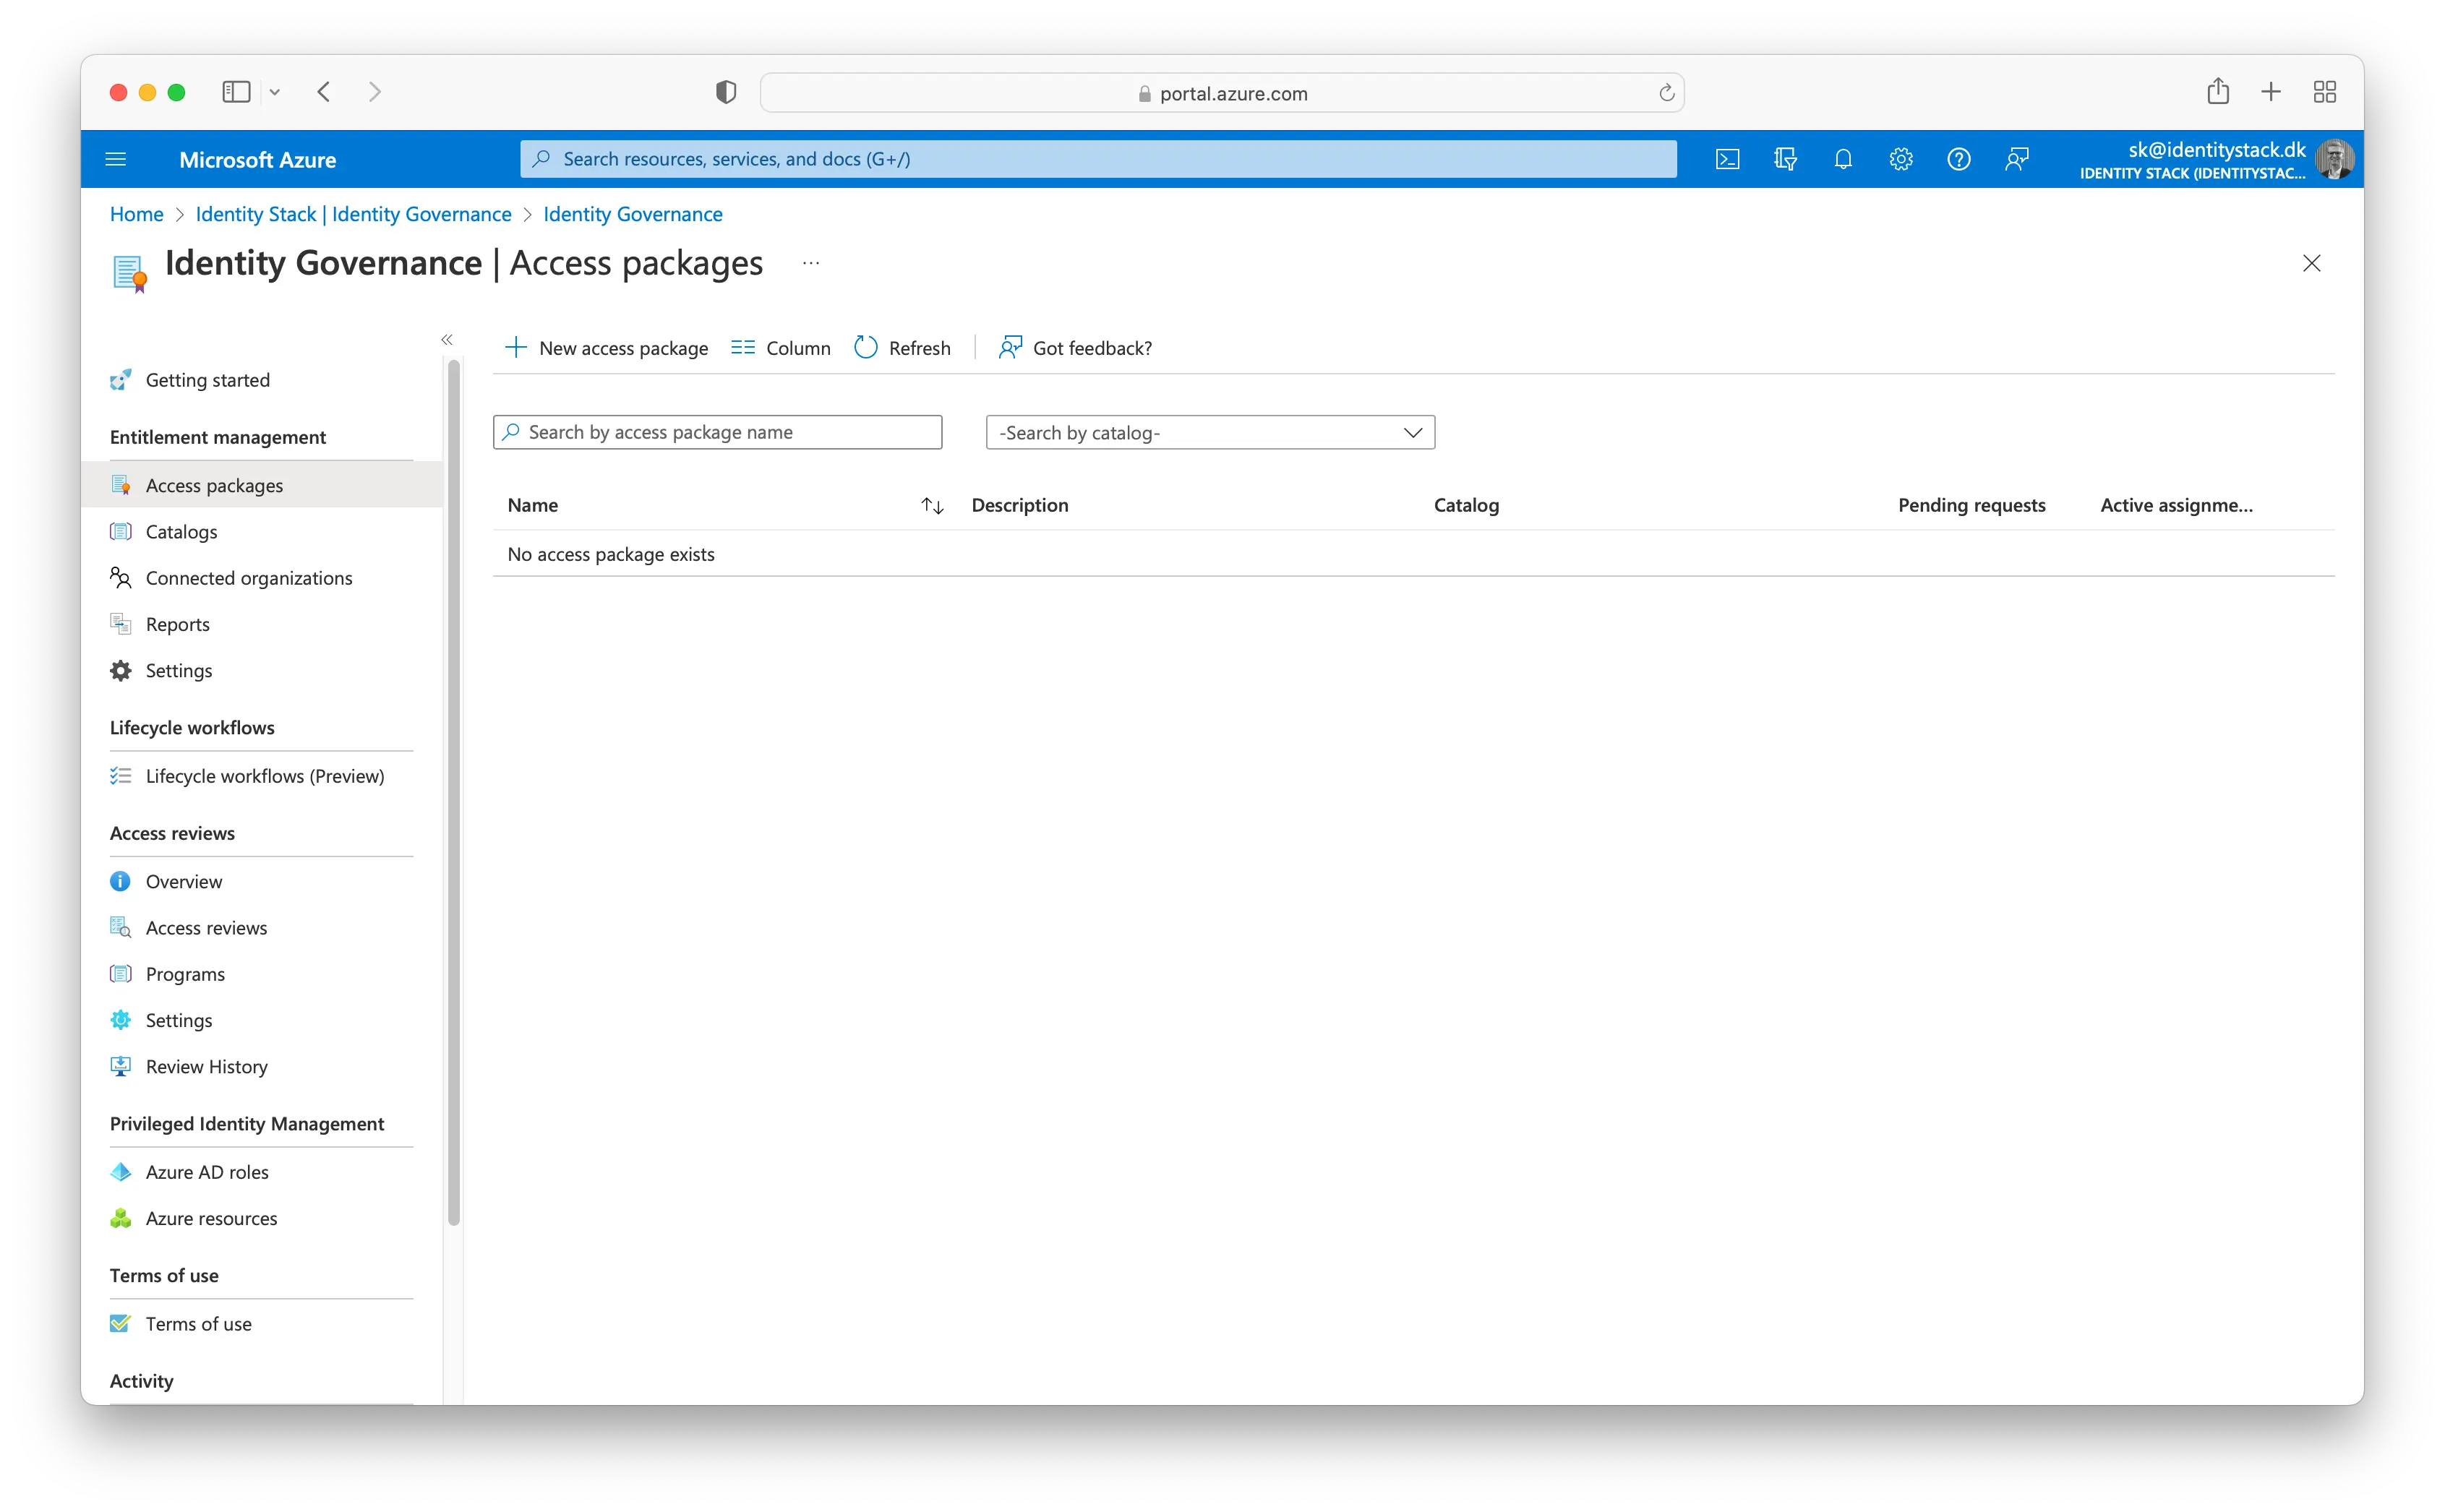
Navigate to Identity Governance → Access Packages in your Azure Active Directory.
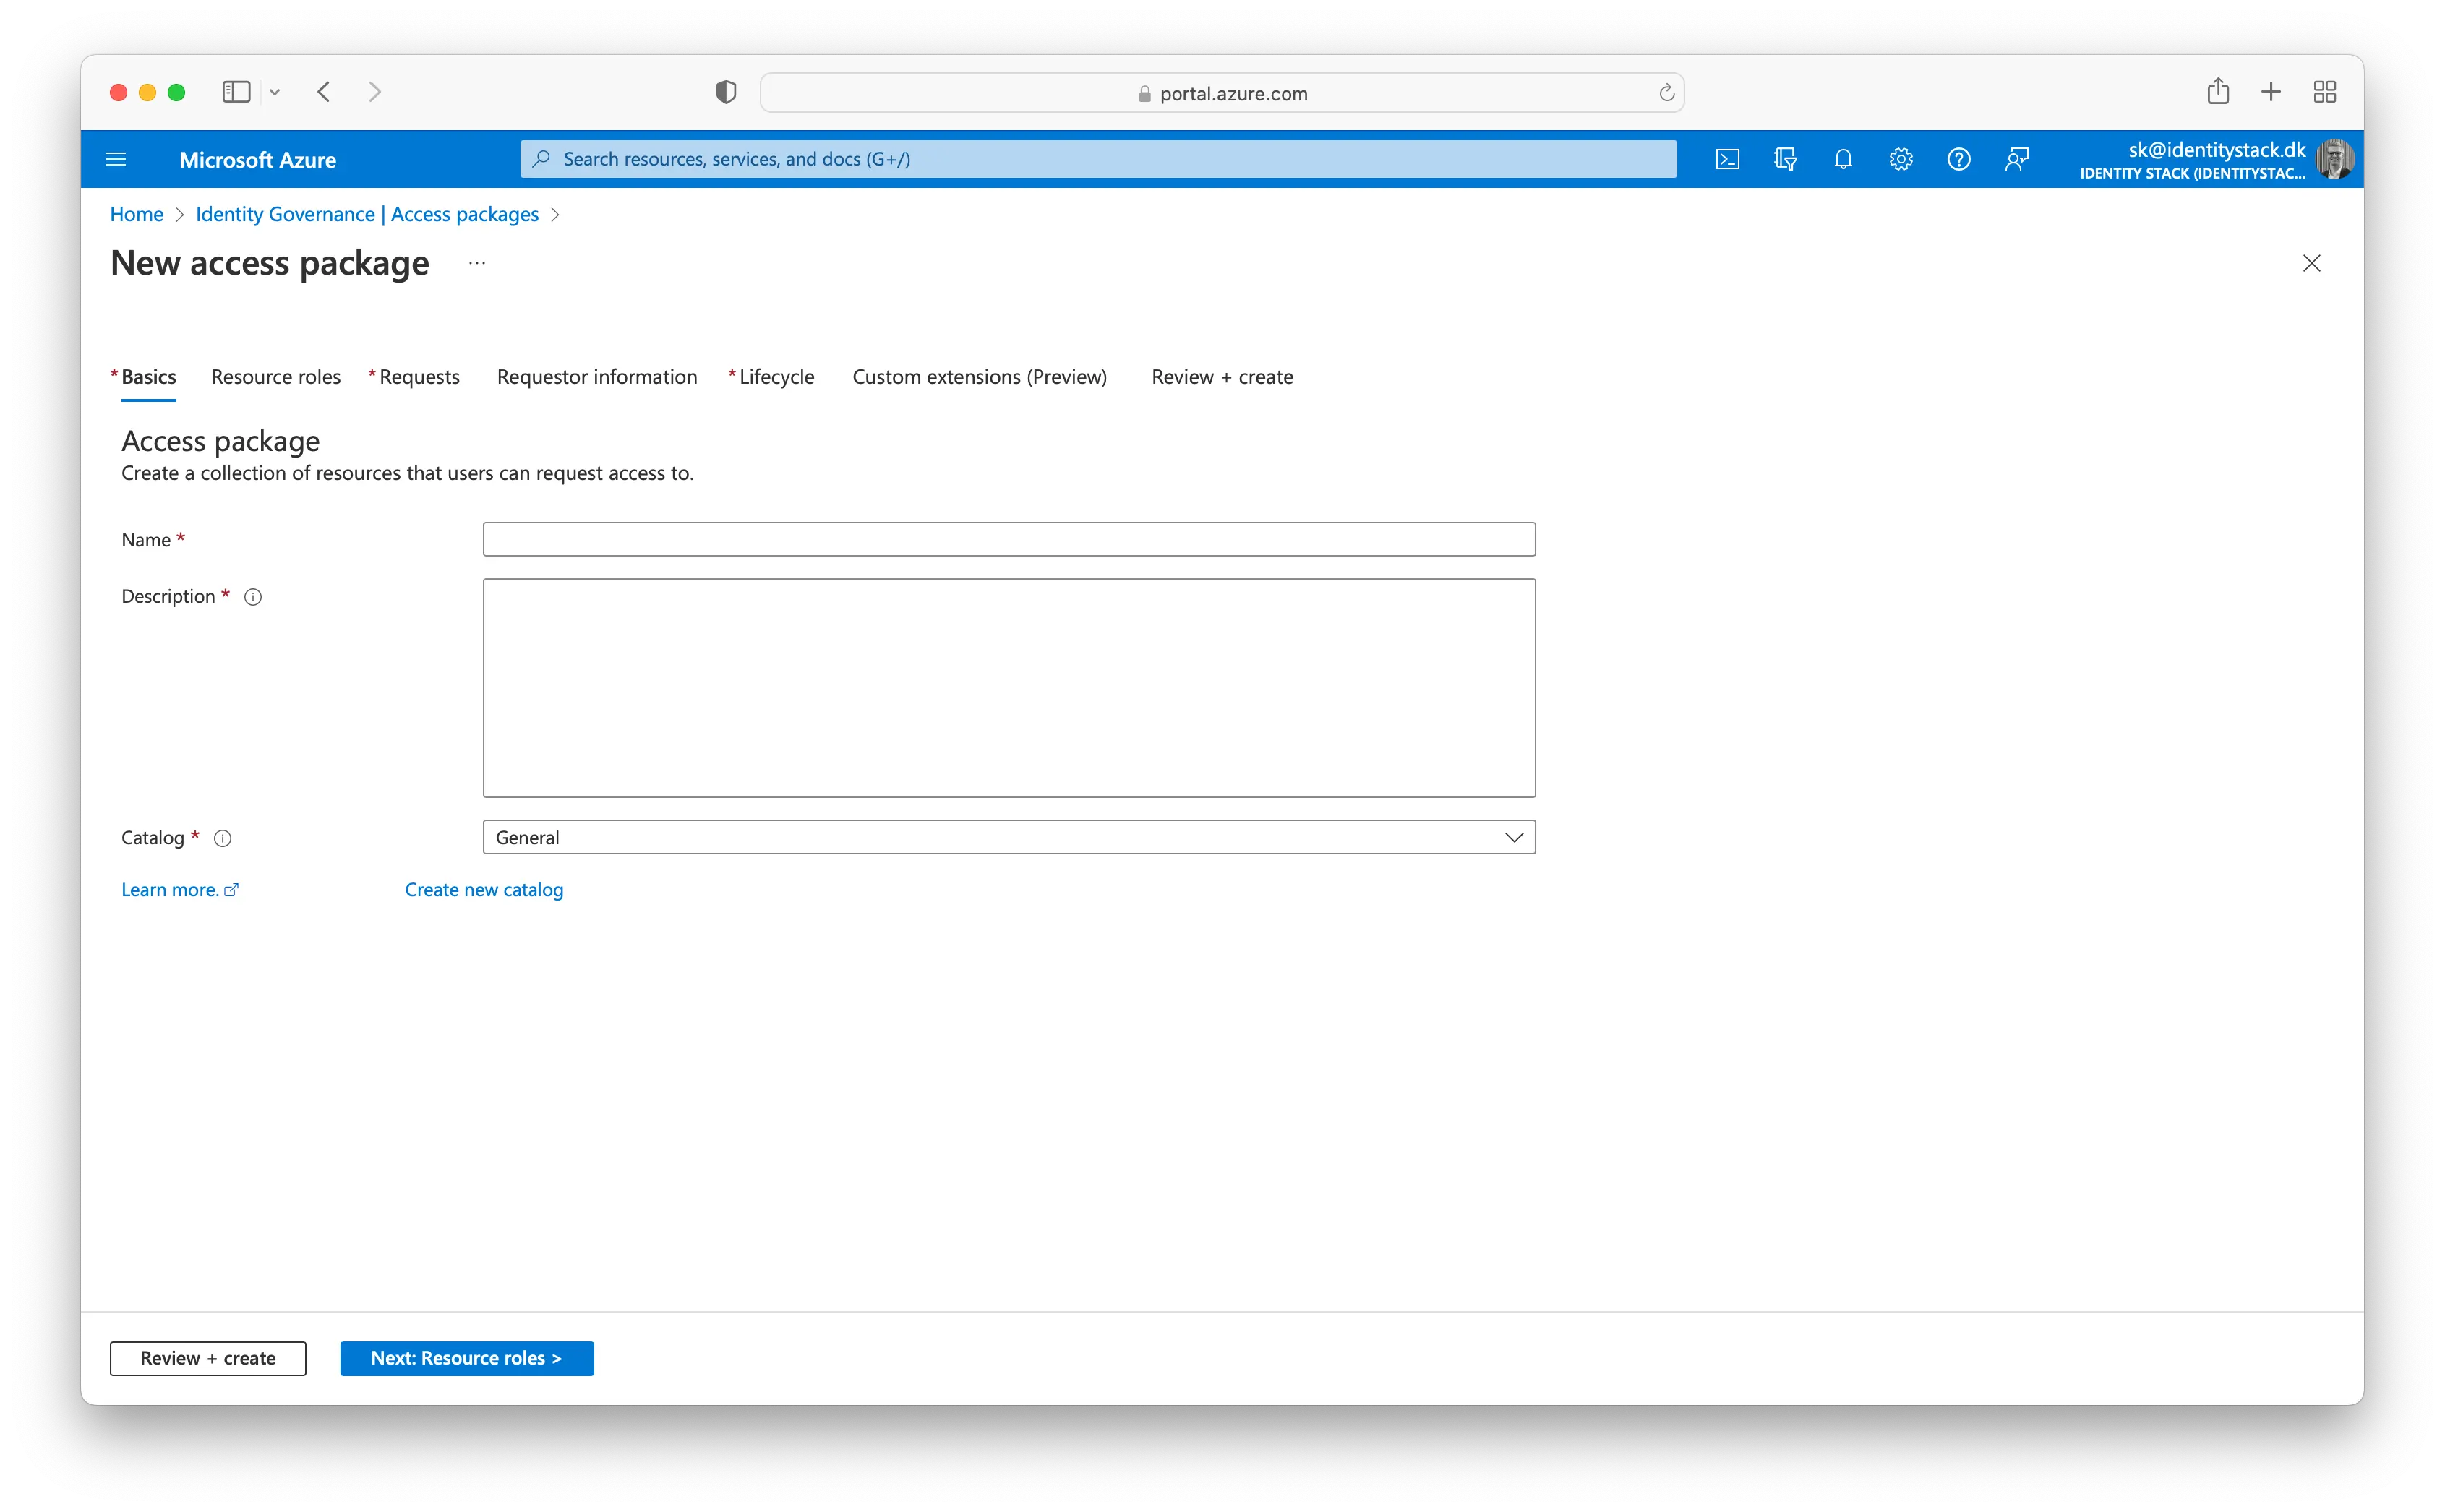
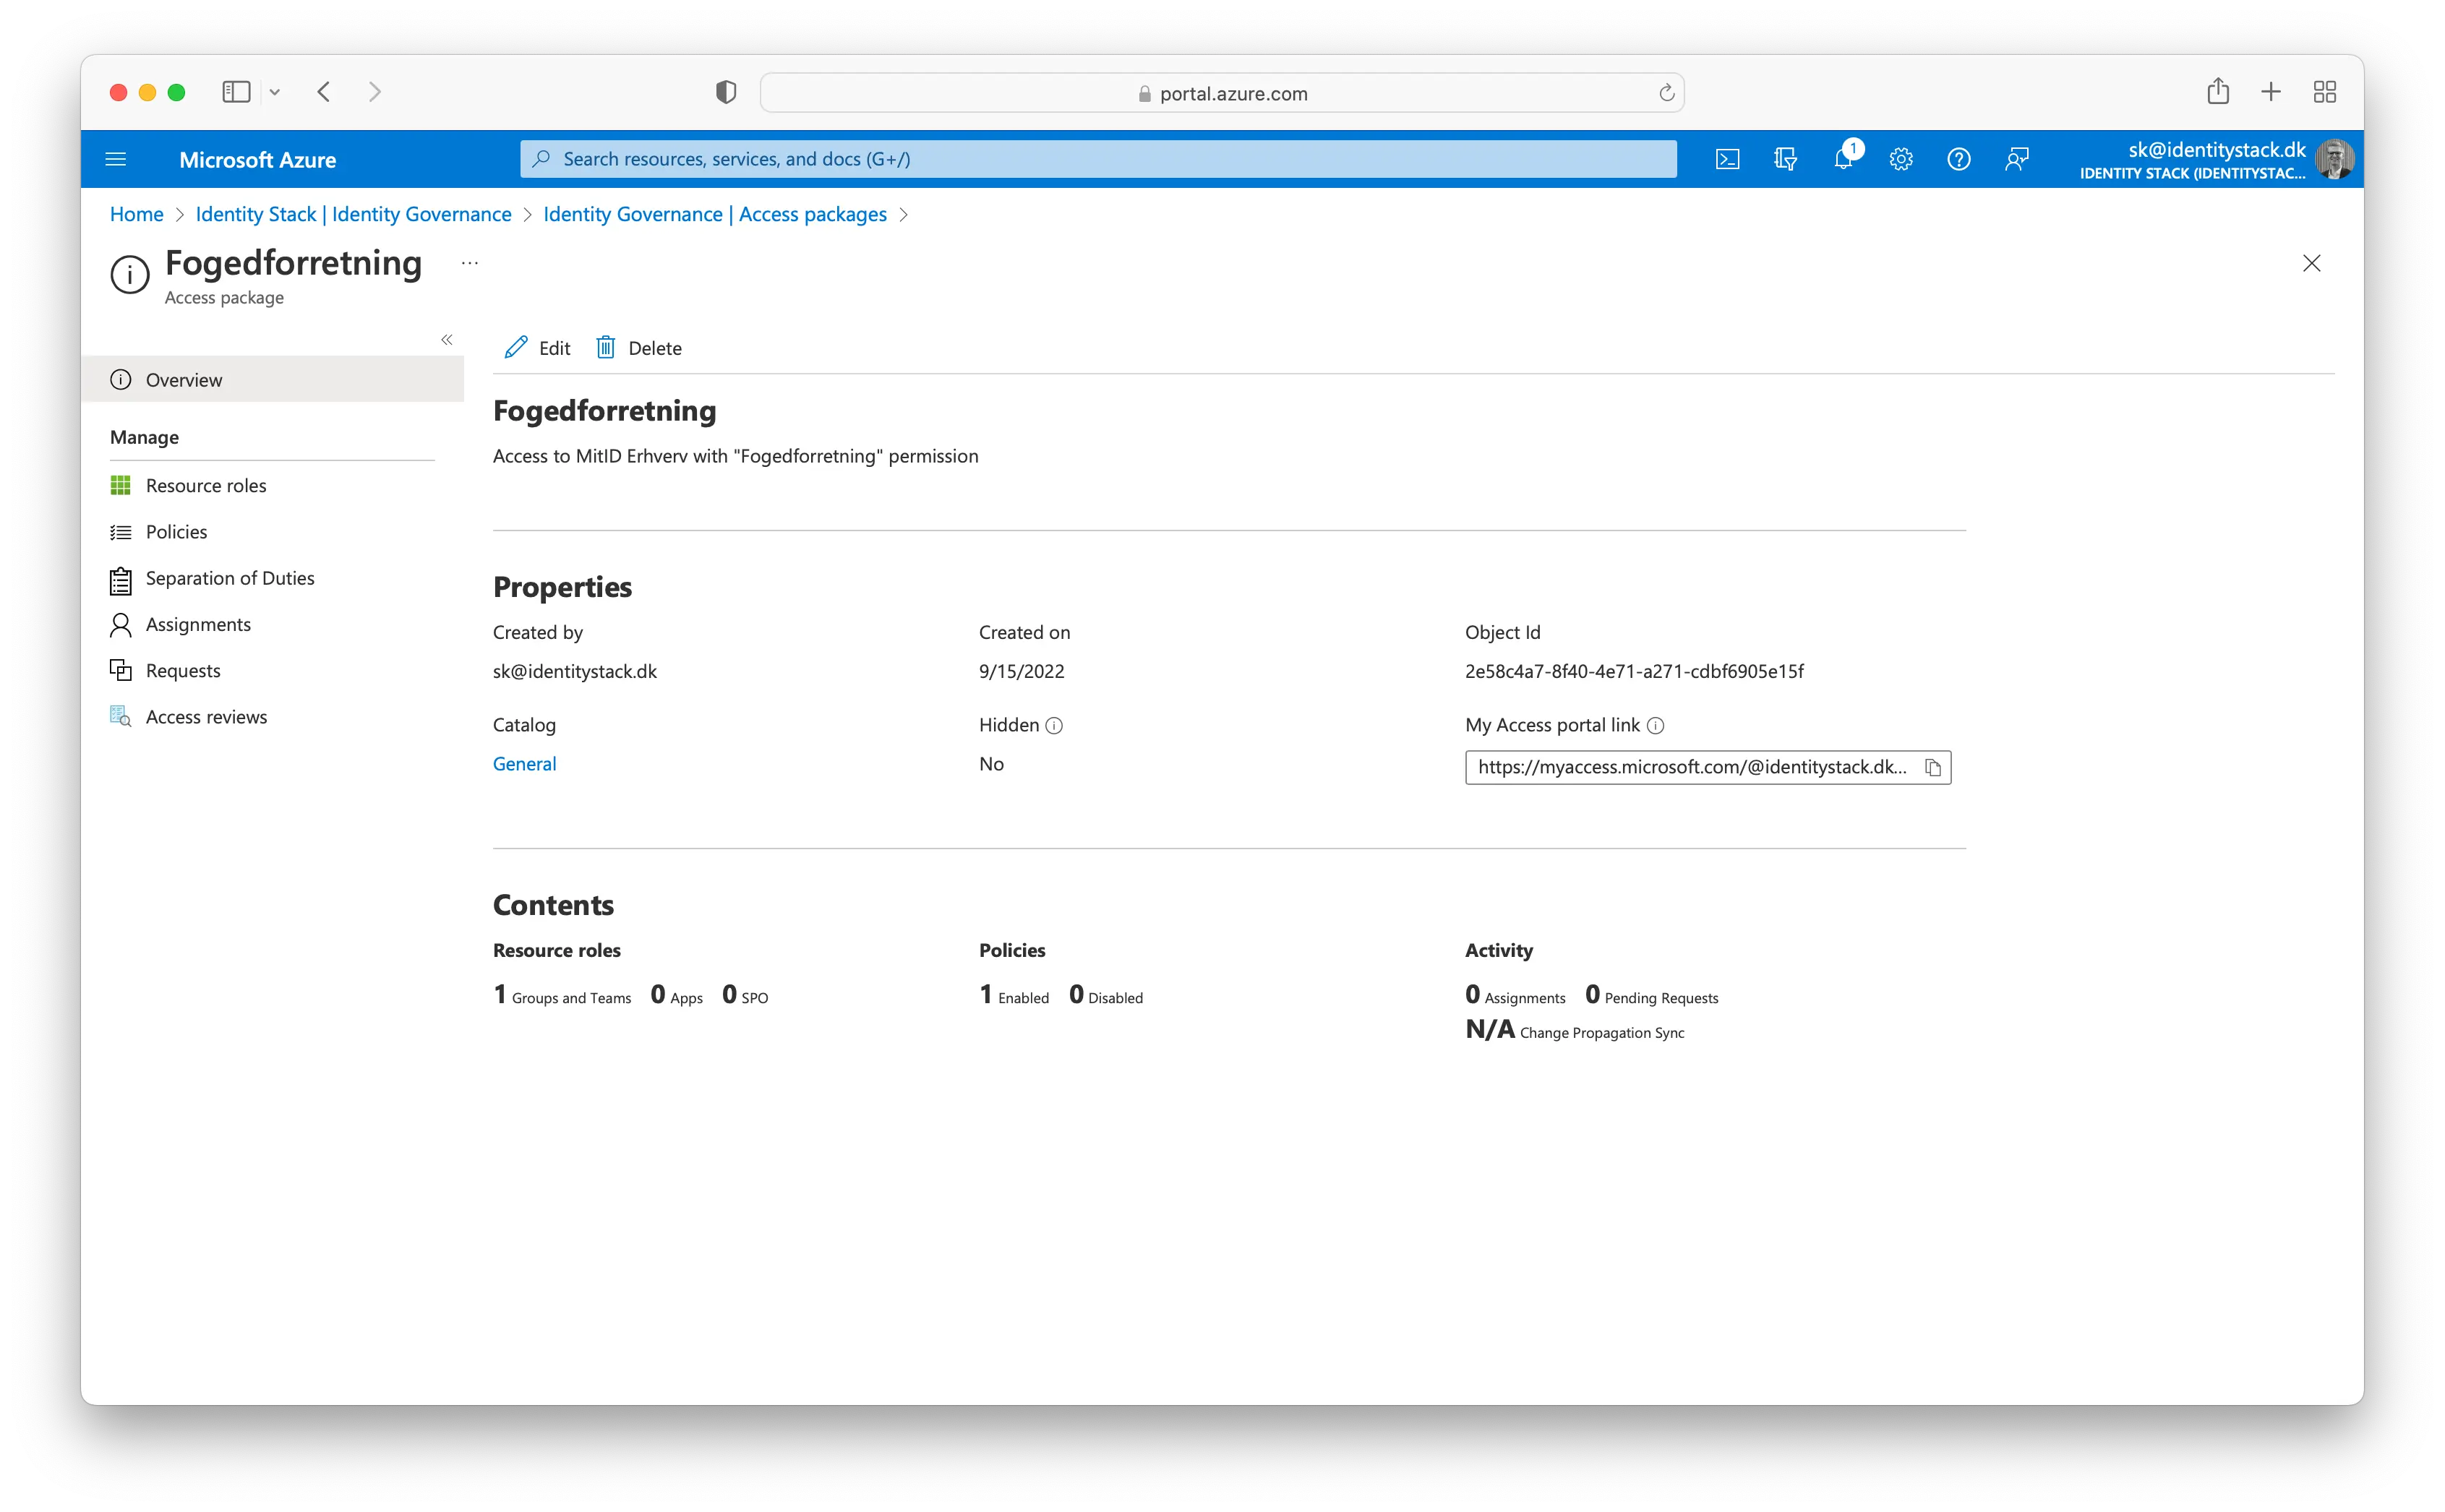
On the Basics tab, type the name "Fogedforretning" and the description "Access to MitID Erhverv with "Fogedforretning".
Select Next to open the Resource roles tab. On this tab, select the resources and the resource role to include in the access package. You can choose to manage access to groups and teams, applications, and SharePoint Online sites. In this scenario, select Groups and Teams.
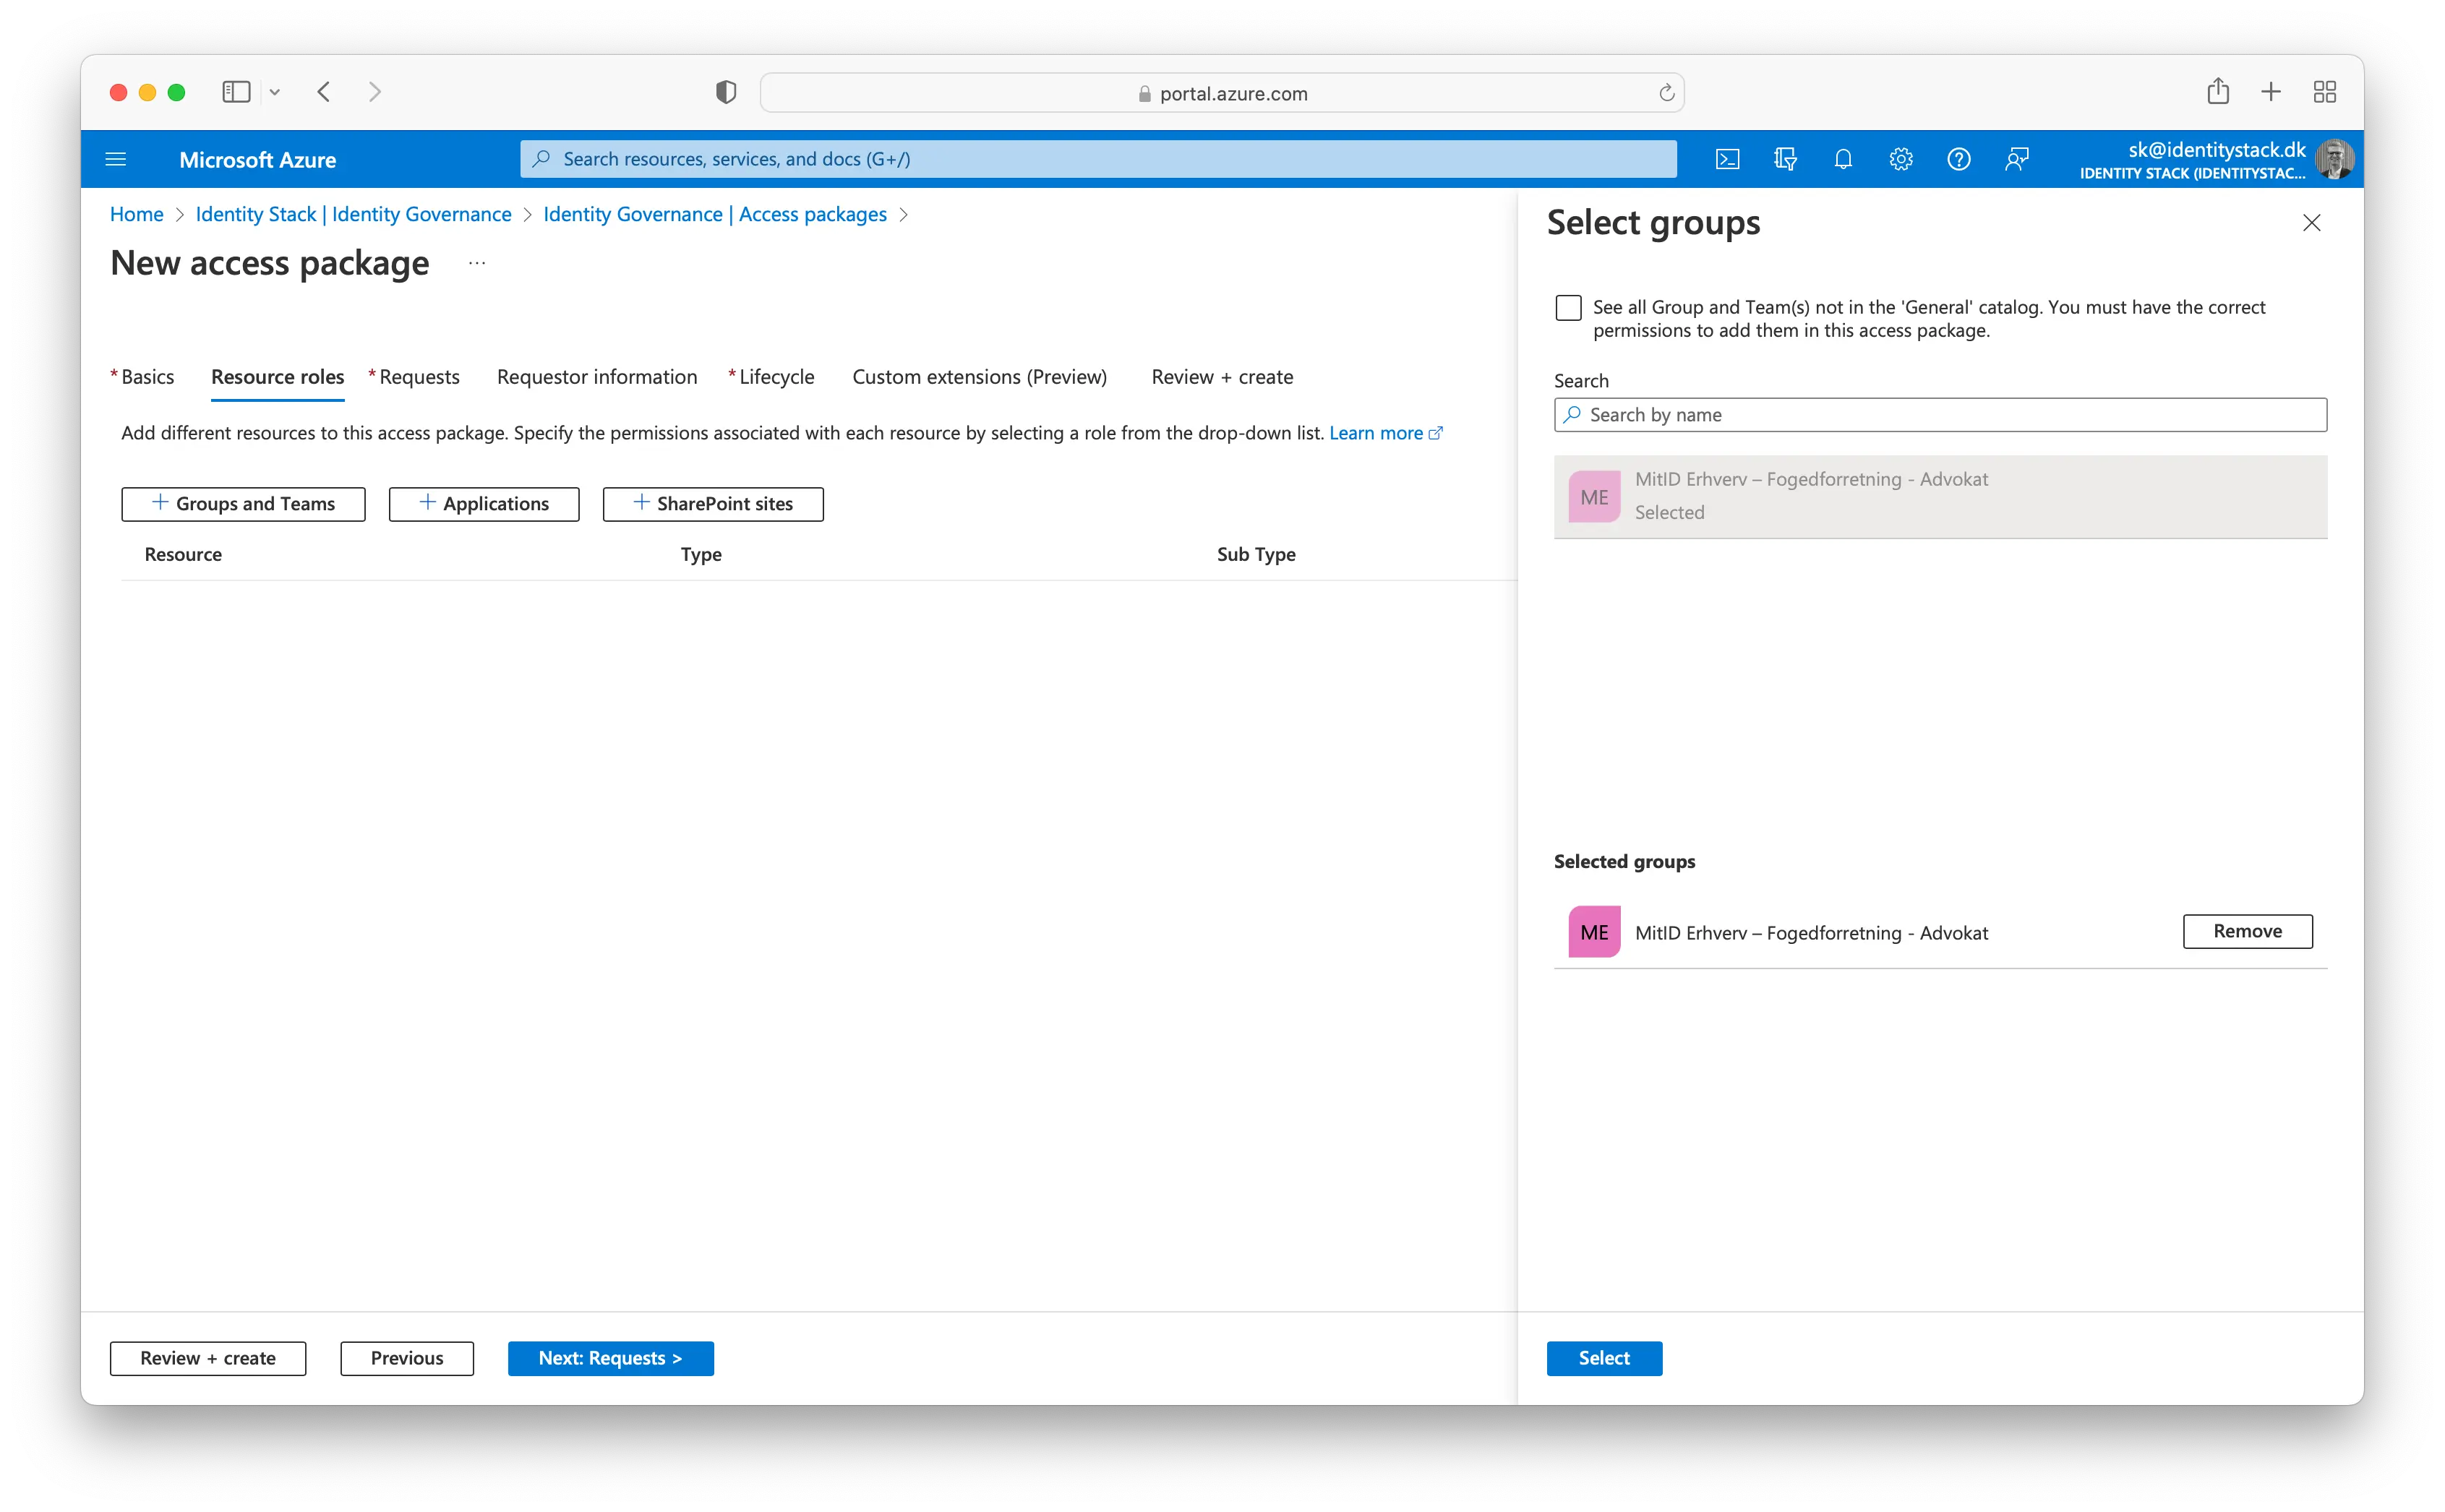
In the Select groups pane, find and select the MitID Erhverv – Fogedforretning - Advokat group. Please note, that the name of the group is depending on the role mappings you have created in the Identity Stack administration module.
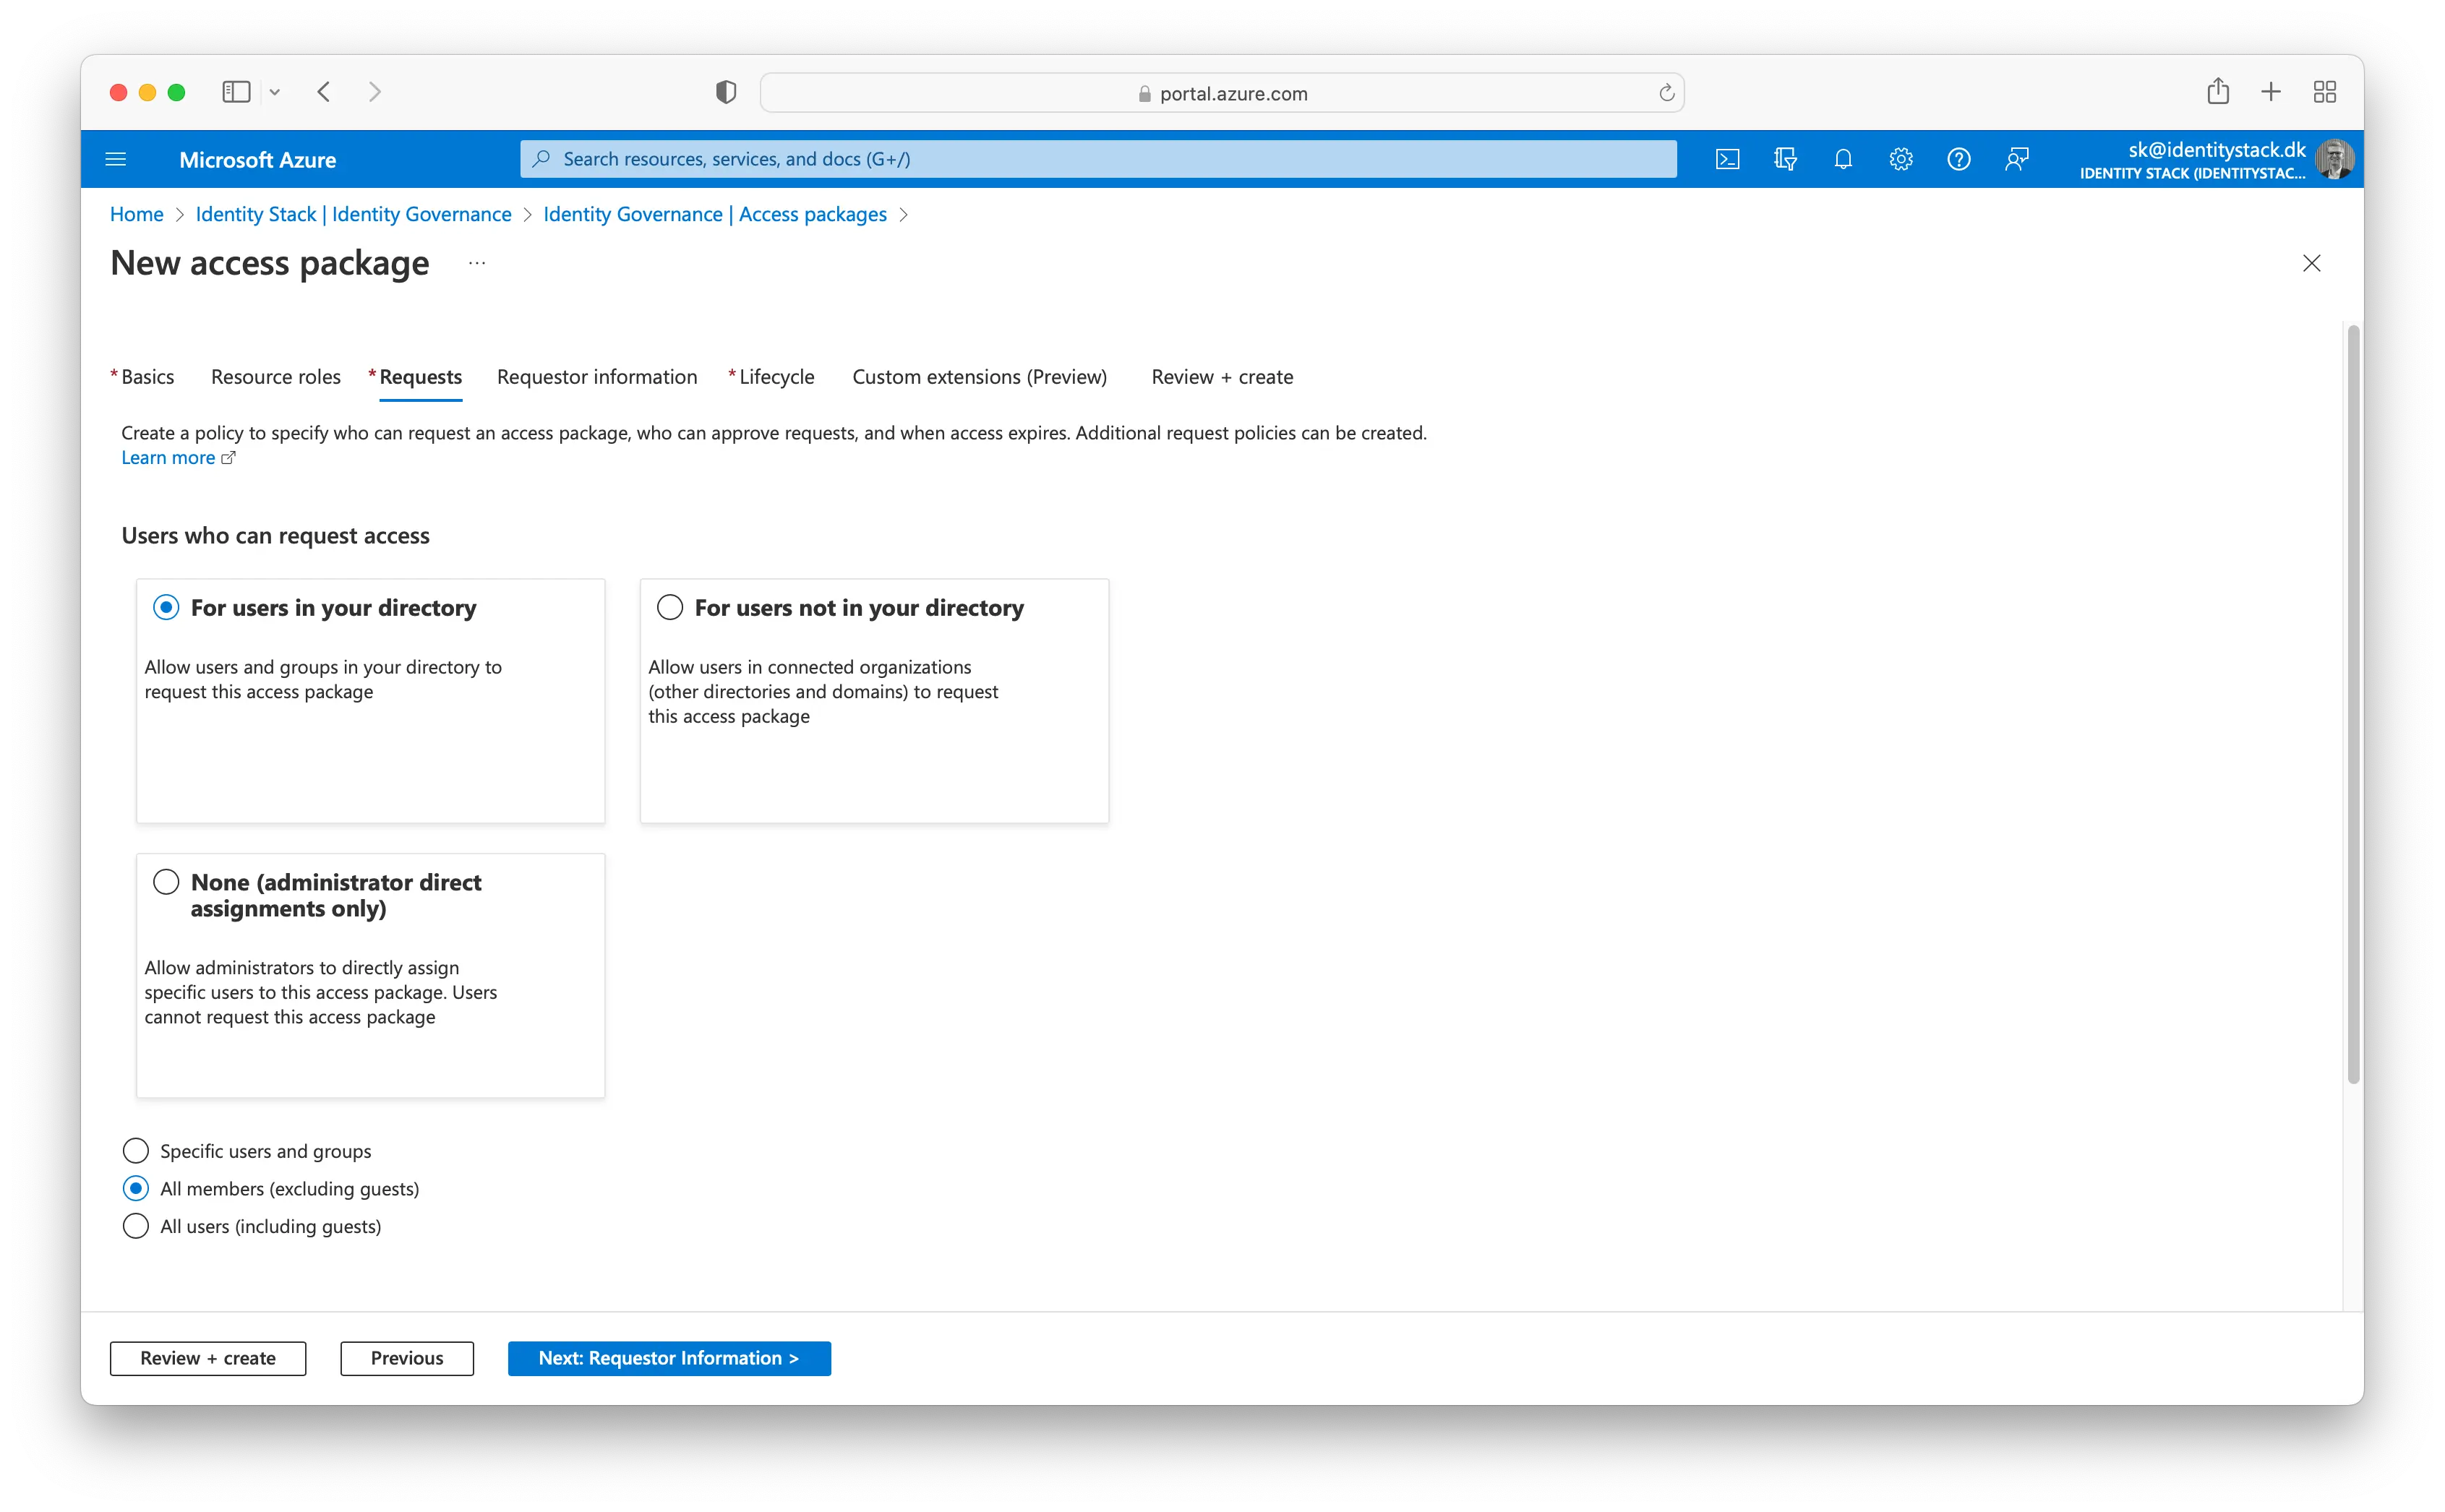
Select Next to open the Requests tab. On the Requests tab, you create a request policy. A policy defines the rules or guardrails to access an access package. You create a policy that allows a specific user in the resource directory to request this access package.
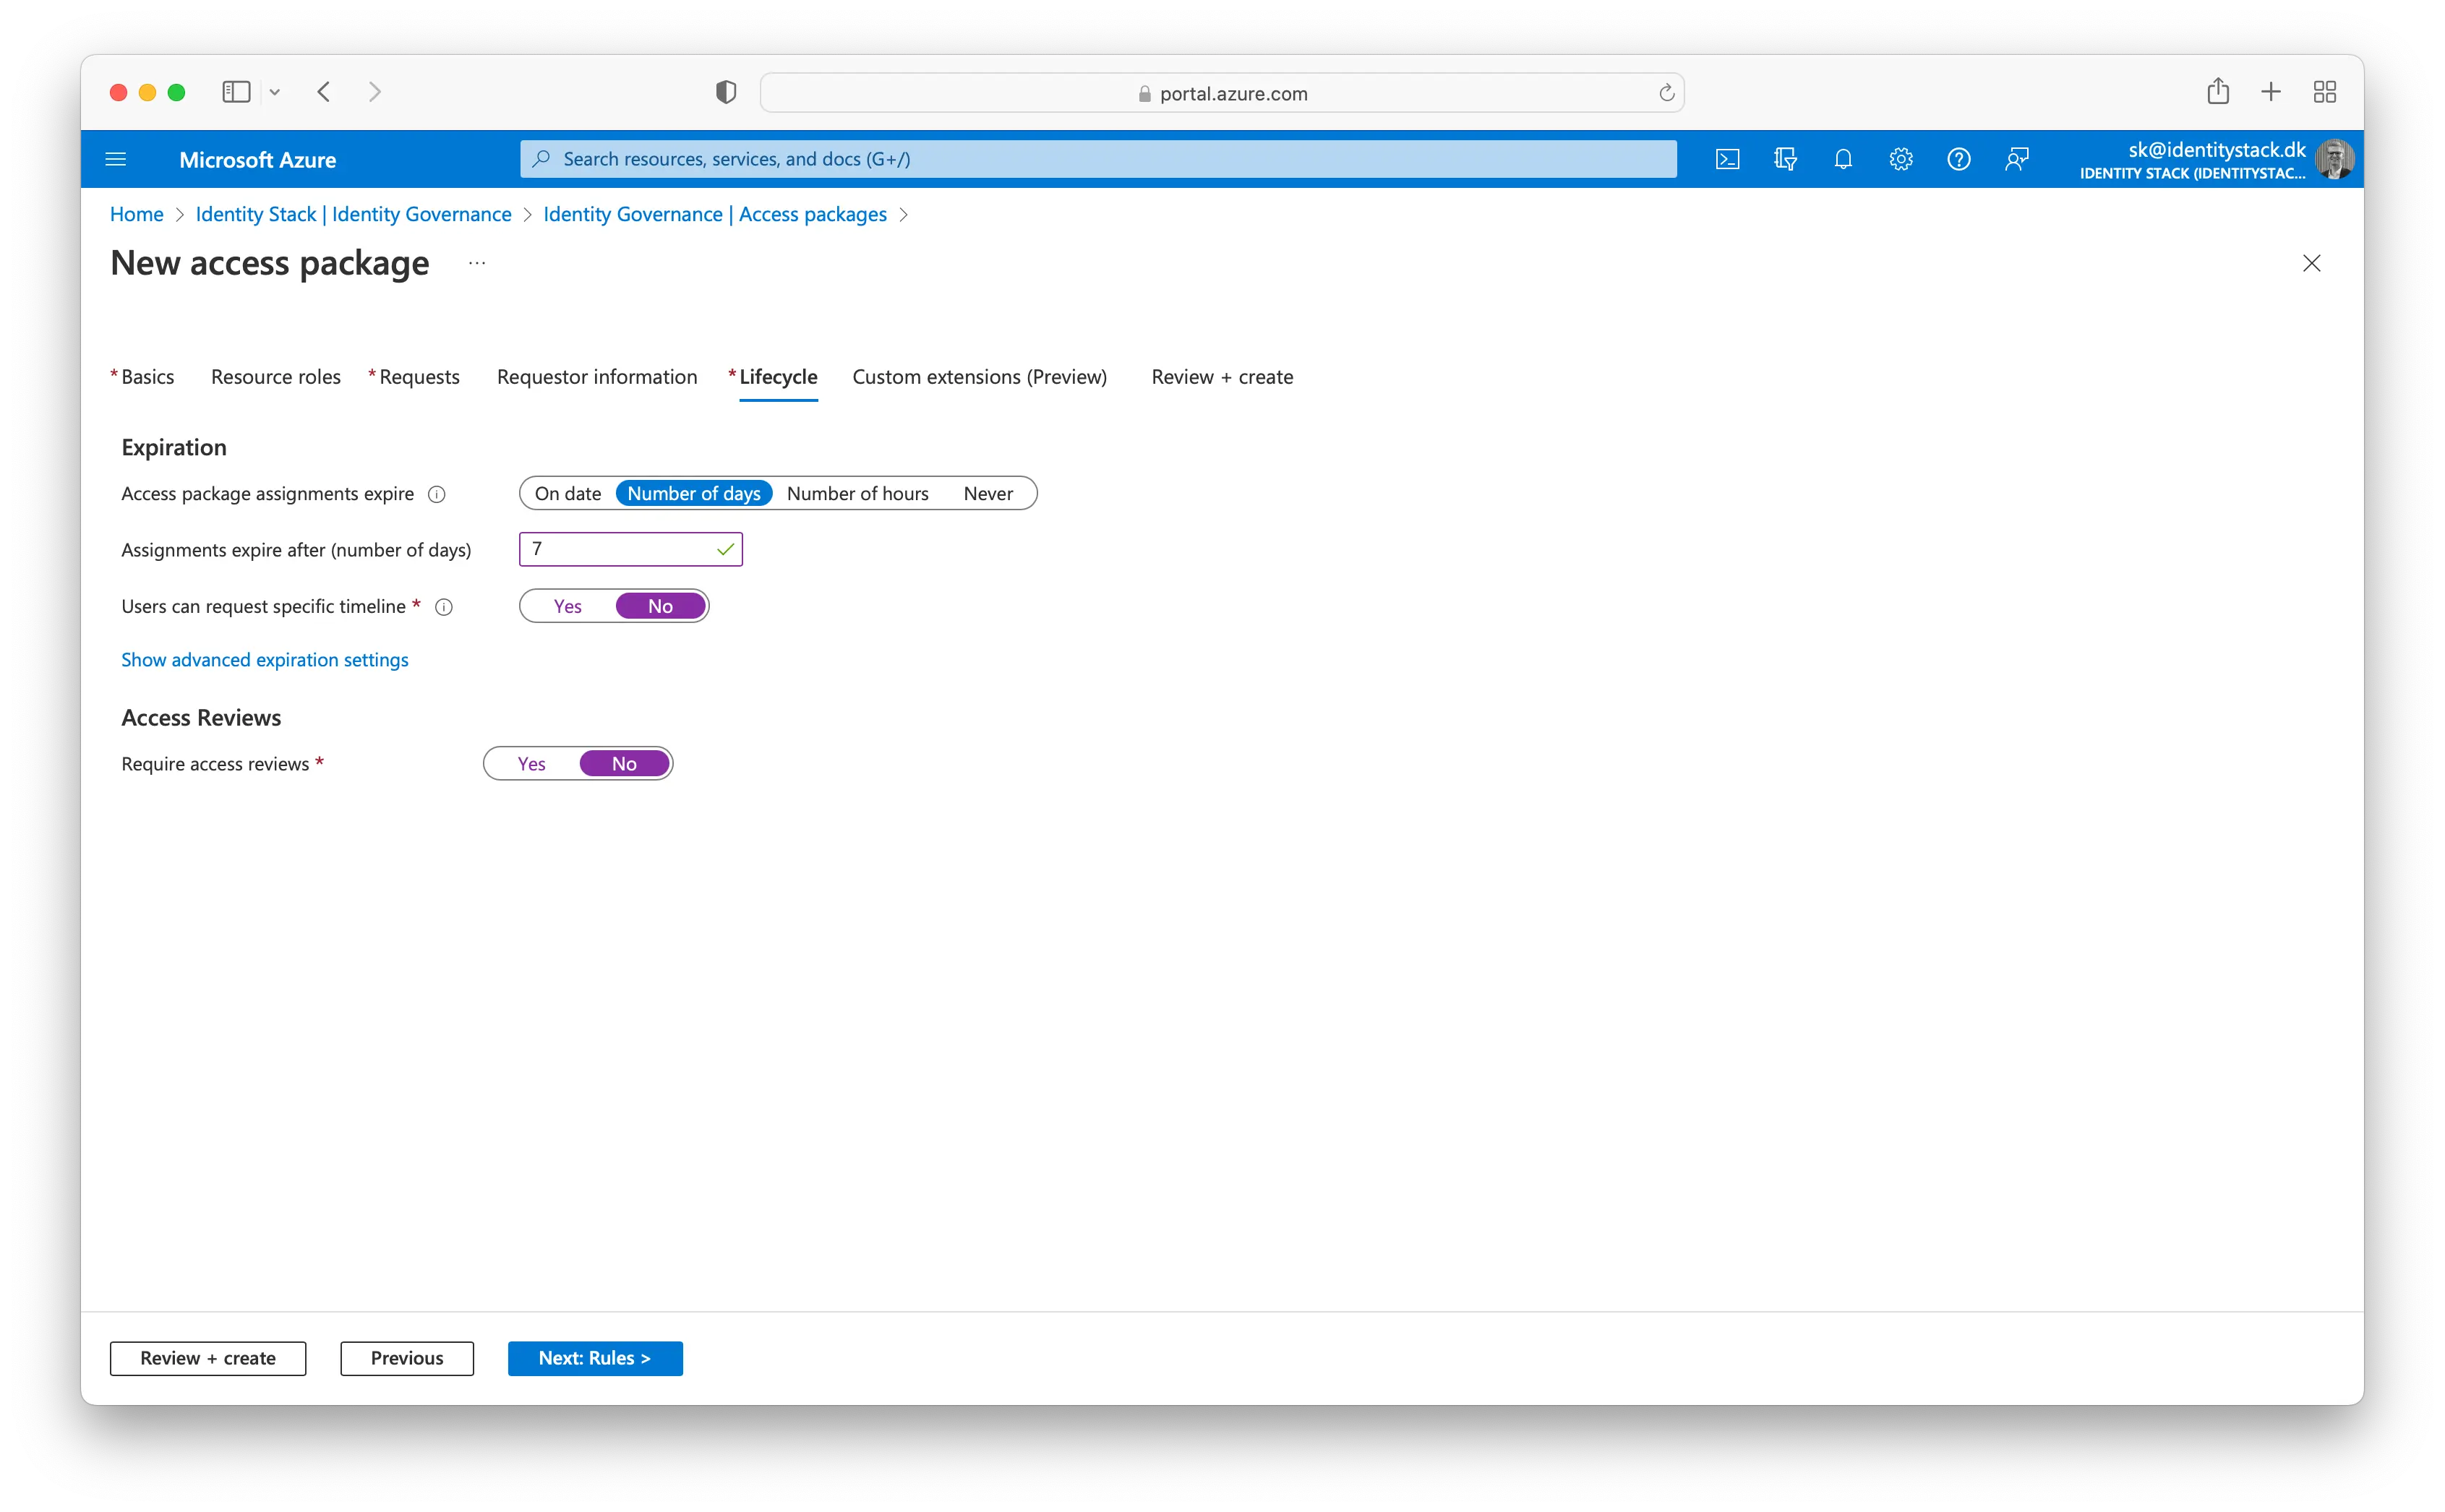
On the Lifecycle tab, you specify when a user's assignment to the access package expires. You can also specify whether users can extend their assignments. In the Expiration section:
- Set the Access package assignments expire to Number of days.
- Set the Assignments expire after to 7 days.
- Leave the Users can request specific timeline default value, Yes.
- Set the Require access reviews to No.
Skip the Custom extensions (Preview) step.
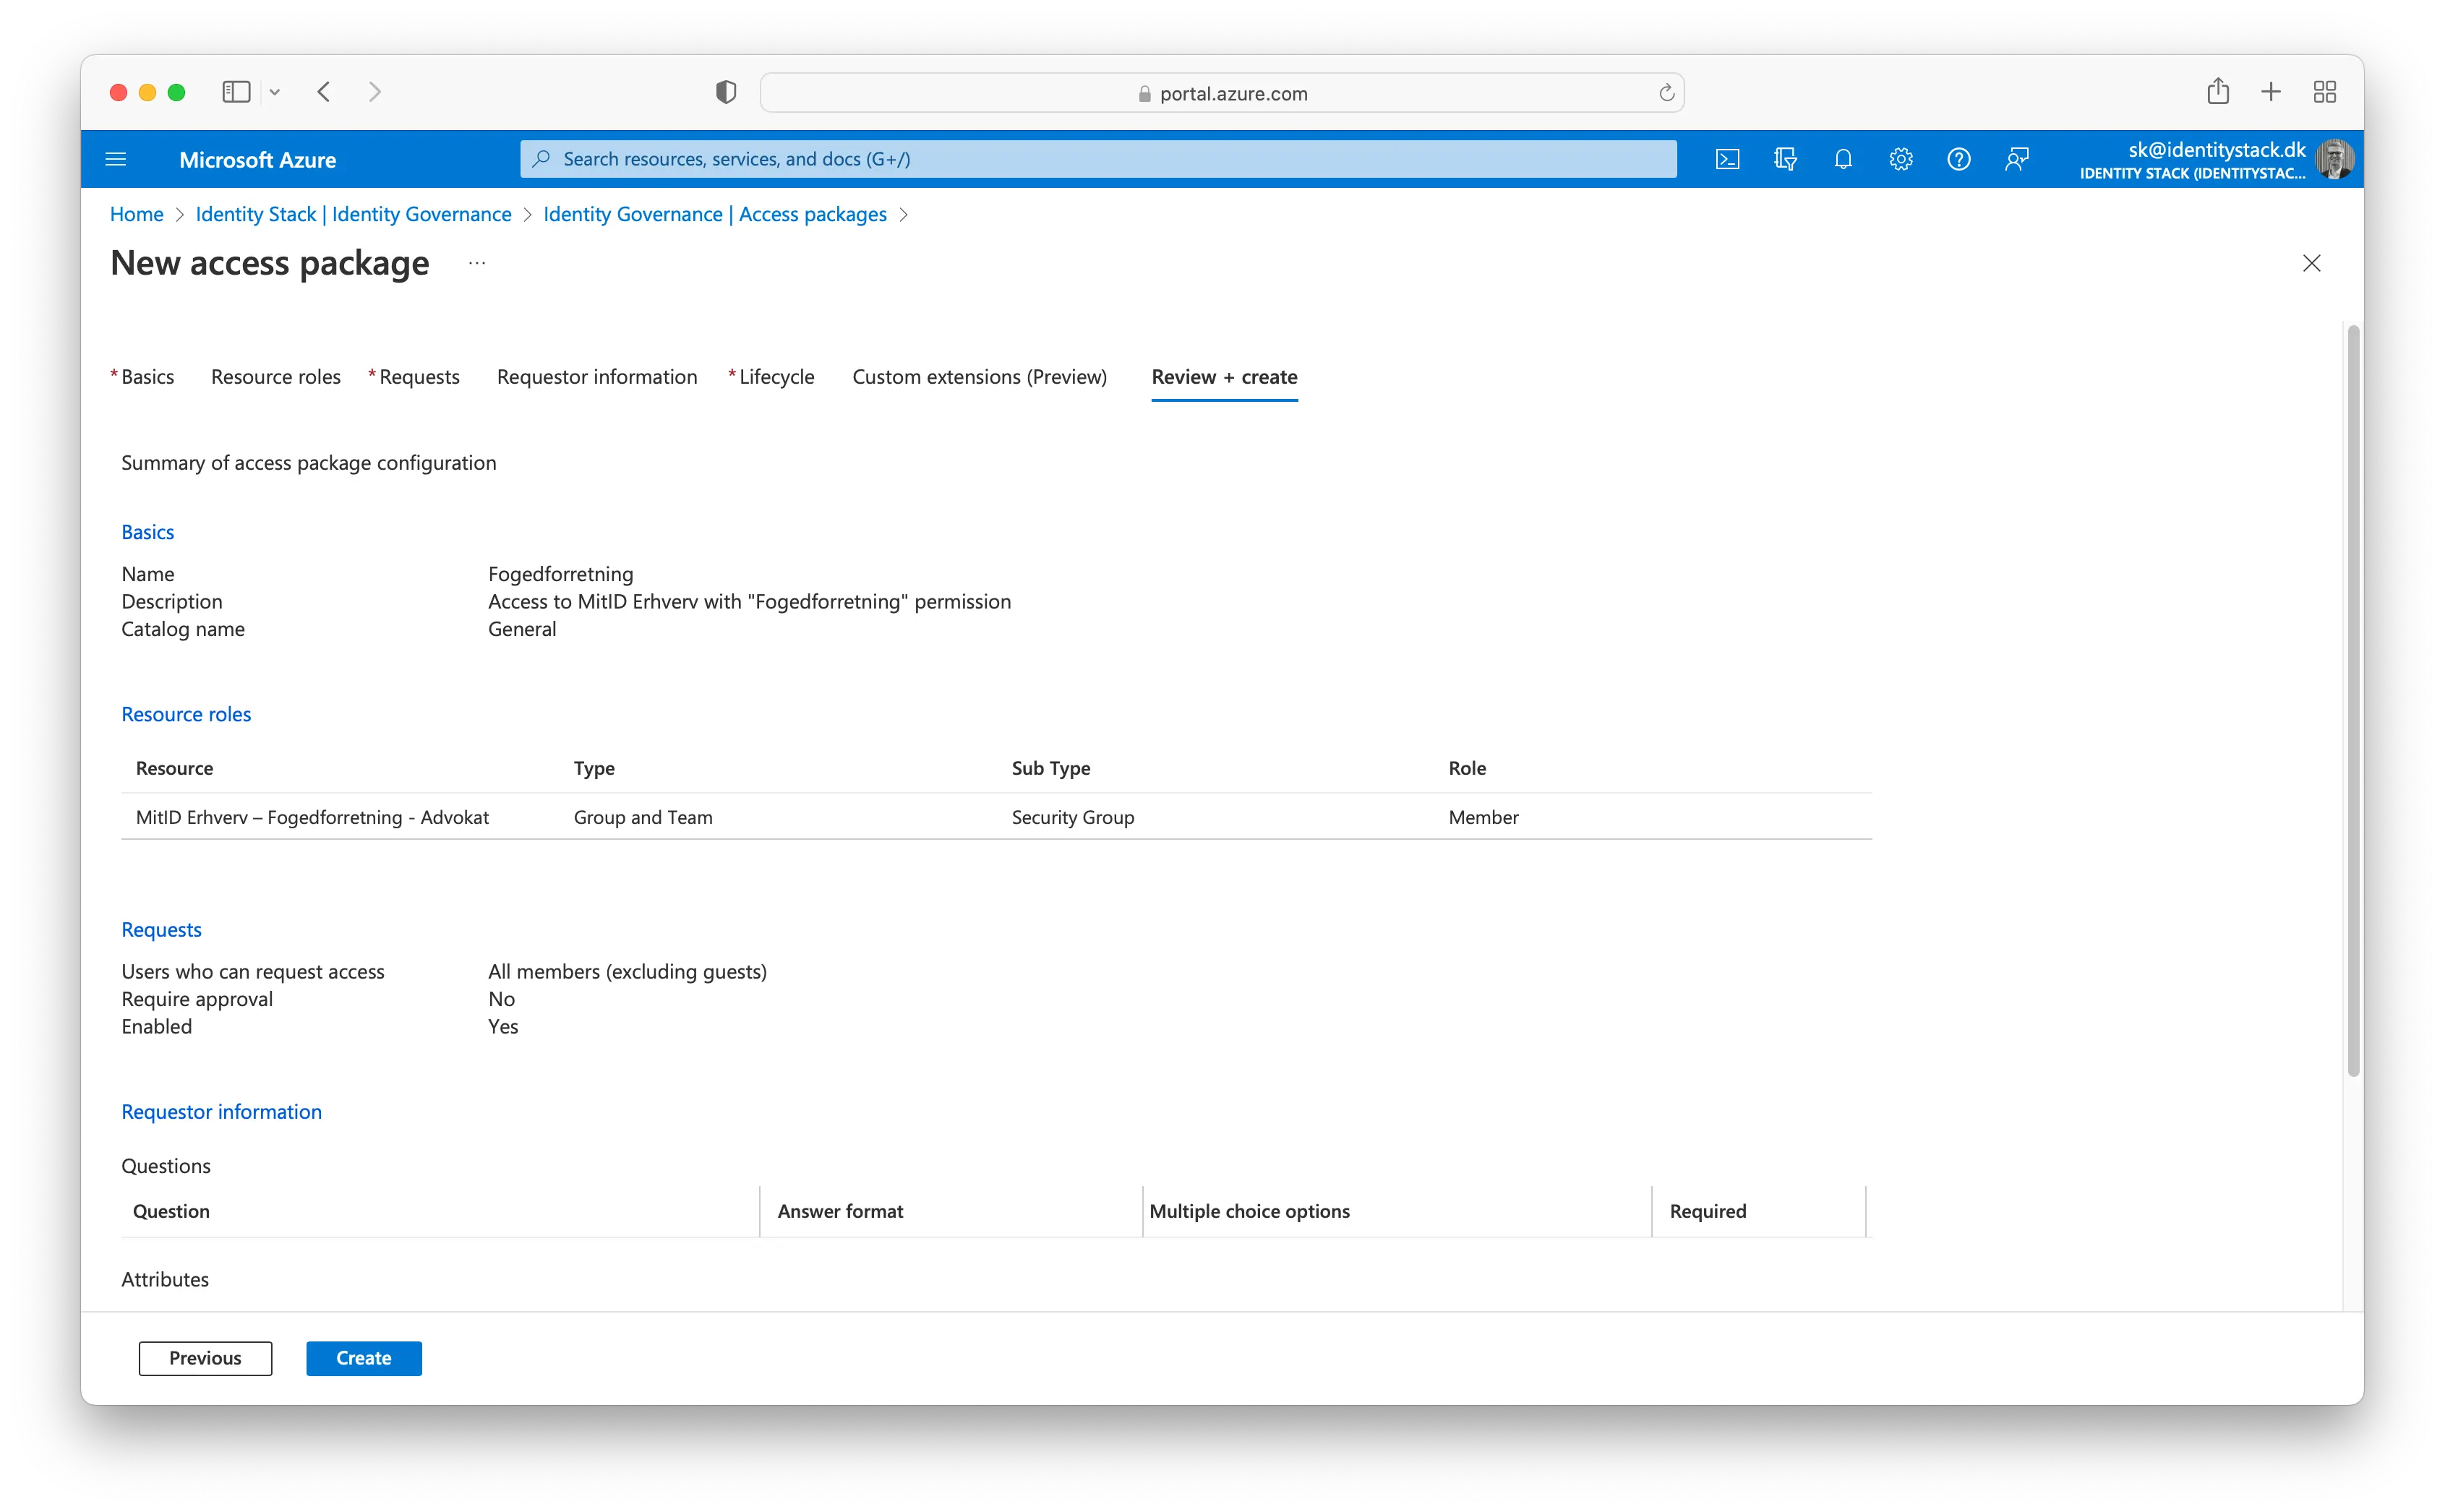
Select Next to open the Review + Create tab.
Copy the My Access portal link.
We will now demonstrate how it looks from a user's perspective which needs the newly created access package. Navigate to https://myaccess.microsoft.com or provide the user with the full link (See step 9.) and log in. A list of all the access packages available for you will be listed. Click on the "Anmod" to request an access package.

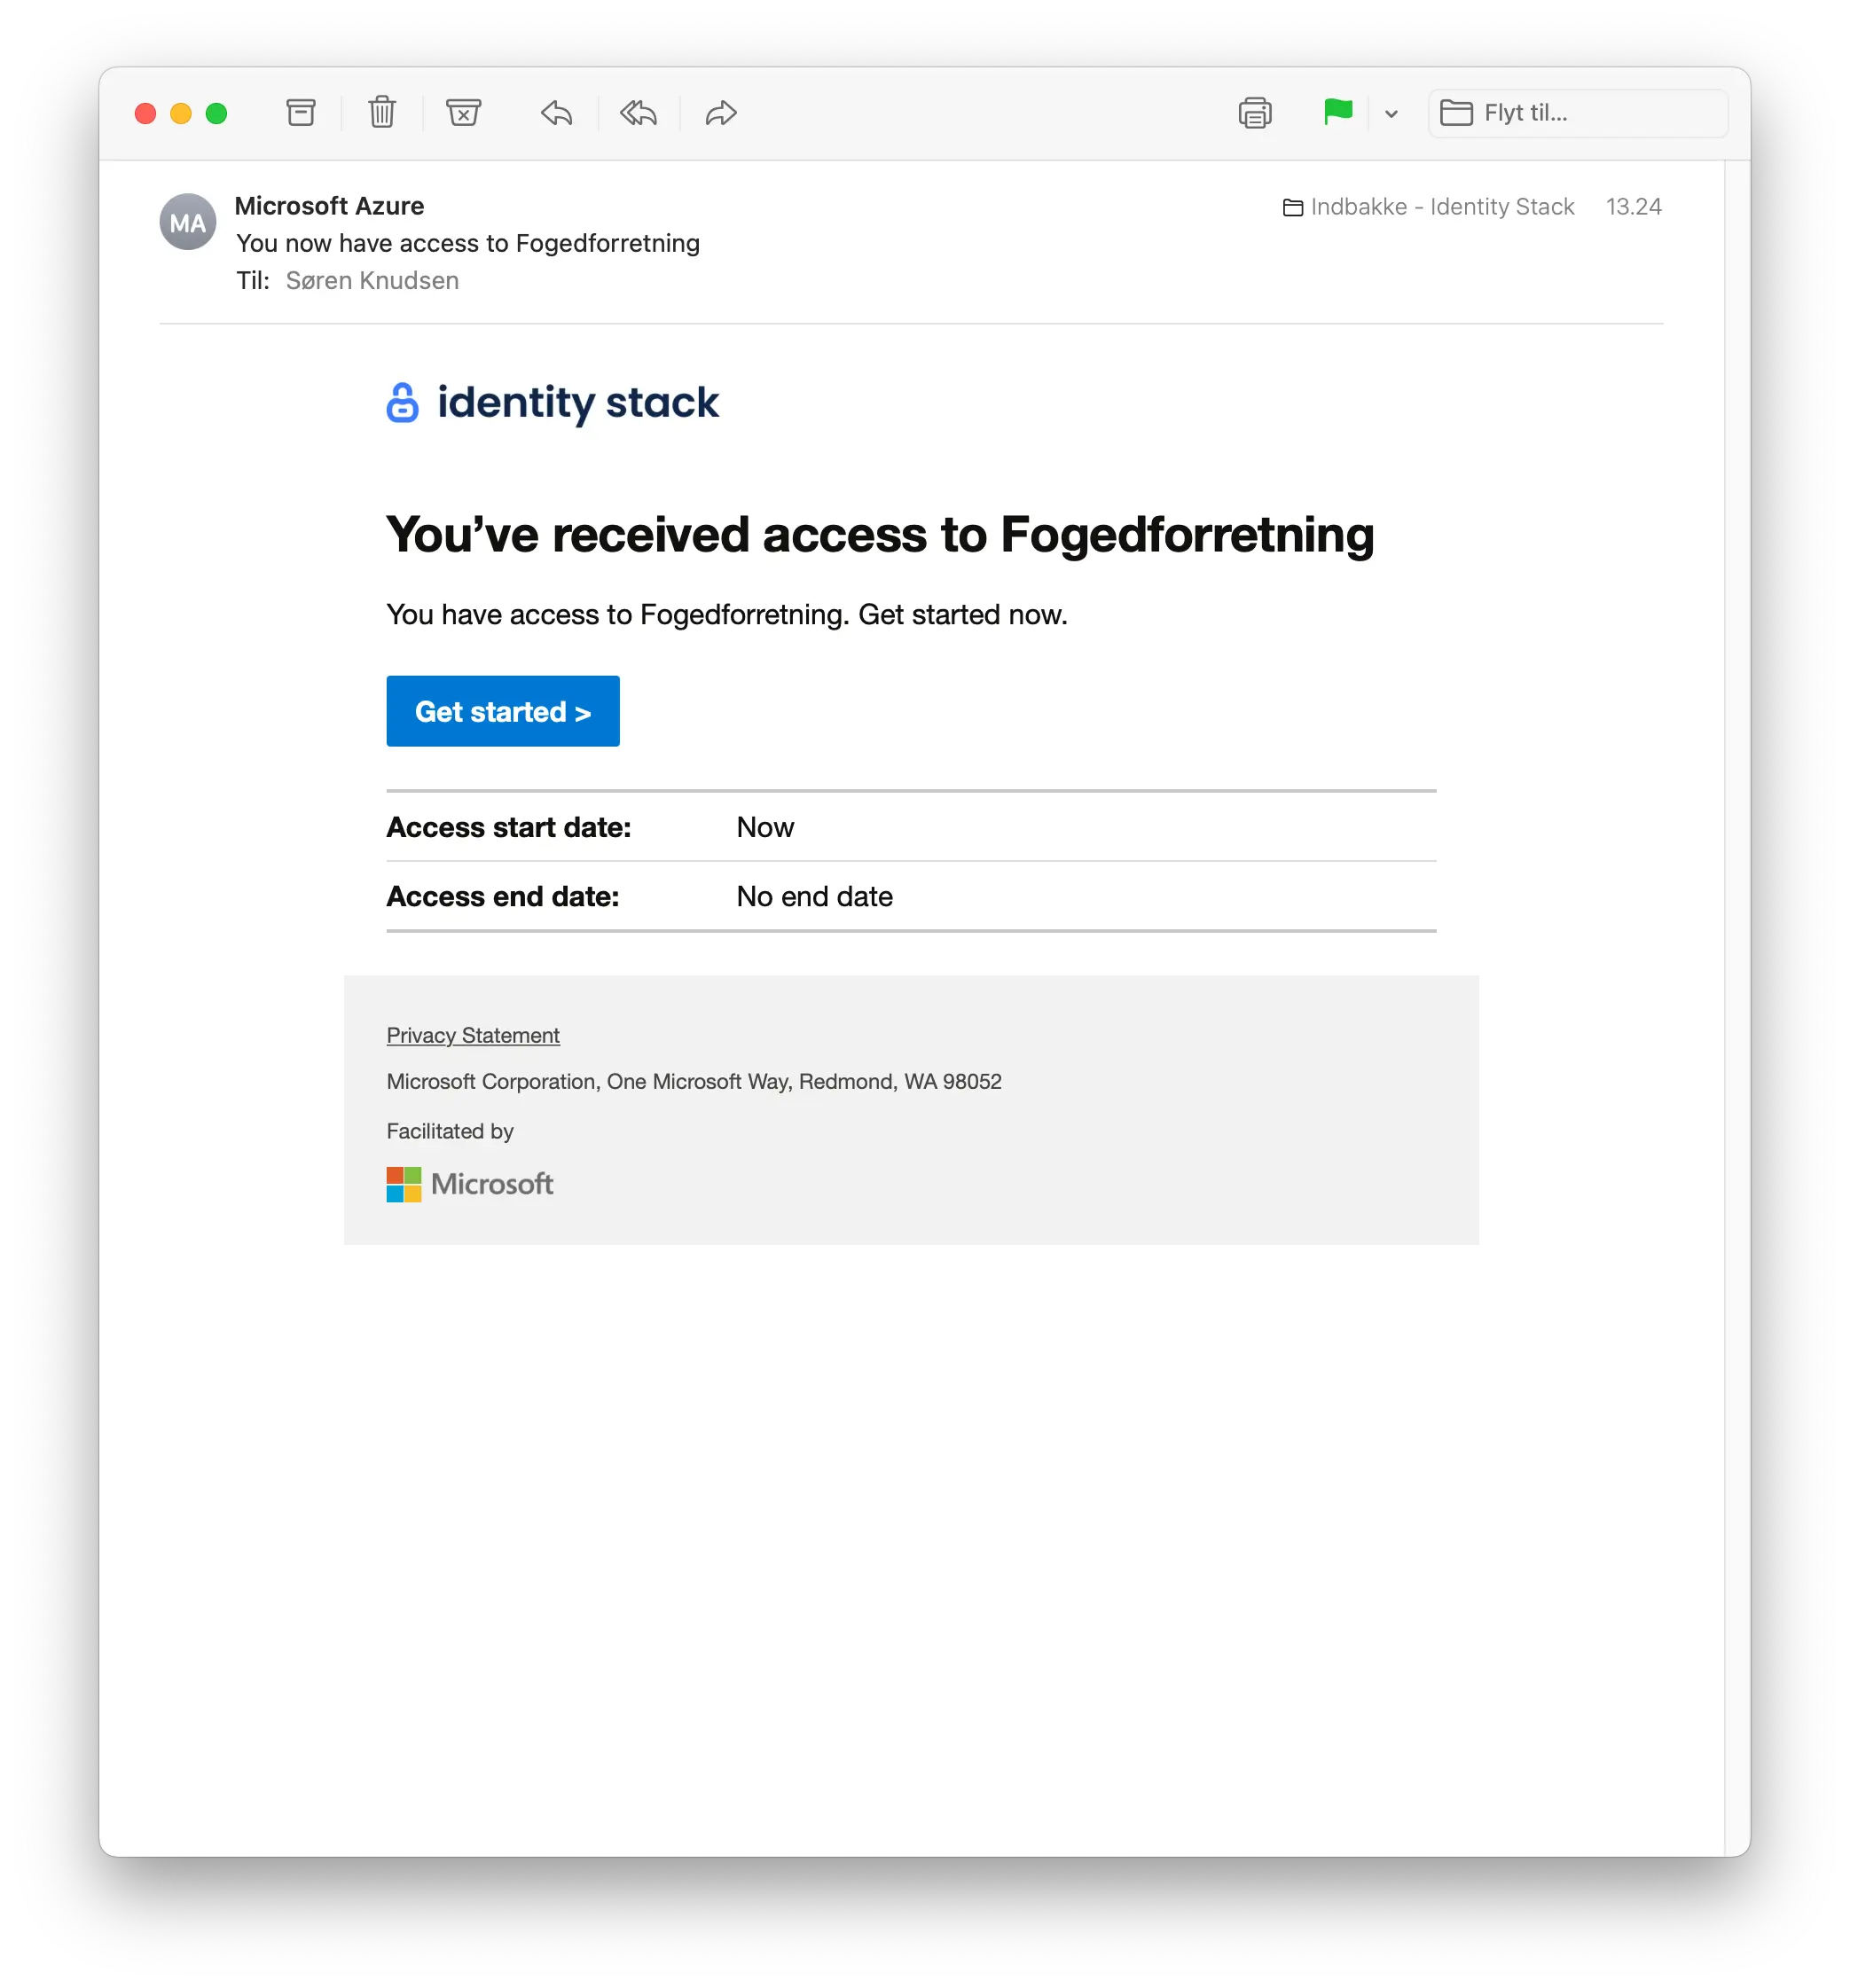
When the package has been granted you will receive an e-mail confirmation as depicted.